Hello dear Amigurumi Followers
Today we share Amigurumi Green Fribbit Frog Free Pattern for you. As you know we share new free amigurumi pattern every day. The main crochets are gazelle, amigurumi bear, pola, crochet panda, penguin, giraffe, llama, pig, bunny, clown, lamb, bee, crochet unicorn, amigurumi doll, fox, penguin, dinosaur, crochet elephant, hippo, monkey, crochet cat, crochet dog and more …
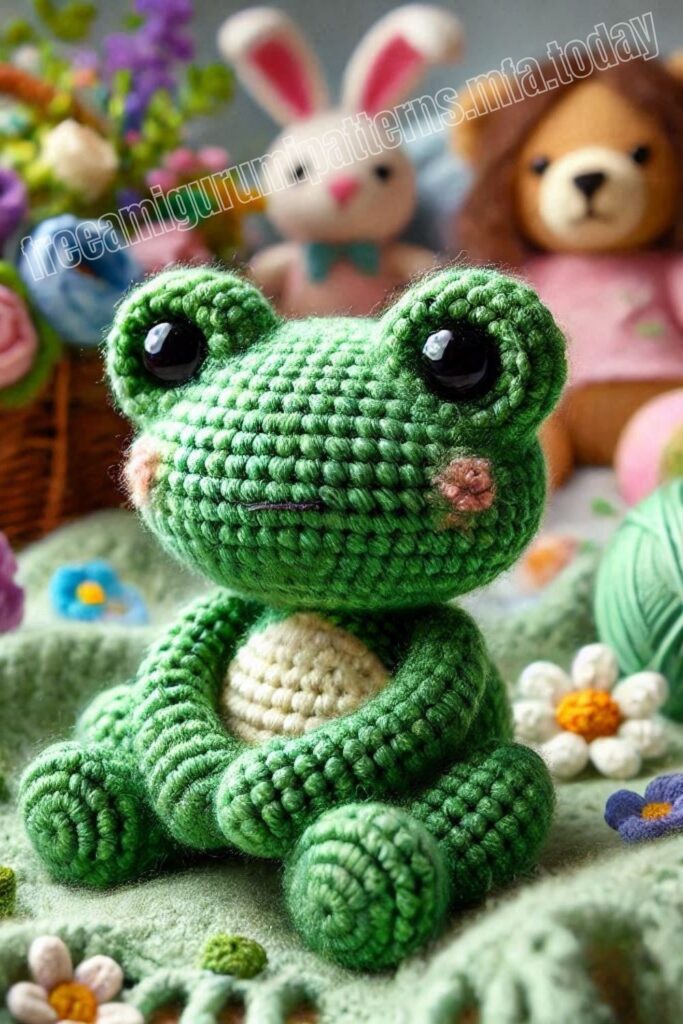
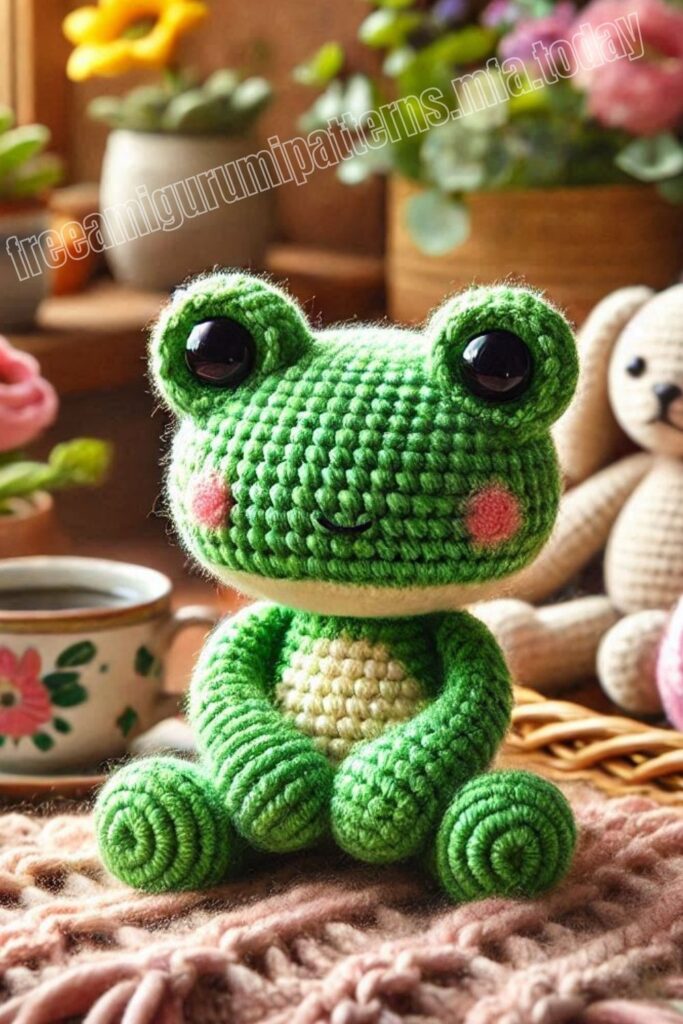
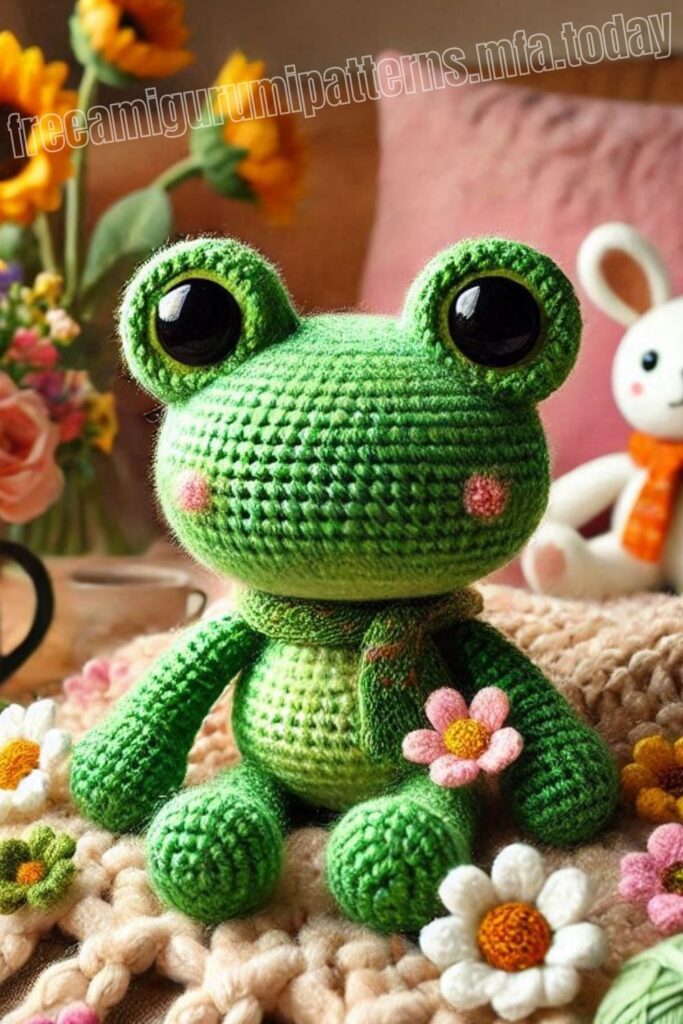
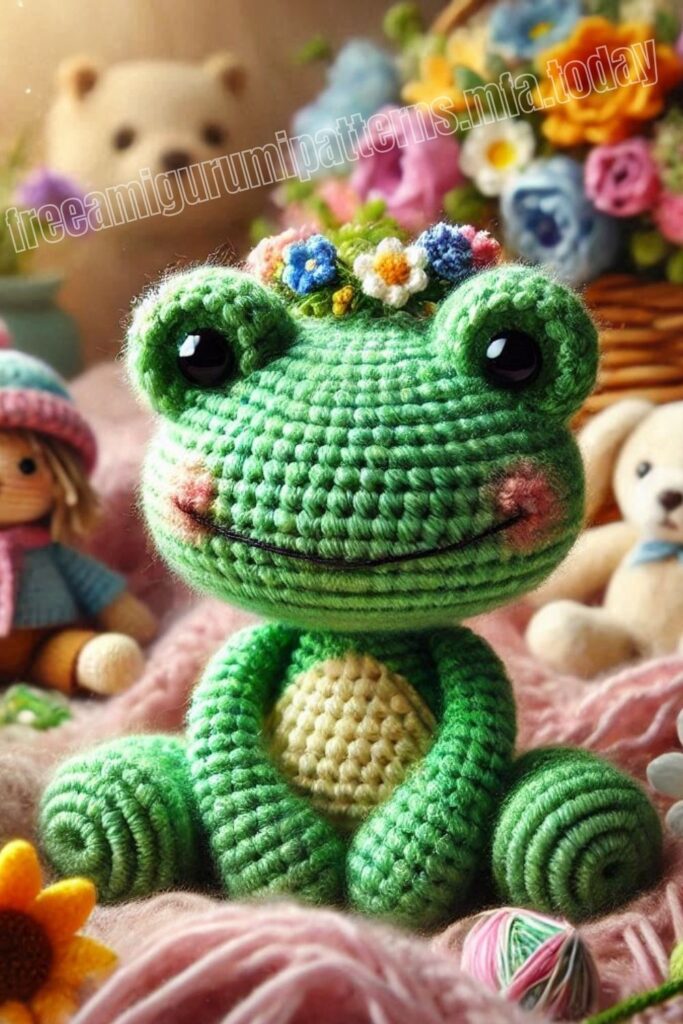
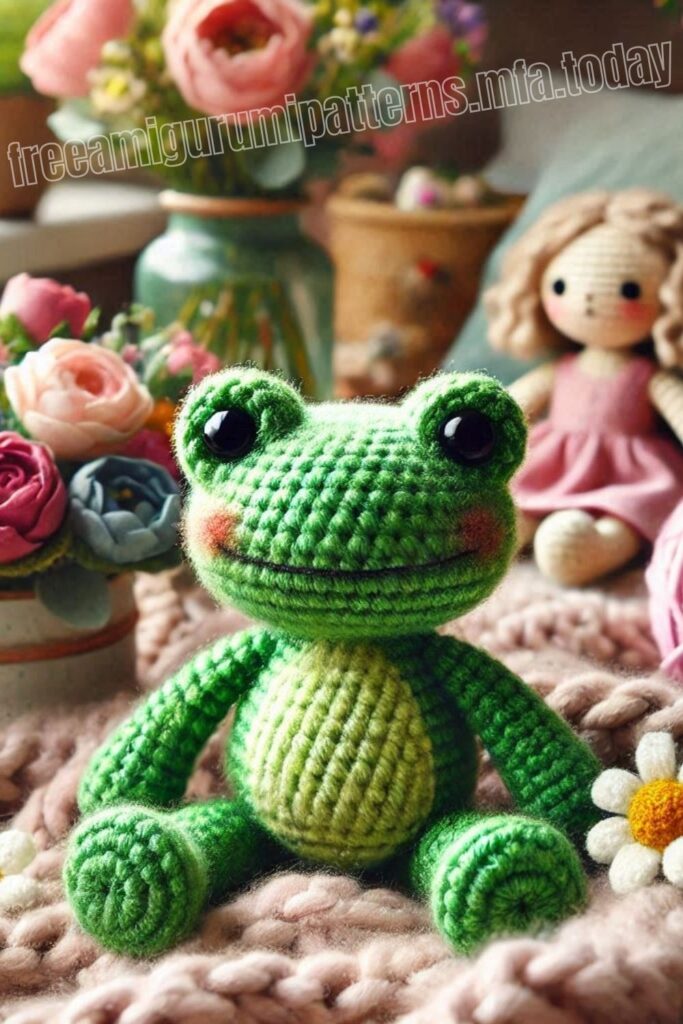
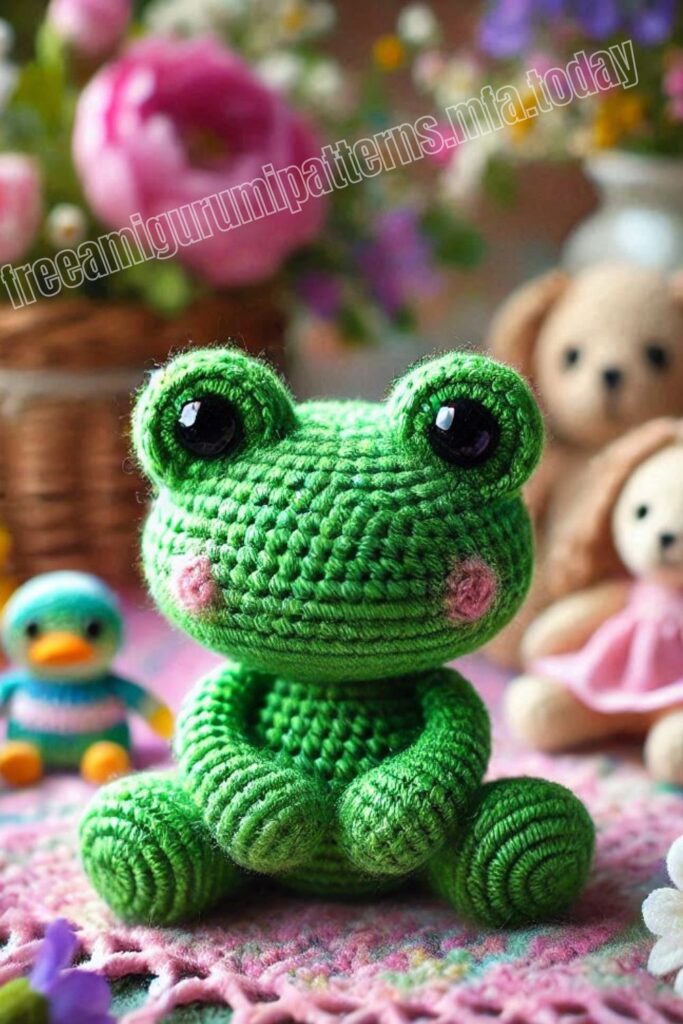
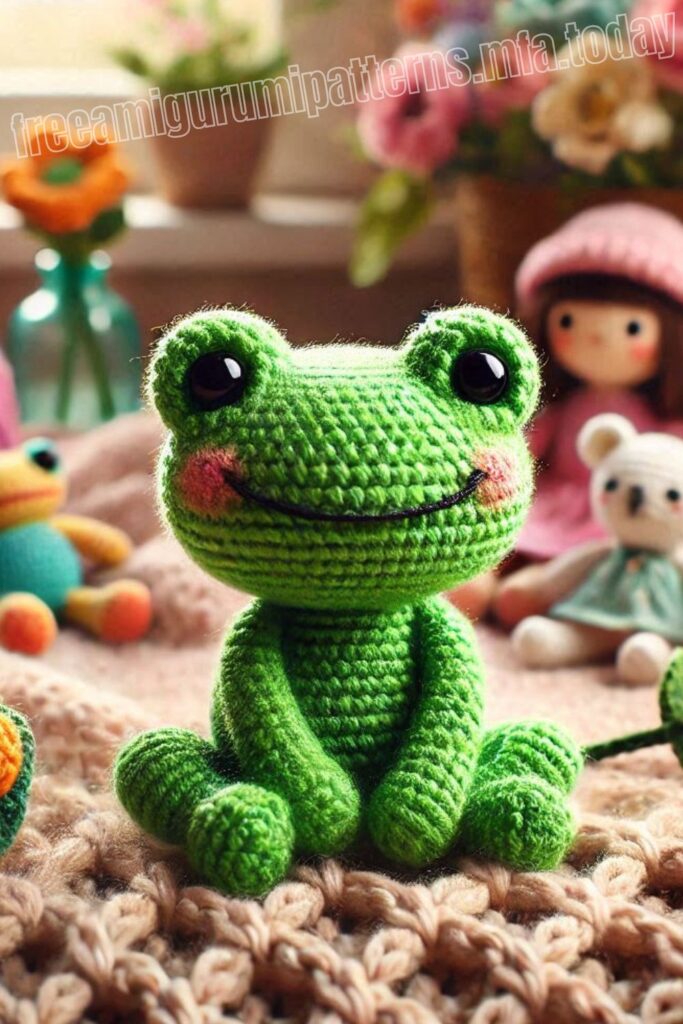
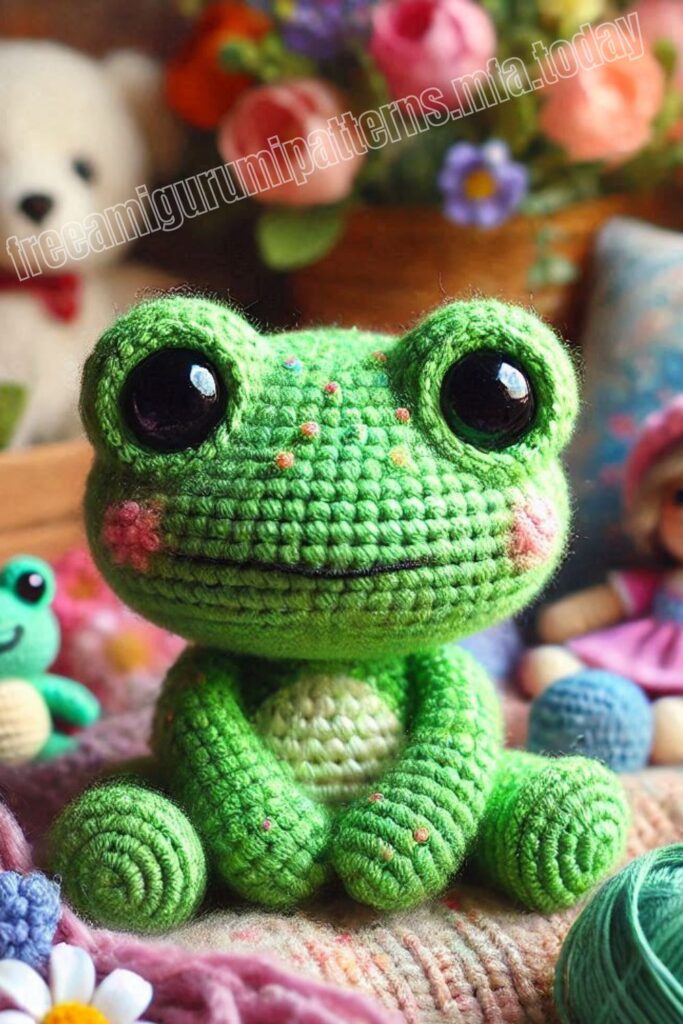
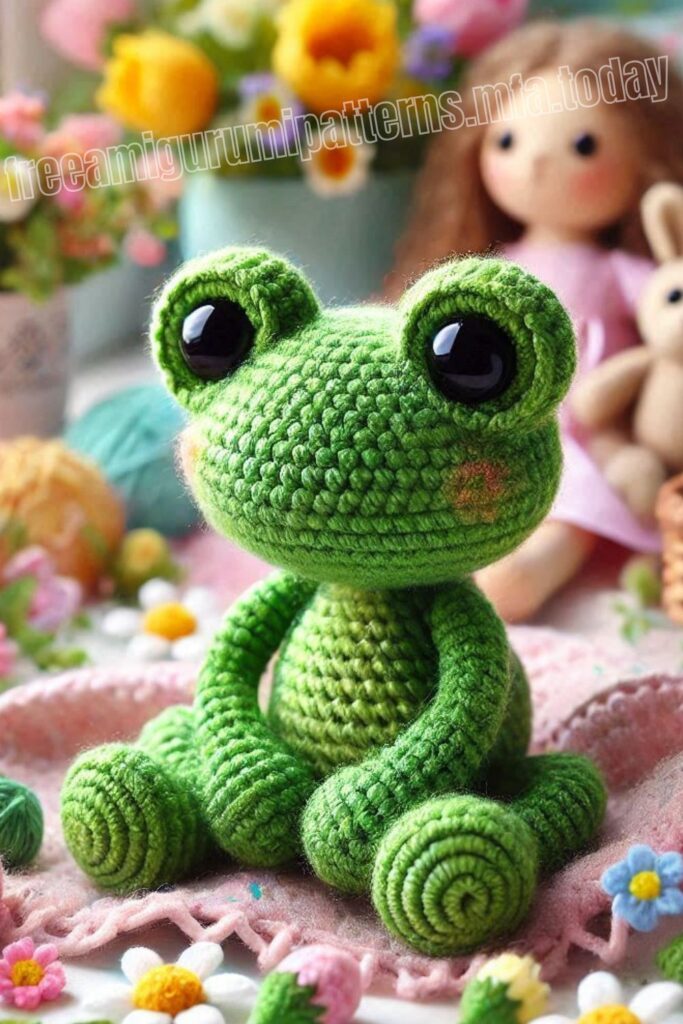
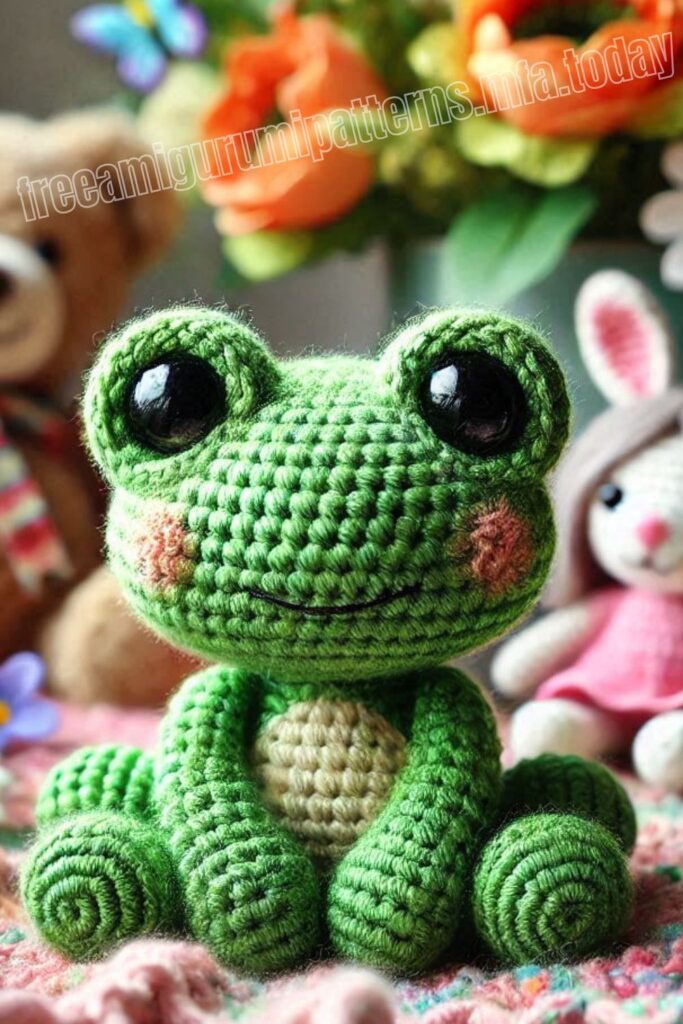
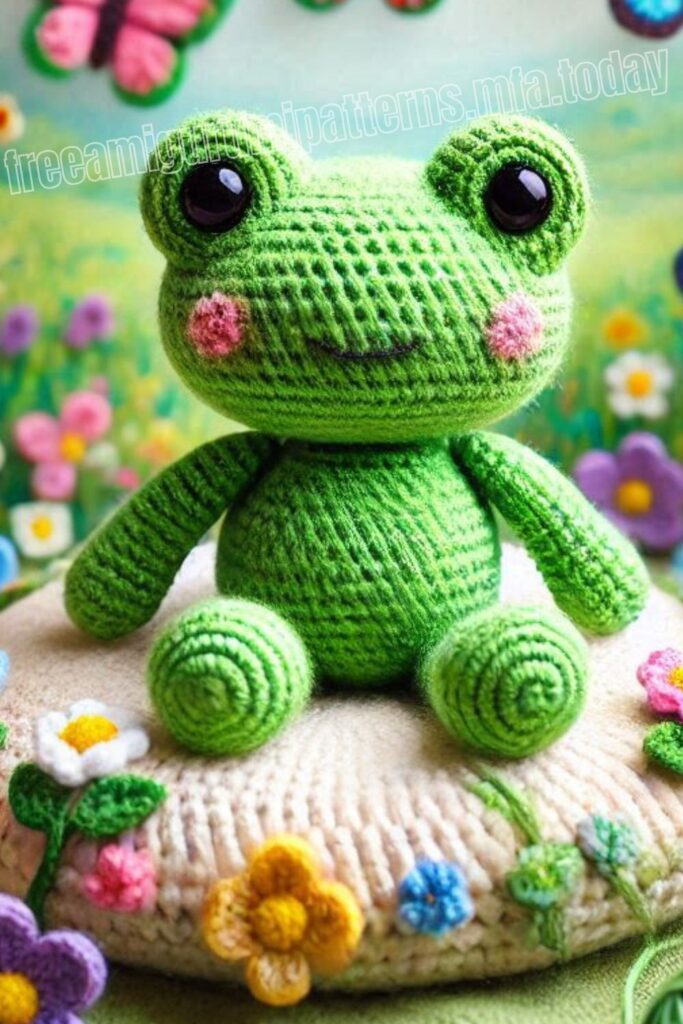
Todays daily new amigurumi free crochet pattern is Amigurumi Green Fribbit Frog.
I want to give you some informations about this amigurumi free pattern ; Green Fribbit Frog.
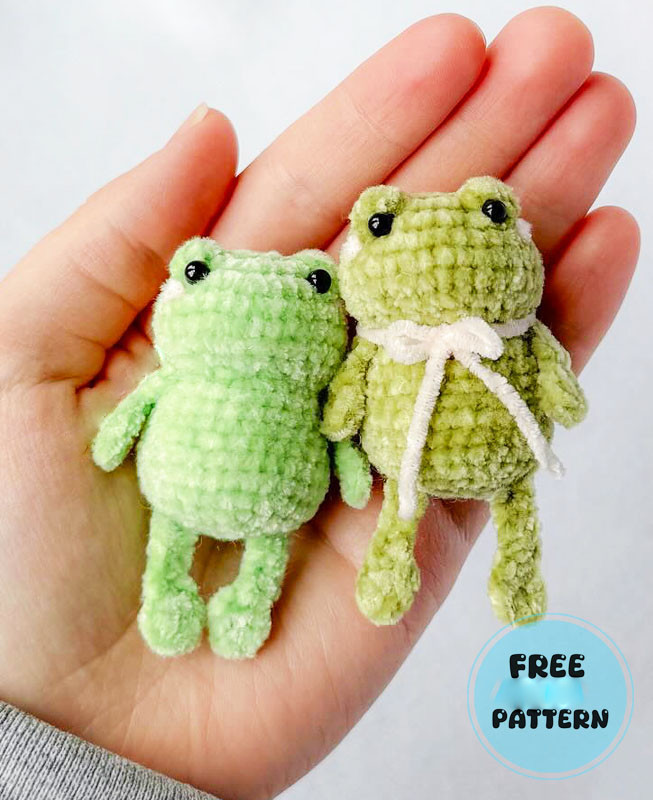
Materials:
velvet yarn (size 2) in green and pink
2.25mm hook
4mm safety eyes
polyfil (stuffing)
tapestry needle, felt glue
row marker
scissors
Abbreviation:
magic circle – MC
single crochet – SC
increase – INC
decrease – DEC
chain – CH
fasten off – FO
bobble stitch – BO
slip stitch – SL ST
Notes
This pattern is written in US terminology. Do not SL ST and CH 1 after each row. This is a beginner friendly pattern that does require a bobble stitch.
You can use your preferred materials and yarn colors. The size of your plush will vary based on the yarn and hook size you use.
Amigurumi Green Fribbit Frog Free Pattern:
How to complete a “large” bobble stitch:
1. Yarn over
2. Insert hook into the following stitch
3. Yarn over and pull through the stitch

4. Yarn over and pull through 2 loops
5. Yarn over
6. Insert your hook into the same stitch
7. Yarn over and pull

8. Yarn over and pull through the stitch through 2 loops
9. Repeat steps 5-8 until there are 6 loops on your hook
10. Yarn over and pull through each loop
11. To secure the BO stitch, sc in the following stitch. Push the BO from the back to give it a pronounced look

Head and Body:
R1: sc 8 in MC (8)
R2: inc around (16)
R3: (1 inc, 1sc)x2, 1 inc, BO, (1 inc, 1sc)x2, BO, (1 inc, 1sc)x2, 1 inc (24)

R4: (2sc, 1 inc)x8 (32)
R5-7 [3 rows]: sc around (32)
Before beginning row 8 move the stitch marker one stitch over. The stitch marker should be aligned between the two bobble stitches!

R8: 6sc, (2sc, 1 dec)x5, 6sc (27)
R9: 5sc, 1 dec, (1sc, 1 dec)x4, 1sc, 1 dec, 5sc (21)
R10: 5sc, (2sc, 1 dec)x3, 4sc (18)
Stuff the head firmly
R11: (1sc, 1 inc)x9 (27)
R12-14 [3 rows]: sc around (27)
R15: (8sc, 1 inc)x3 (30)
R16-18 [3 rows]: sc around (30)
R19: (3sc, 1 dec)x6 (24)
R20: (1sc, 1 dec)x8 (16)
Stuff the body firmly
R21: dec x8 (8)
FO, sew the hole closed.

Arms: (x2)
Step 1: sc 5 in MC (5)
Step 2: CH 5, (in the second stitch from the hook) sc 4 along the CH, SL ST in the MC
FO, leave long tail for sewing.

Legs: (x2)
Step 1: sc 5 in MC (5)
Step 2: CH 6, (in the second stitch from the hook) sc 5 along the CH, SL ST in the MC
FO, leave long tail for sewing.

Assembly:
Place the safety eyes into the bobble stitches, secure with adhesive of your choice!

Before sewing the arms and legs to the body, weave in the loose yarn ends. (Do not weave in the yarn tail for sewing)

Weave the yarn tail for sewing to the top of the arm. This allows the arm to be evenly sewn to the body. Repeat this step for the legs!

Sew the arms between rows 10-11. The arms should be 1 stitch behind the eyes!

Sew the legs horizontally across rows 19-21. The legs should align with the arms!

(Optional) The final step to finishing your plush is adding blush. Begin with a strand of pink yarn, enter your needle into a random stitch near the eye. Pull the needle out between rows 4-5 directly next to the eye, sew over the stitch twice to create the appearance of blush. Repeat on the other side!
(Optional) You can also add an accessory like a bow tie to your Fribbit!

Congratulations, you’ve successfully completed your Fribbit! I hope you enjoyed the pattern! I’d love to see your creation, don’t forget to tag me if you post them!!
More Amigurumi Frog Ideas:
