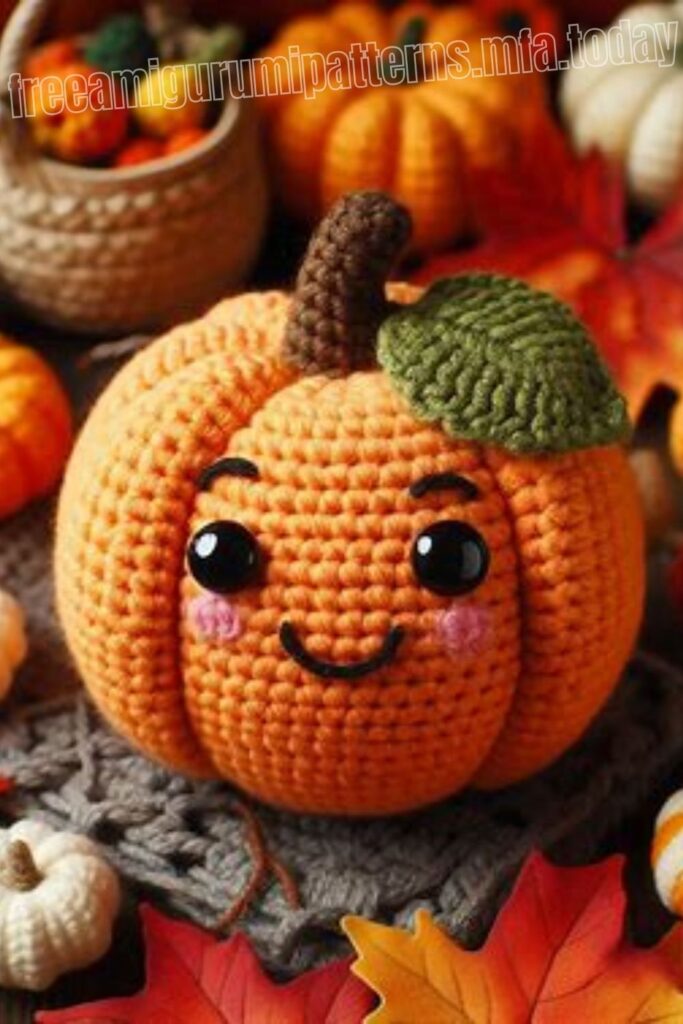
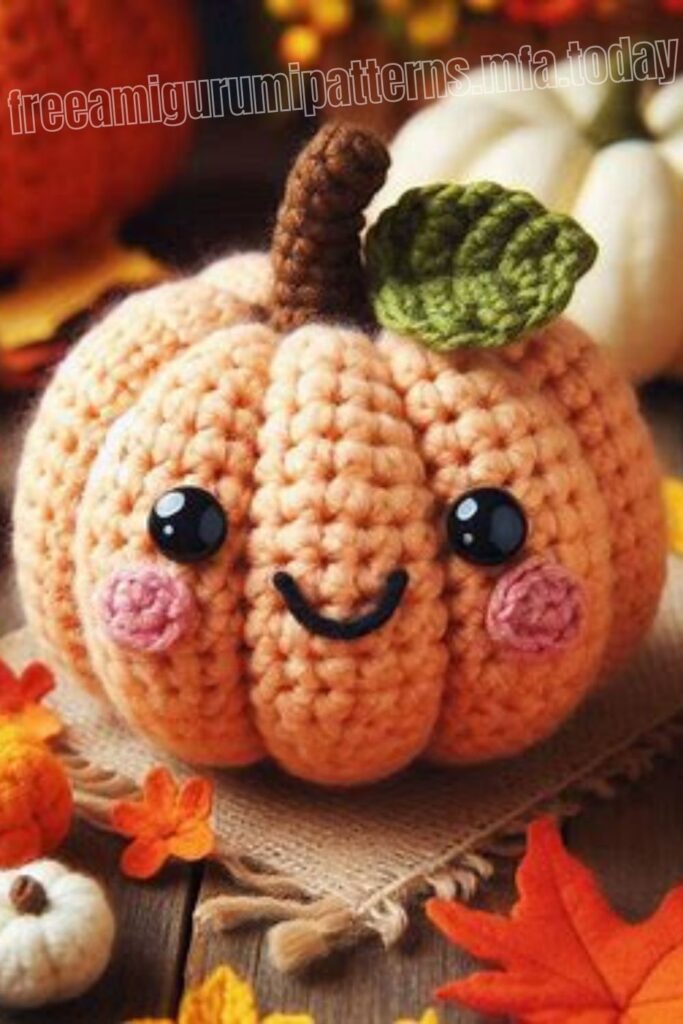
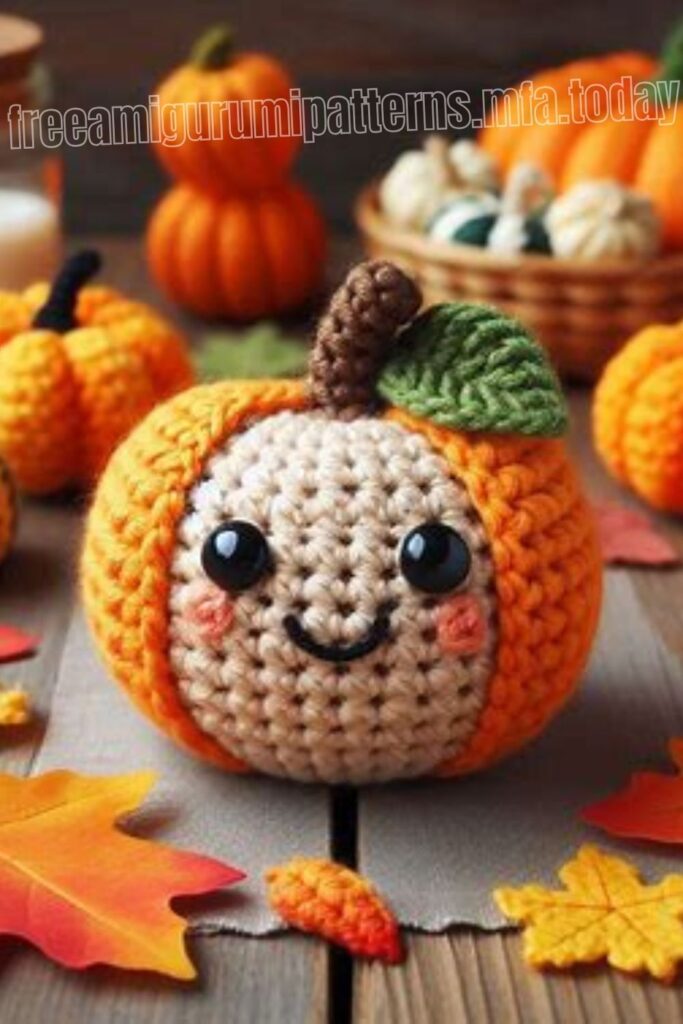
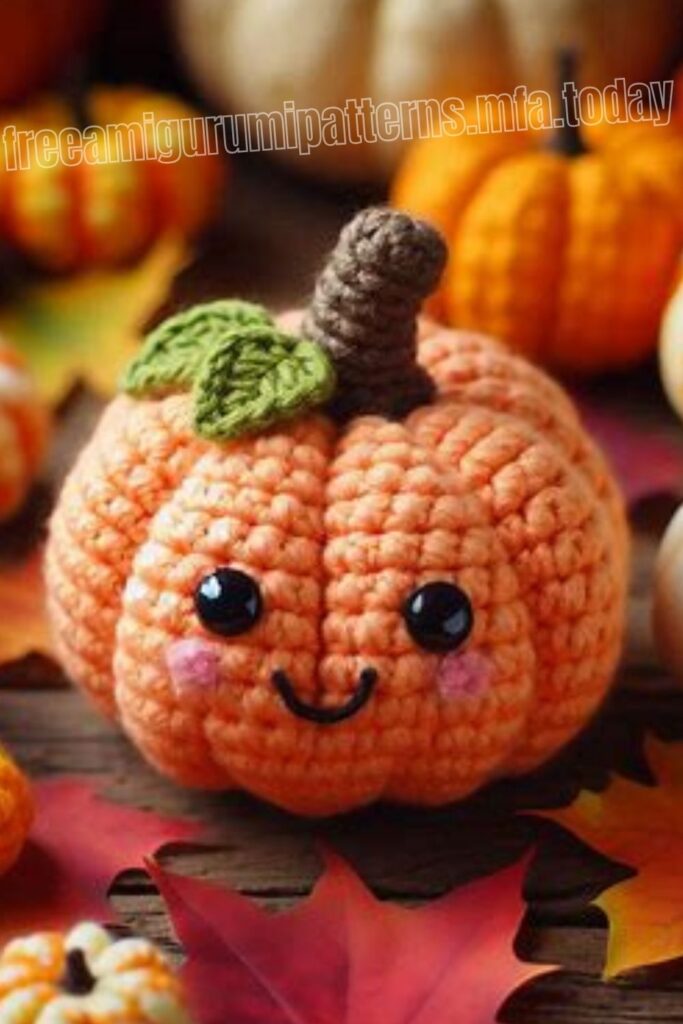
Hello dear Amigurumi Followers
Today we share Amigurumi Pumpkin Witch Free Pattern for you. As you know we share new free amigurumi pattern every day. The main crochets are gazelle, amigurumi bear, pola, crochet panda, penguin, giraffe, llama, pig, bunny, clown, lamb, bee, crochet unicorn, amigurumi doll, fox, penguin, dinosaur, crochet elephant, hippo, monkey, crochet cat, crochet dog and more …
Todays daily new amigurumi free crochet pattern is Amigurumi Pumpkin Witch.
I want to give you some informations about this amigurumi free pattern ; Pumpkin Witch.
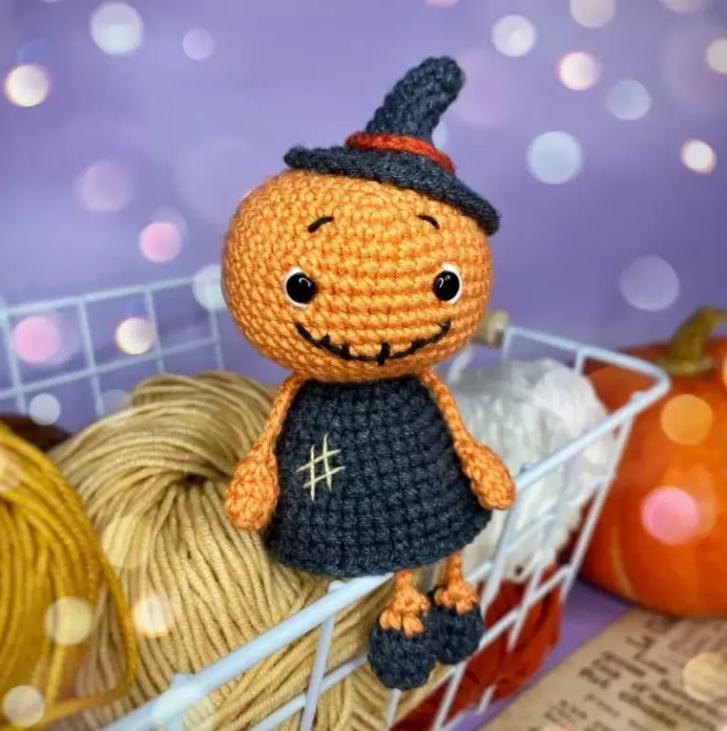
Find here the free amigurumi pumpkin witch pattern for Halloween. This Halloween witch has a pumpkin head and wearing a black dress and a black witch’s hat. The finished size of your pumpkin witch will depend on yarn weight and crochet hook size.
Materials:
– Yarn: ΥаrnΑrt Јeаns/ Alize Cotton Gold/ Gazzal Baby Cotton
– Hook size: 1.75 mm
– 6 mm safety eyes
– Tapestry needle
– Scissors
– Fiberfill
Abbreviations:
R = row
mc = magic circle (magic ring)
ch = chain
sl st = slip stitch
sc = single crochet
inc = 2 sc in the next stitch
dec = single crochet 2 stitches together
BLO = back loops only
FLO = front loops only
(12) = number of stitches you should have at the end of the round/row
( )*6 = repeat whatever is between the brackets the number of times stated
Amigurumi Pumpkin Witch Free Pattern:
Head
Crochet with orange yarn:
R 1: 6 sc in mc (6)
R 2: (inc)*6 (12)
R 3: (1 sc, inc)*6 (18)
R 4: (2 sc, inc)*6 (24)
R 5: (3 sc, inc)*6 (30)
R 6: (4 sc, inc)*6 (36)
R 7: (5 sc, inc)*6 (42)
R 8: (6 sc, inc)*6 (48)
R 9-15: 48 sc (7 rows)
Insert safety eyes between R 11 and R 12 at a distance of 8 sc between them (measured between the inner edges of the safety eyes).
R 16: (6 sc, dec)*6 (42)
R 17: (5 sc, dec)*6 (36)
R 18: (4 sc, dec)*6 (30)
Stuff the head firmly at this stage.
R 19: (3 sc, dec)*6 (24)
R 20: (2 sc, dec)*6 (18)
R 21: BLO: (1 sc, dec)*6 (12)
Add more stuffing to shape a neat round head.
R 22: (dec)*6 (6)
Fasten off with 1 sl st. Cut the yarn, leaving a tail for closing the hole.
Dress
Attach black yarn to the front loops left on R 20 of the head (see the photo below).
R 1: 18 sc
R 2: (5 sc, inc)*3 (21)
R 3: (6 sc, inc)*3 (24)
R 4: (3 sc, inc)*6 (30)
R 5: 30 sc
R 6: (4 sc, inc)*6 (36)
R 7: 36 sc
R 8: (5 sc, inc)*6 (42)
R 9-12: 42 sc (4 rows)
R 13: 42 sl st
Fasten off, secure the tail and weave it in.
Arms (make 2)
Crochet with orange yarn:
R 1: 6 sc in mc (6)
R 2: (1 sc, inc)*3 (9)
R 3: 9 sc
R 4: 4 dec, 1 sc (5)
Fasten off, leaving a long tail (about 20 cm).
Close the opening with the yarn tail and a needle.
Insert the hook into the last row of the arm as shown in the photo. Grab the remaining yarn tail from the inside and pull it to the front, forming a loop. Crochet 10 ch. Pull the yarn out of the last chain to fasten off.
Legs (make 2)
Crochet with black yarn:
R 1: 6 sc in mc (6)
R 2: (inc)*6 (12)
R 3-4: 12 sc (2 rows)
Slightly stuff the foot to shape it.
R 5: (2 sc, dec)*3 (9)
Change yarn to orange.
R 6: 4 dec, 1 sc (5)
Fasten off, leaving a long tail (about 30 cm).
Finish the detail the same way as the arms, but make 20 ch instead of 10 ch. Pull the yarn out of the last chain to fasten off.
Hat
Crochet with black yarn:
R 1: 6 sc in mc (6)
R 2: 6 sc
R 3: (1 sc, inc)*3 (9)
R 4: 9 sc
R 5: (2 sc, inc)*3 (12)
R 6: (3 sc, inc)*3 (15)
R 7: (4 sc, inc)*3 (18)
R 8: (5 sc, inc)*3 (21)
R 9: 21 sc
R 10: FLO: 21 inc (42)
R 11-12: 42 sc (2 rows)
Sl st. Fasten off, leaving a long tail for sewing.
Edging between R 8 and R 9 (with terracotta yarn):
Make 1 ch as the starting base. Remove the loop from the hook and pull it from the wrong side to the right side of the hat.
Insert the hook into the next stitch of the row, grab the working yarn from the wrong side, pull it to the front, and make 1 sl st.
Continue in this way around the hat. Fasten off and hide the yarn ends.
Face embroidery
With white yarn, embroider the whites of the eyes.
With black yarn, embroider the mouth and eyebrows.
Body assembly
First, sew the arms and legs using the yarn tails left.
Legs: Insert the needle into the head under the dress (see the photo below), secure the yarn firmly. Bring the yarn out to the back of the head, secure it and hide the tail. Repeat for the second leg.
Arms: Sew them to the “neck” symmetrically on both sides.
Sew the hat with its yarn tail, then secure and hide the yarn.
More Amigurumi Pumpkin Ideas:
