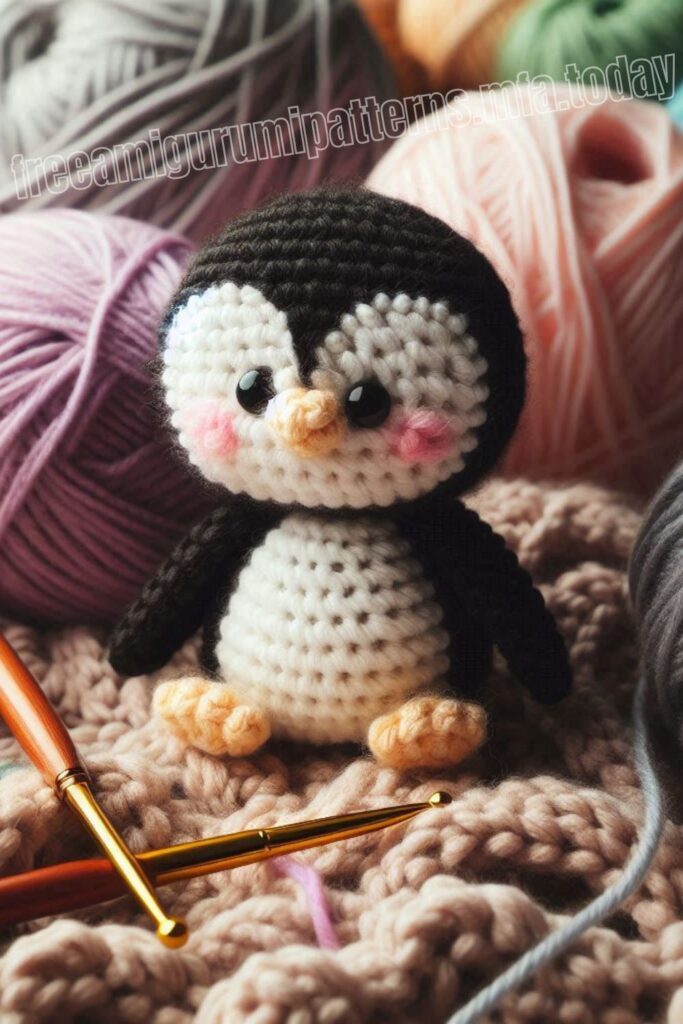
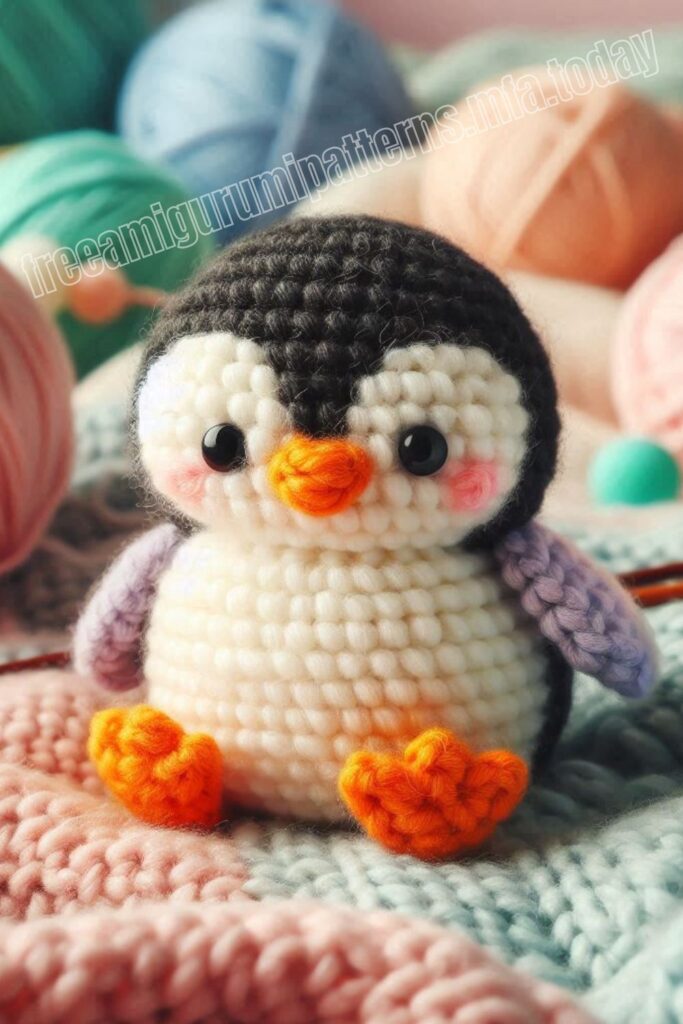
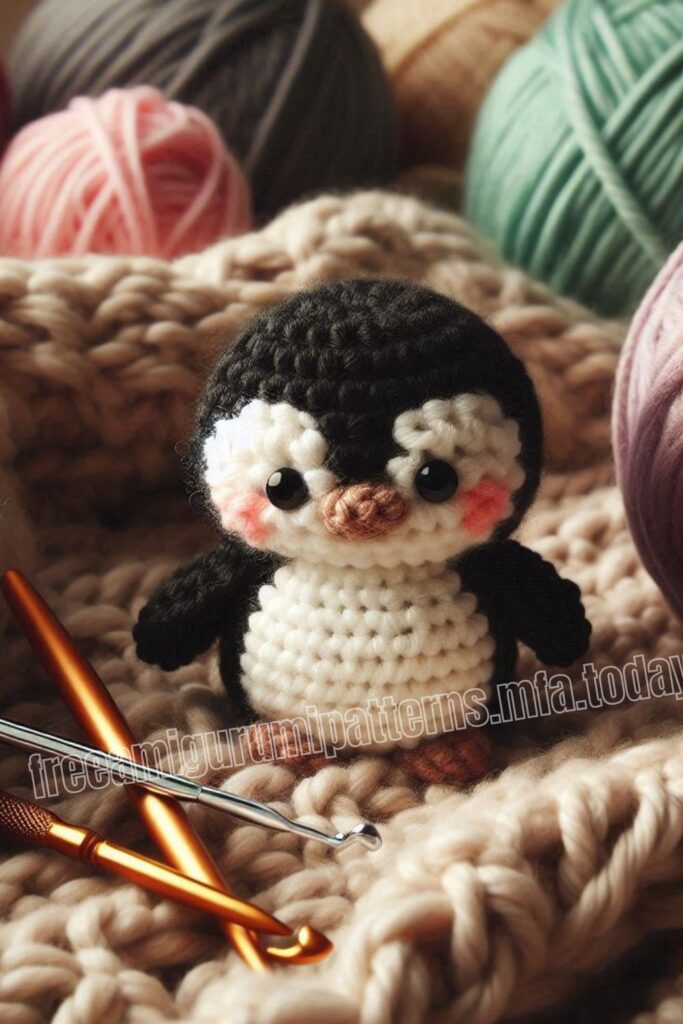
Hello dear Amigurumi Followers
Today we share Amigurumi Little Penguin Fluffy Snow Free Pattern for you. As you know we share new free amigurumi pattern every day. The main crochets are gazelle, amigurumi bear, pola, crochet panda, penguin, giraffe, llama, pig, bunny, clown, lamb, bee, crochet unicorn, amigurumi doll, fox, penguin, dinosaur, crochet elephant, hippo, monkey, crochet cat, crochet dog and more …
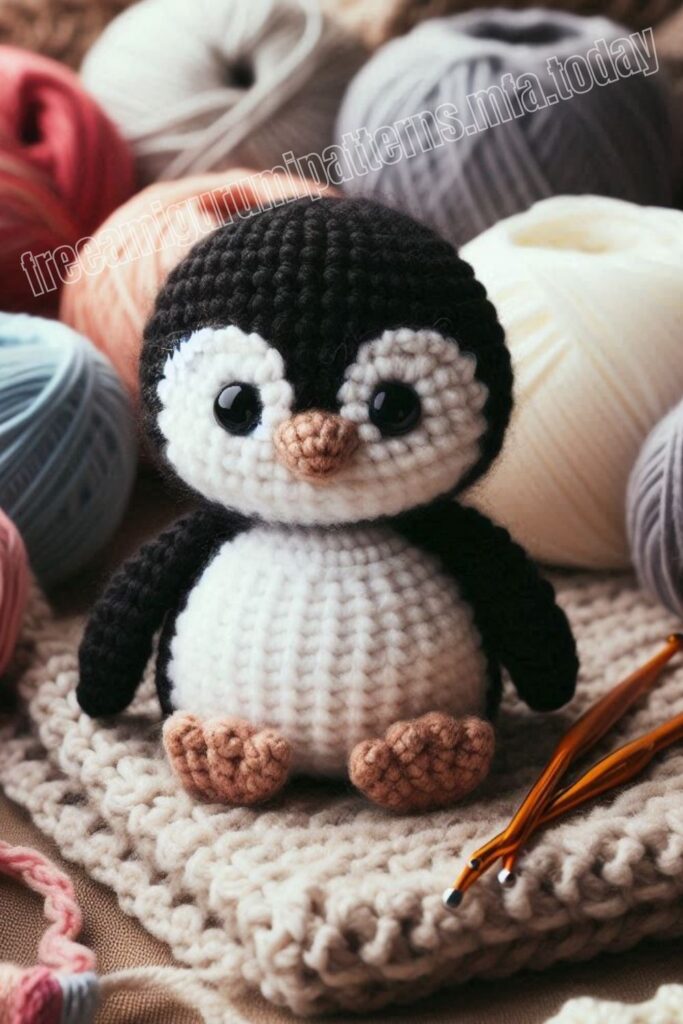
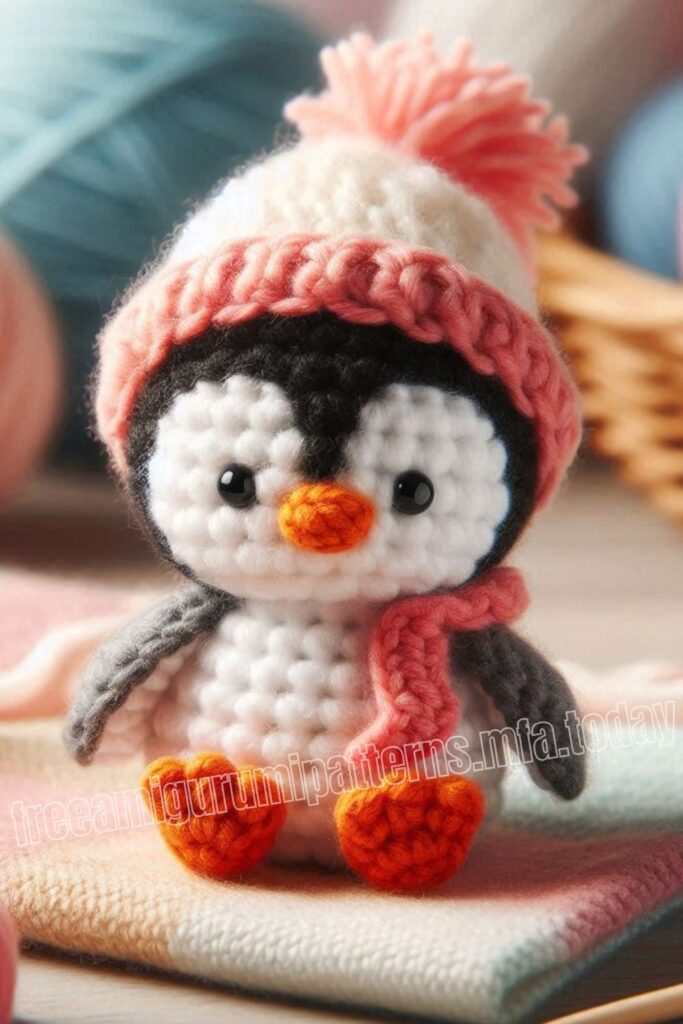
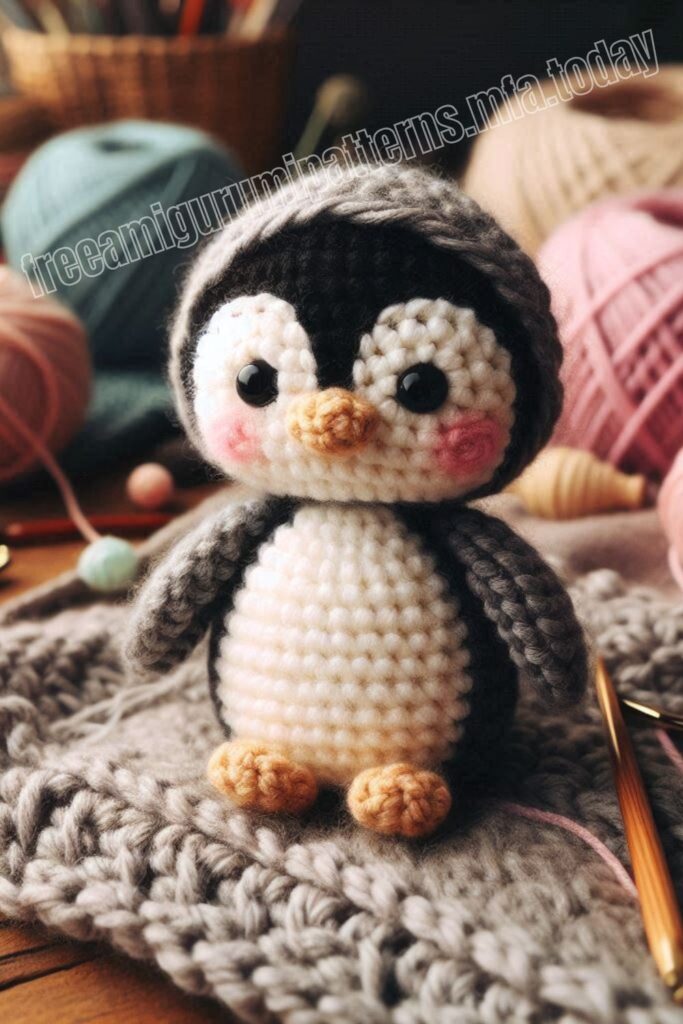
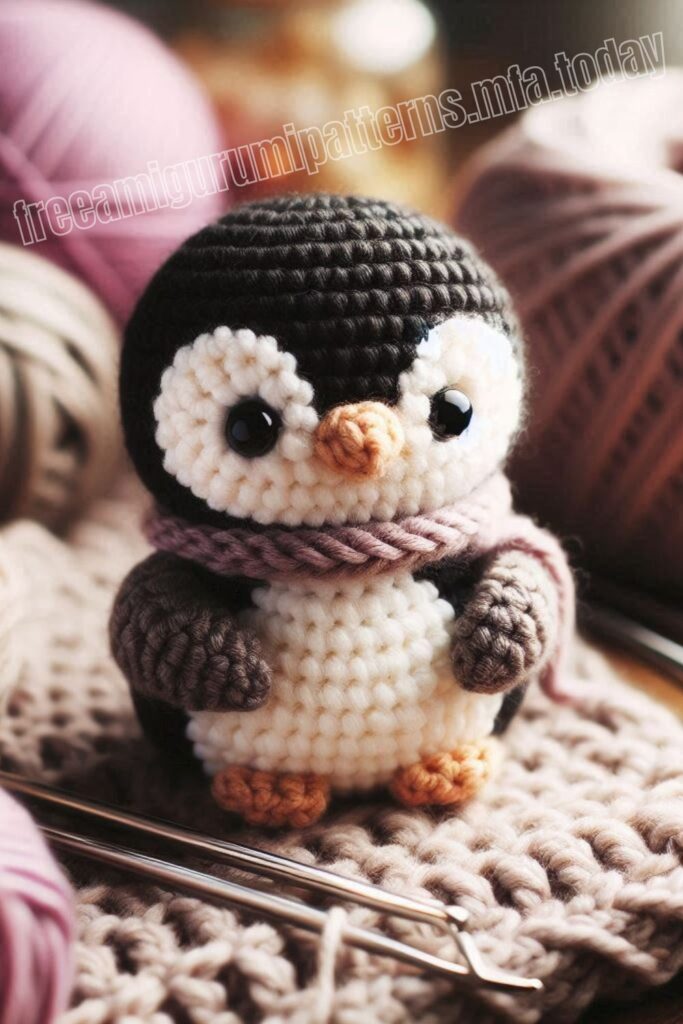
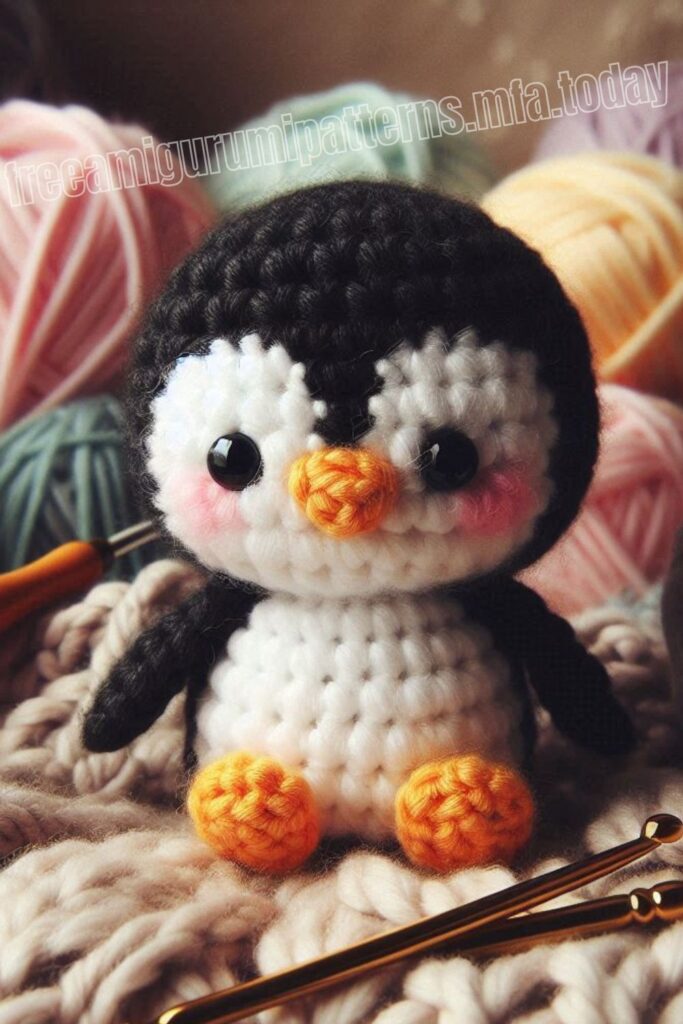
Todays daily new amigurumi free crochet pattern is Amigurumi Little Penguin Fluffy Snow.
I want to give you some informations about this amigurumi free pattern ; Little Penguin Fluffy Snow.
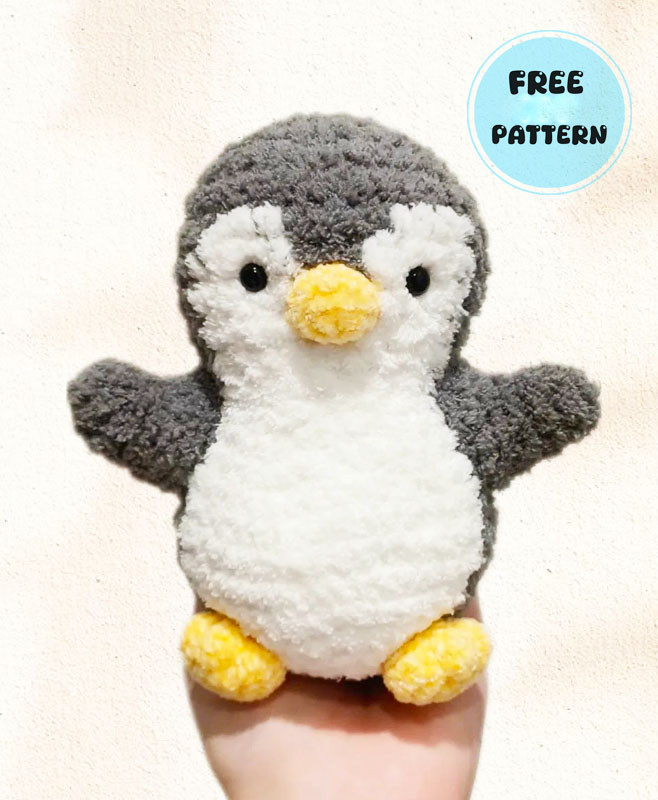
MATERIALS:
Yarn (I used fluffy yarn & 2mm chenille & acrylic yarn)
• Dark grey fluffy yarn- Main color of body
• White fluffy yarn- 2nd main color of body
• Yellow/ orange 2mm chenille Beak & feet 2.5 & 4 mm crochet hook
7mm safety eyes (or embroider eyes)
Stitch marker, Scissors, Stuffing
Needle for sewing
ABBREVIATIONS:
MC = Magic circle
R = Round/ Row
CH = Chain
St = Stitch
dec = Decrease
FO = Fasten off
SC = Single crochet
INC = Increase
Amigurumi Little Penguin Fluffy Snow Free Pattern:
FEET (MAKE 2):
Using yellow/ orange 2mm chenille yarn and 2.5mm crochet hook
R1: 3sc in MC (3)
R2: 4sc in each st (12)
R3: 2sc, (4sc in the same st, 3sc) x2, 4 sc in the same st, sc (21)
R4-5: (2 rounds): sc around (21)
R6: (sc, dec) x 7 (14)
Stuff slightly
R7: 7 dec (7)
R8: sc around (7)
F.O, Leave a long tail for sewing
Cut a long piece of yellow/ orange 2mm chenille yarn, insert needle from the bottom of the feet and into the first marked line, pull the yarn tight and create a dent. Repeat this step 3 more times for the next 3 marks.

BEAK:
Using yellow/ orange 2mm chenille yarn and 2.5mm crochet hook
Chain 3
R1: Start from 2nd chain from hook, sc, 3sc in the same stitch, work on other side of chain, sc, 3sc in the same stitch (8)
R2: (sc, inc) x 4 (12)
R3-4 (2 rounds): sc around (12)
F.O, leave a long tail for sewing.

FLIPPERS/ HANDS (MAKE 2):
Using dark grey yarn and 4mm crochet hook
R1: 4sc in MC (4)
R2: (sc, inc) * 2 (6)
R3: sc around (6)
R4: 2sc, 2inc, 2sc (8)
R5: 2sc, 4inc, 2sc (12)
R6: 5sc, 2 inc, 5sc (14)
Stuff slightly, F.O, leave a long tail for sewing
MAIN BODY
Using dark grey and white fluffy yarn and 4 mm crochet hook
• Due to the amount of color changes, whenever you see the letters bold & underlined like this, that means you’re crocheting in white.
R1: 6sc in MC (6)
R2: 6 inc (12)
R3: (sc, inc) x 6 (18)
R4: (2sc, inc) x 6 (24)
R5: (3sc, inc) x 6 (30)
R6: sc around (30)
R7: 10sc, 3sc, 4sc, 3sc, 10sc (30)
R8-9 (2 rounds): 9sc, 5sc, 2sc, 5sc, 9sc (30)
Insert safety eyes between R8-9, 5 sts apart
R10: 4sc, dec, 3sc, sc, dec, 4sc, dec, 3sc, sc, dec, 4sc, dec (25)
R11: 3sc, dec, 3sc, dec, 3sc, dec, 3sc, dec, 3sc, dec (20)
R12: 7sc, 8sc, 5sc (20)
Start stuffing
R13: 4sc, inc, 2sc, 2sc, inc, 4sc, inc, 4sc, inc (24)
R14: 5sc, inc, 2sc, 3sc, inc, 5sc, inc, 5sc, inc (28)
R15: 6sc, inc, 2sc, 4sc, inc, 6sc, inc, 6sc, inc (32)
R16: 7sc, inc, 2sc, 5sc, inc, 7sc, inc, 7sc, inc (36)
R17: 8sc, inc, 2sc, 6sc, inc, 8sc, inc, 8sc, inc (40)
R18-19 (2 rounds): 12sc, 18sc, 10sc (40)
R20: 13sc, 16sc, 11sc (40)
Continue stuffing
R21: (2sc, dec) x 3, 2sc, dec, (2sc, dec) x 3, (2sc, dec) x 3 (30)
R22: (3sc, dec) x 2, 2sc, sc, dec, 3sc, dec, (3sc, dec) x 2 (24)
R23: (sc, dec) x 3, sc, dec, sc, dec, sc, dec, (sc, dec) x 2 (16)
R24: (2sc, dec) x 4 (12)
R25: 6dec (6)
Finish stuffing, F.O, pull close and weave in all ends.

DETAILS:
1. Cut a long strand of white yarn, go through and around the edges of the white area to make it look neater.
2. Sew the beak onto the head, the top of the beak should be the same height as the bottom of the eyes. The width should be 1 st away from each eye.
3. Sew on the hands/ flippers to the body. (At the edge of white, the top should reach R10, and the bottom at R16)
4. Sew the feet to the bottom of the body. (At R23, 4 sts apart)

The toy is ready!
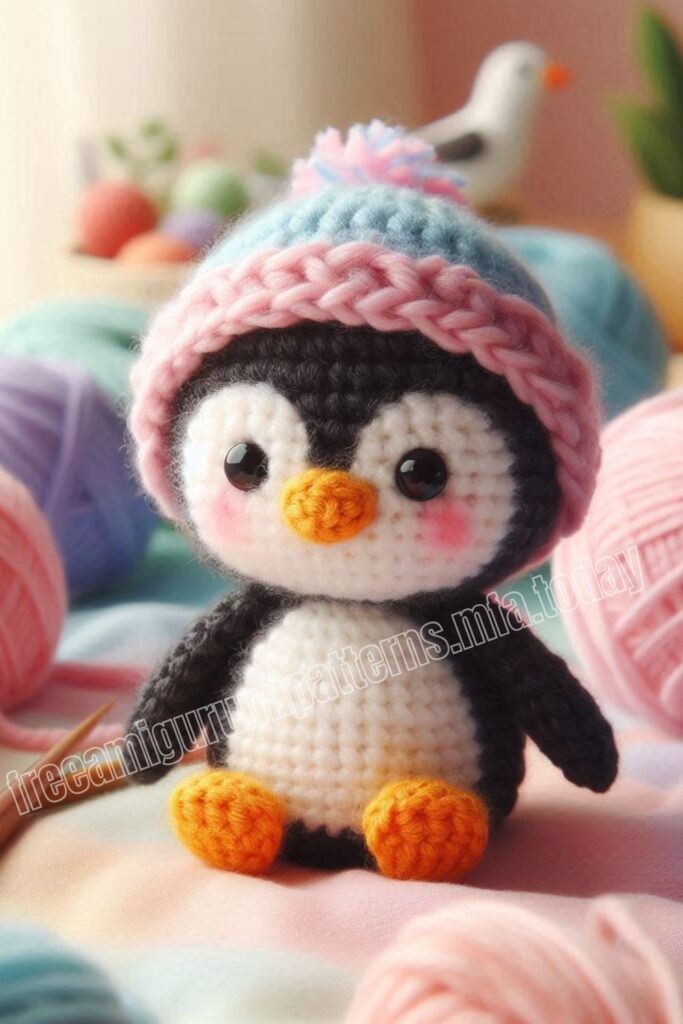
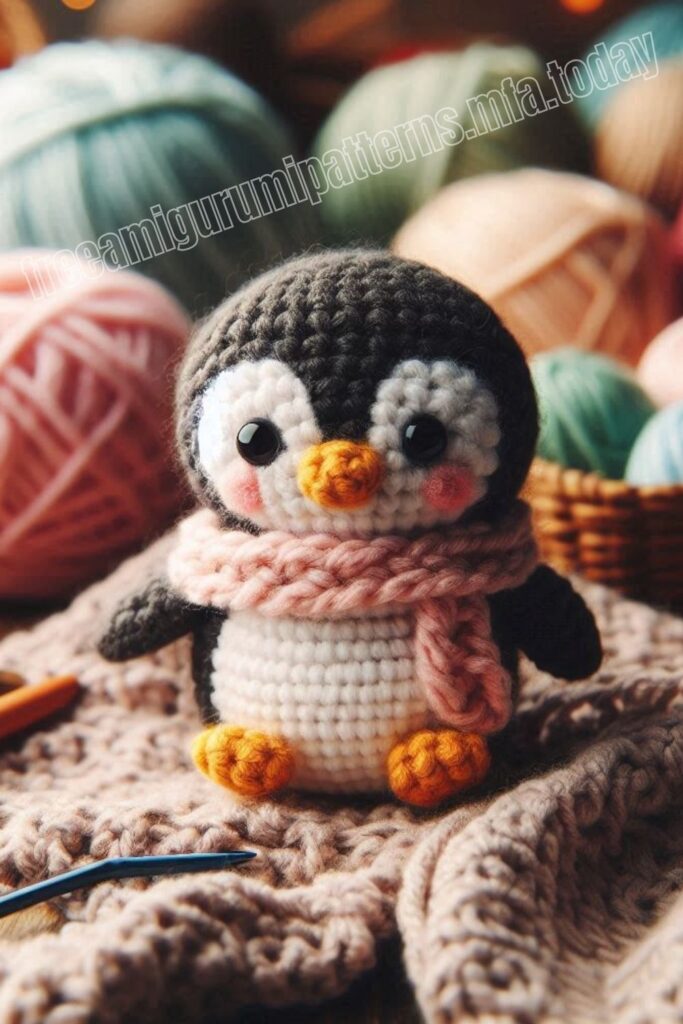
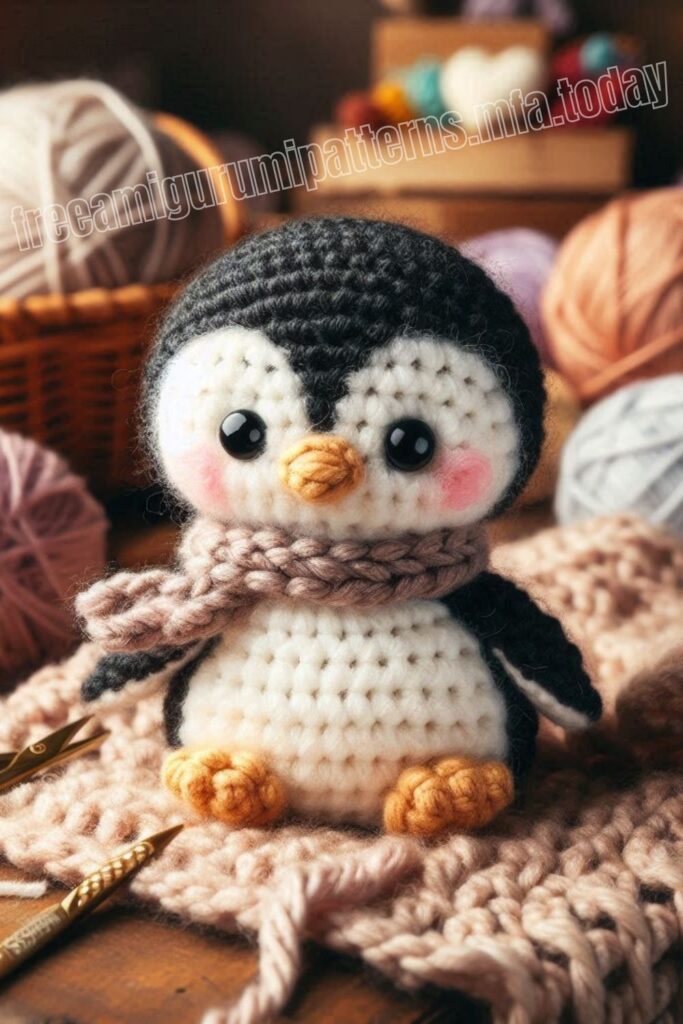
More Amigurumi Penguin Ideas:
