Hello dear Amigurumi Followers
Today we share Amigurumi Orange Pumpkin Free Pattern for you. As you know we share new free amigurumi pattern every day. The main crochets are gazelle, amigurumi bear, pola, crochet panda, penguin, giraffe, llama, pig, bunny, clown, lamb, bee, crochet unicorn, amigurumi doll, fox, penguin, dinosaur, crochet elephant, hippo, monkey, crochet cat, crochet dog and more …
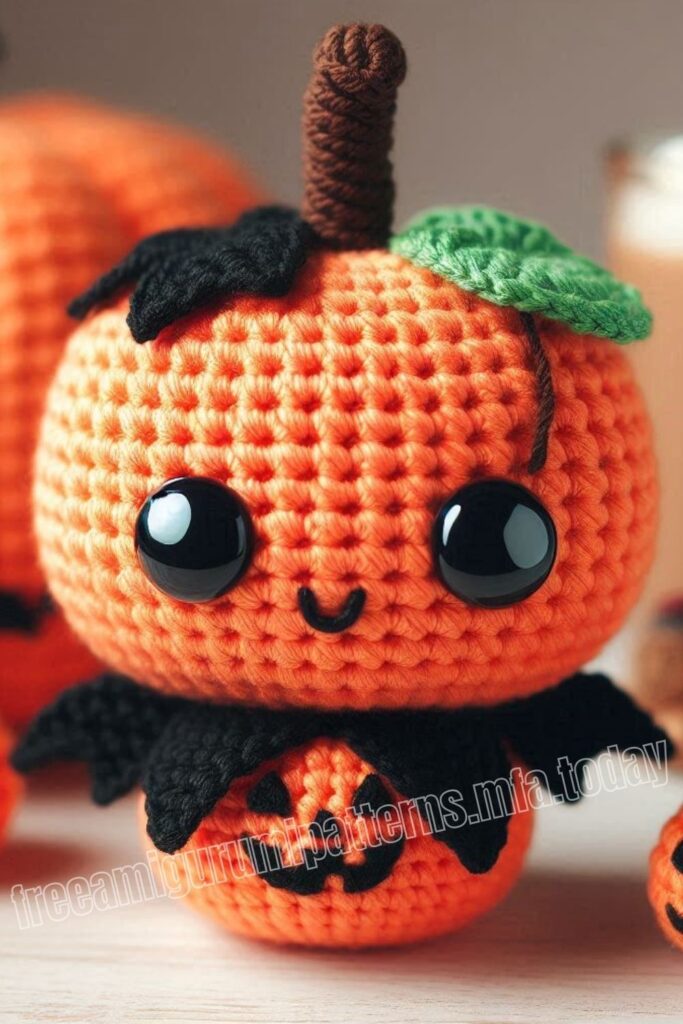
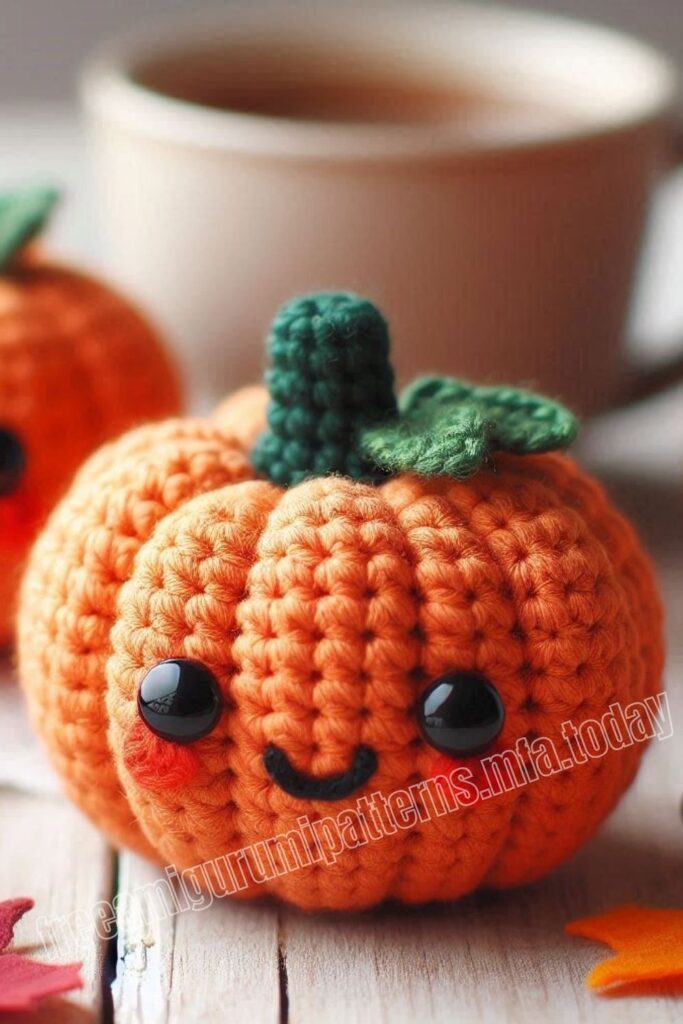
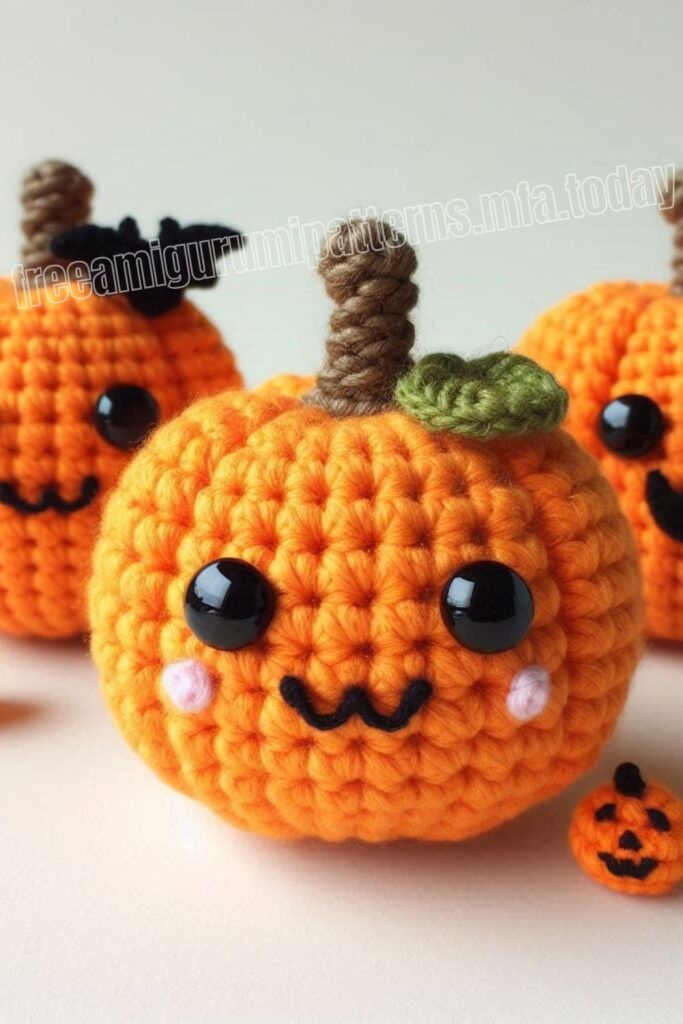
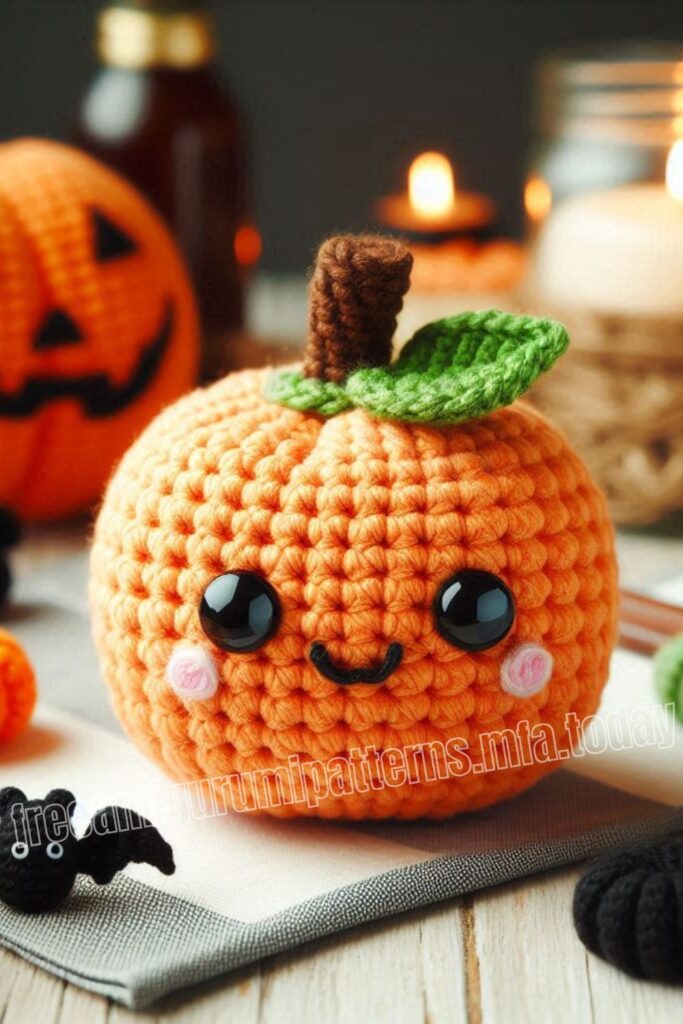
Todays daily new amigurumi free crochet pattern is Amigurumi Orange Pumpkin.
I want to give you some informations about this amigurumi free pattern ; Orange Pumpkin.
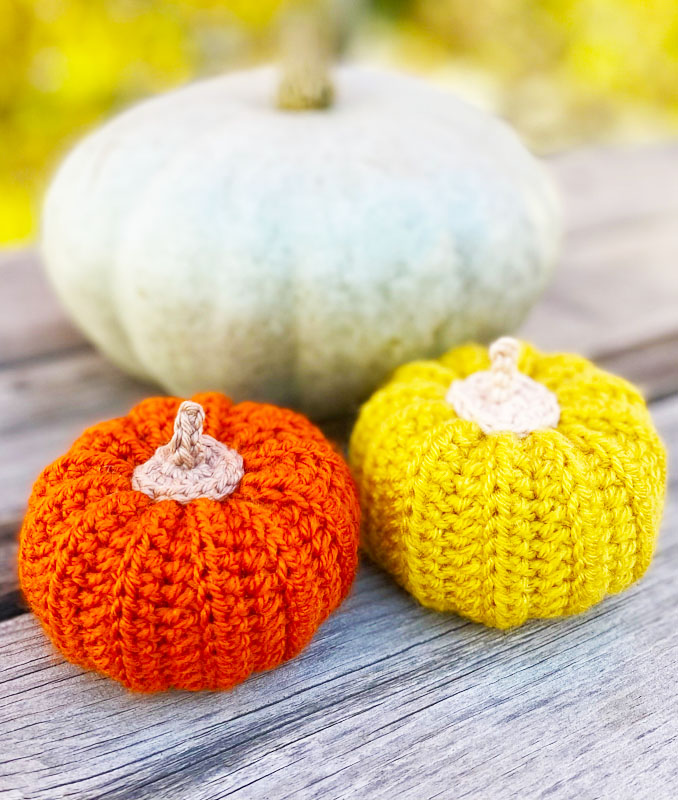
Materials:
worsted weight yarn (4), 2 colours
3.75 mm crochet hook
poly-fil stuffing
tapestry needle
scissors
Abbreviations:
CH – chain
ST – stitch
SL ST – slip stitch
SC – single crochet
HDC – half double crochet
SCBLO – single crochet back loop only
HDCBLO – half double crochet back loop only
Size:
ca. 4″x 2″
Amigurumi Orange Pumpkin Free Pattern:
Pumpkin Pattern
CH 21
Row 1: SC in the 2nd CH from the hook, SC in next CH, HDC in each of the next 16 CH, SC in each of the last 2 CH. CH 1, TURN (20)
Row 2-23: SCBLO in each of the first 2 STS, HDCBLO in each of the next 16 STS, SCBLO in each of the last 2 STS. CH 1, TURN (20)
Row 24: SCBLO in each of the first 2 STS, HDCBLO in each of the next 16 STS, SCBLO in each of the last 2 STS. Continue with seaming! (Page 3)

Stem:
In a magic ring, SC 8. Join with SL ST, CH 1 (8)
Round 1: 2 SC in each ST. Join with SL ST. (16)
Do not finish off. CH 8, SL ST in the 2nd CH from the hook and in the next 3 CH. Finish off, cut yarn leaving a long tail.
Pull the stem through the center of the circle. (See pictures on page 4.)
Seaming:
Fold your rectangle to line up the two shorter edges and SL ST them together. Fasten off leaving a long tail.
Turn your piece right side out, so the slip stitched seam is on the inside.

Using the tapestry needle, seam the open part by weaving your needle in and out along the SC stitches.
Gather tightly, fasten off, cut yarn.
Stuff the pumpkin (do not overstuff).

Gather the top with the thread the same way as the bottom.

Pull the yarn tight. With the needle go back and forth from top to bottom a few times, so you get the desired pumpkin shape. Weave on the stem and enjoy your cute little pumpkin!
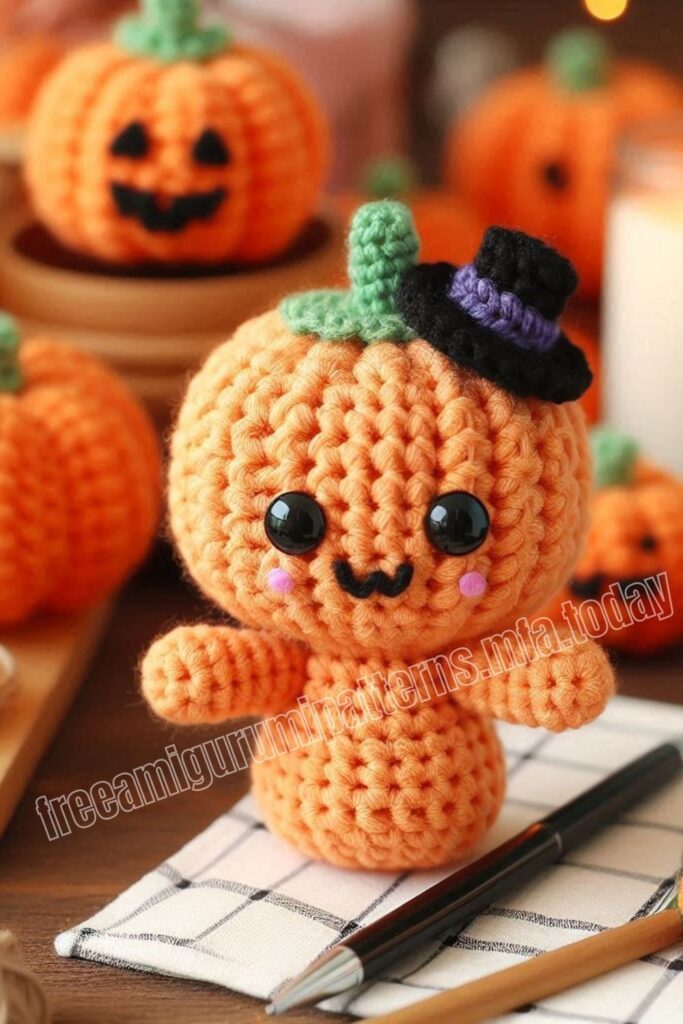
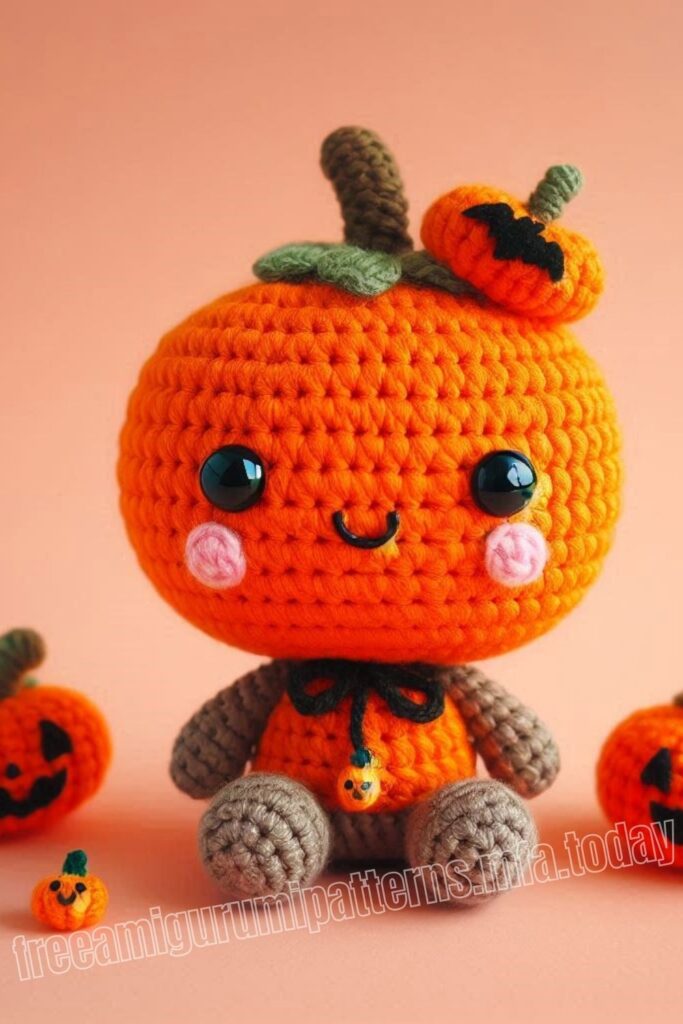
More Amigurumi Pumpkin Ideas:
