Hello dear Amigurumi Followers
Today we share Amigurumi Pumpkin Boy Free Pattern for you. As you know we share new free amigurumi pattern every day. The main crochets are gazelle, amigurumi bear, pola, crochet panda, penguin, giraffe, llama, pig, bunny, clown, lamb, bee, crochet unicorn, amigurumi doll, fox, penguin, dinosaur, crochet elephant, hippo, monkey, crochet cat, crochet dog and more …
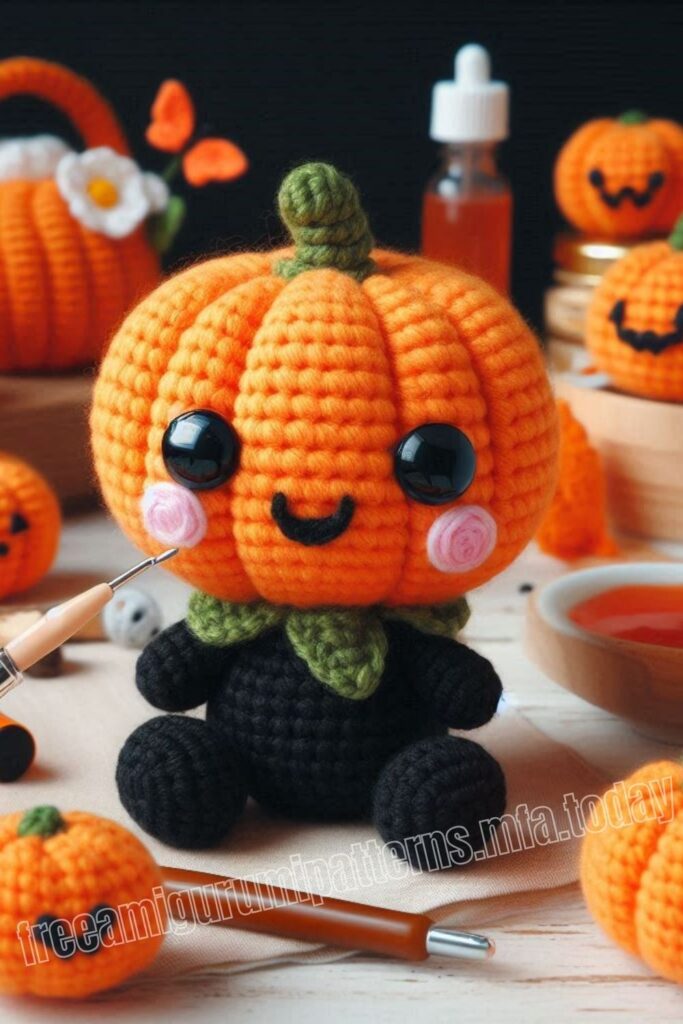
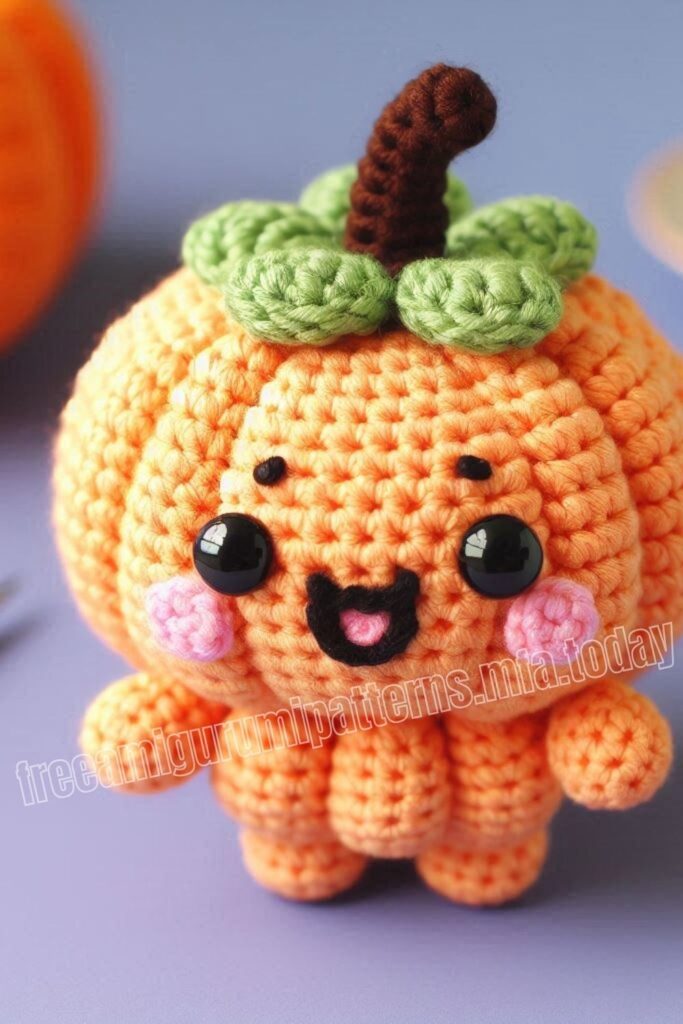
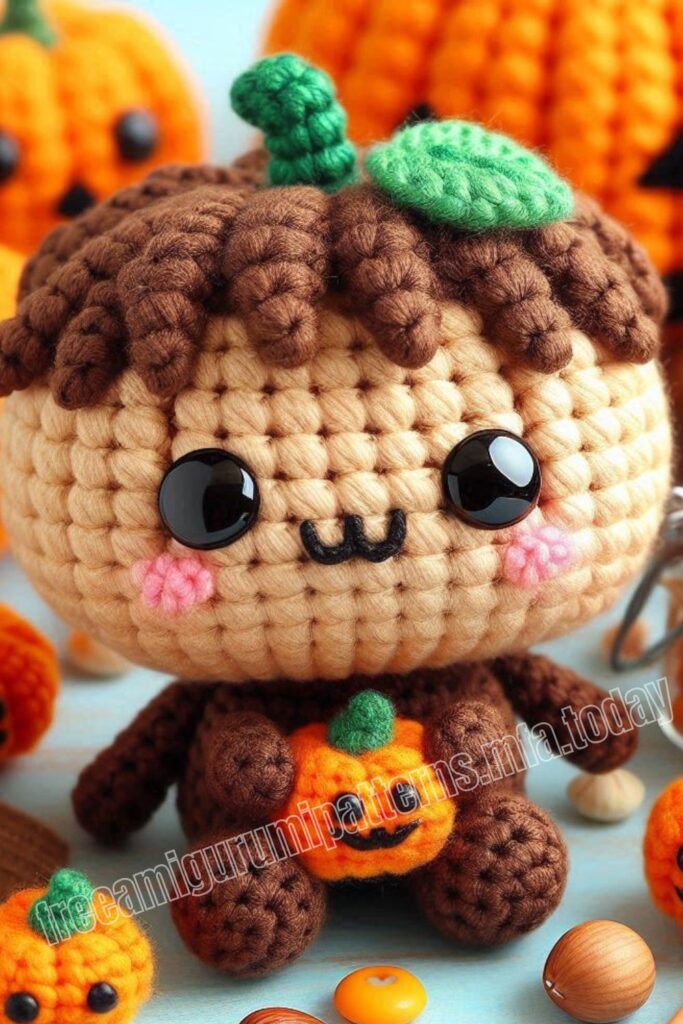
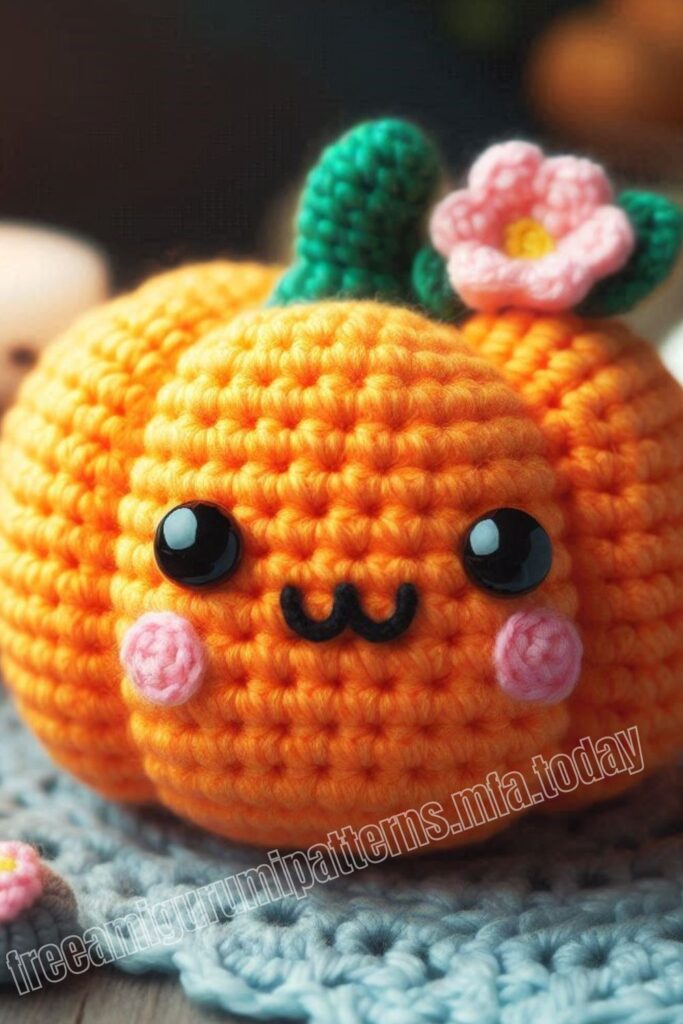
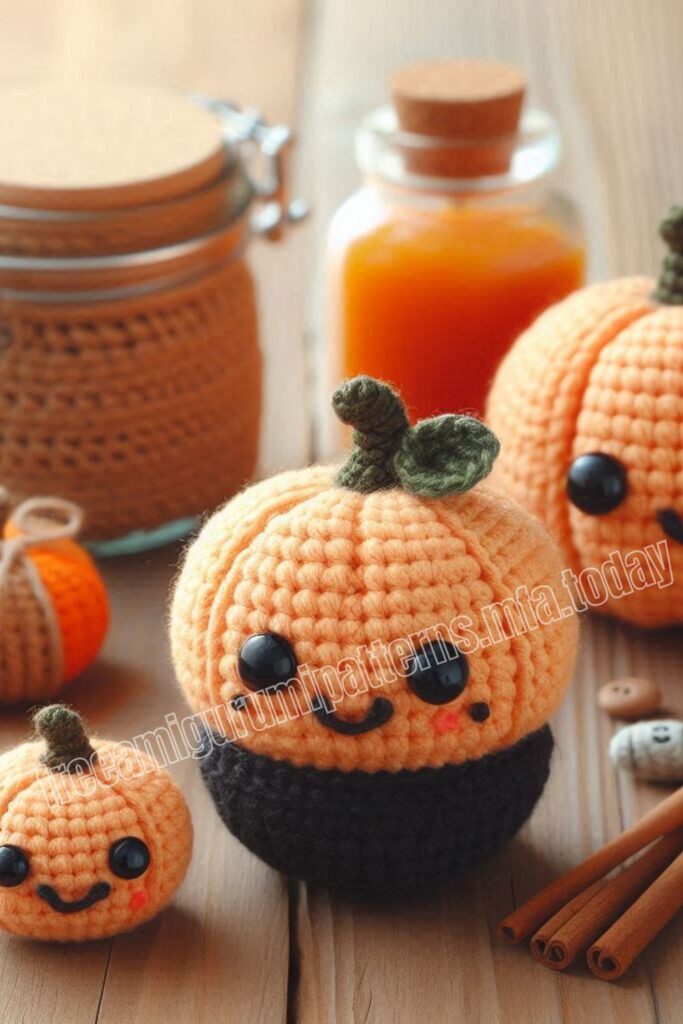
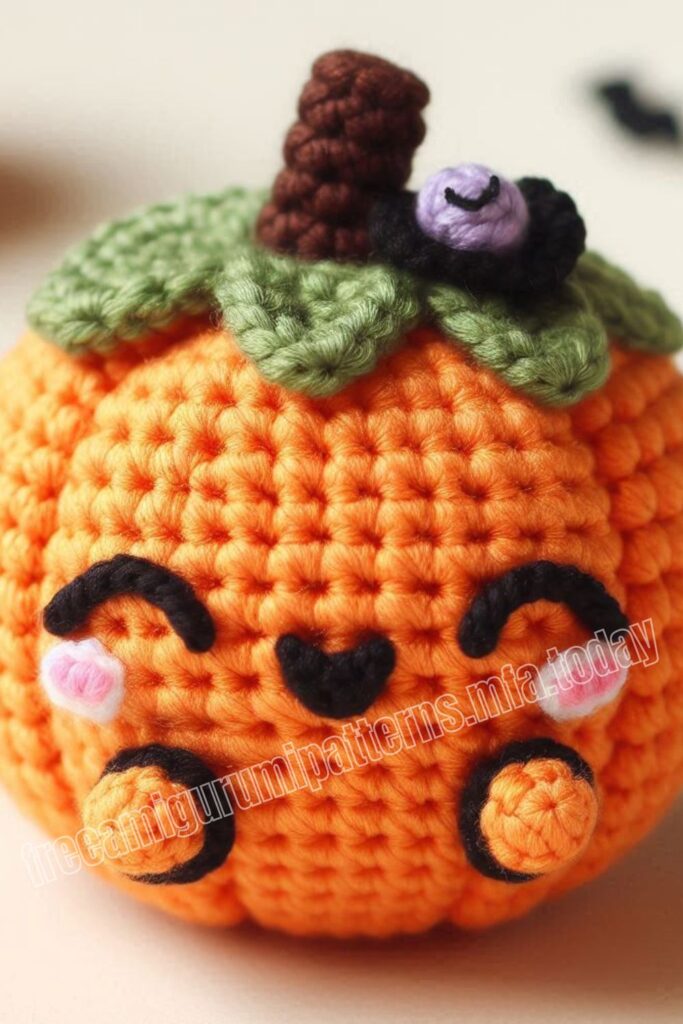
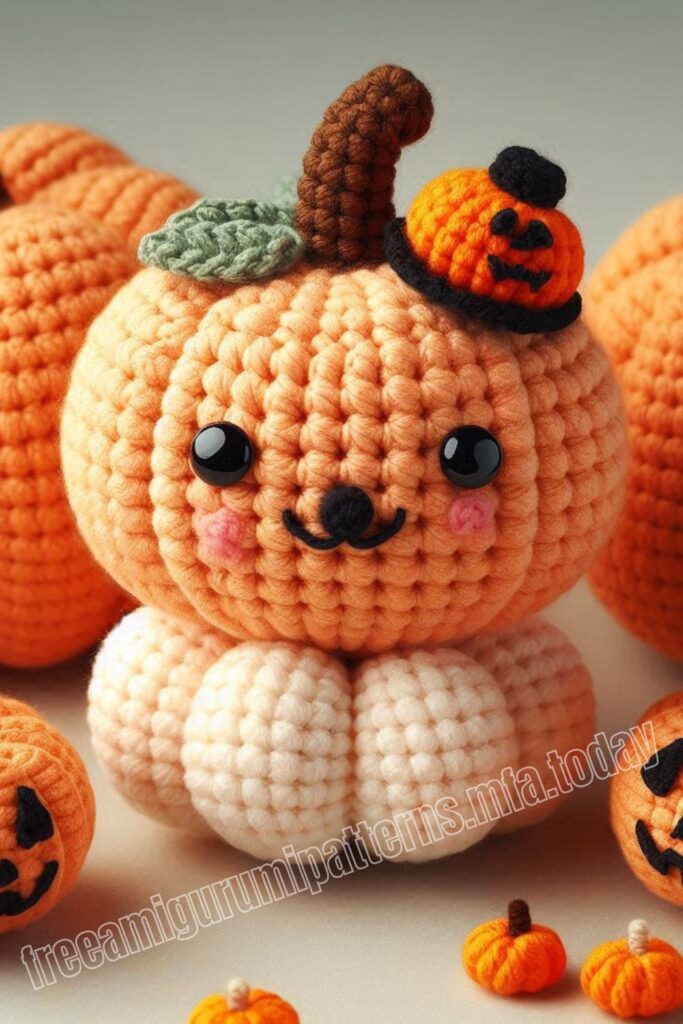
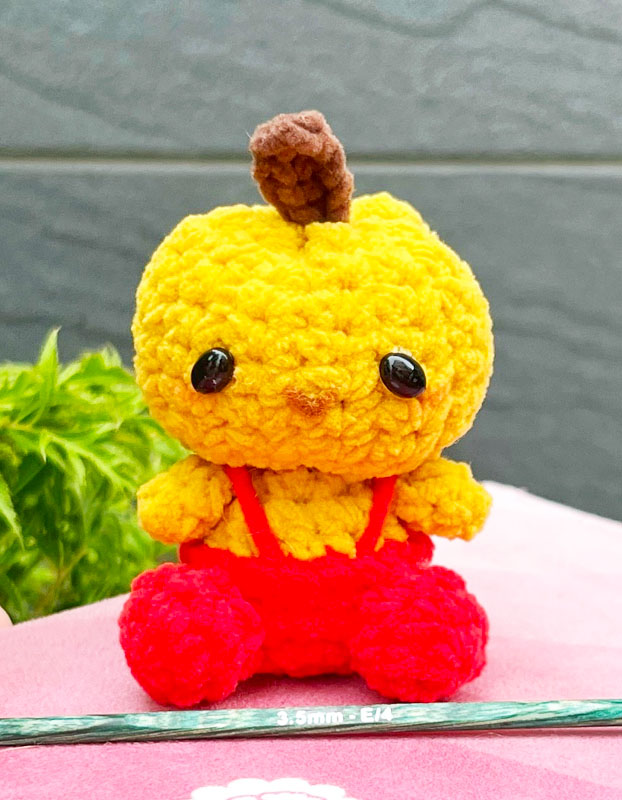
Todays daily new amigurumi free crochet pattern is Amigurumi Pumpkin Boy.
I want to give you some informations about this amigurumi free pattern ; Pumpkin Boy.
Materials
Yarn yellow, red and brown
• Crochet hook (I used 3.5mm hook)
• Amigurumi eyes (I used 7x5mm oval bead)
• Felt pieces – dark brown (for the mouth)
• Stuffing
Abbreviations
R – round
MR – magic ring
sc – single crochet
st – stitch
BLO – back loop only
inc – increase
dec – decrease
slst – slip stitch
FO – fasten off
FLO – front loop only
FL – front loop
Amigurumi Pumpkin Boy Free Pattern:
Head
In Yellow
R1 ch11, start from the 2nd ch from hook, do 10sc and ch1 {10}
R2-24: 10sc, ch1 and turn (23 rows) {10}
FO and leave a long tail for sewing.

Align the first and the last rows, use the long tail we left to sew two ends together FLO (see Fig.1-3).

Using the same color of yarn, inserting your hook from the out side to the inside of the edge and pull the yarn tightly, repeat until you finish the hole round. (see Fig.4 & 5) Sew the hole closed, FO and cut the yarn. (Fig.6 & 7)

Start stuffing and repeat the steps in the previous page for the other side of the head. (Fig.8 & 9)

Stem
In brown
The following steps are done in a magic ring.
Chain 5 (Fig.10), start from the 2nd ch from hook, do 1sc, 3hdc and slst into the MR (Fig.11), FO and leave a long tail for sewing (Fig.12).

Use the needle to pull both tail on the stem through the head (Fig.13), tie a knot tightly (so you’ll have a more beautiful shape of the head) and weave in ends (Fig.14&15).

Use the needle to pull both tail on the stem through the head (Fig.13), tie a knot tightly (so you’ll have a more beautiful shape of the head) and weave in ends (Fig.14&15).

Finish stuffing, FO and leave a long tail for sewing. (Fig.16) Insert your hook in any stitch of the FL of R6, do 18slst around R6 FLO, FO and weave in ends.

Hands (make 2)
In Yellow
R1: 4sc in MR {4}
R2-3: 4sc (2 rounds) {4}
Do not stuff, FO and leave a long tail for sewing.
Legs (make 2)
In Red
R1: 6sc in MR {6}
R2: (2sc, inc) x 2 {8}
R3: 8sc {8}
Start stuffing.
R4: (sc, dec) x 2, dec {5}
FO and leave a long tail for sewing.

Assembly
• Sew the body onto the bottom of the head in the middle.
• Sew the legs between R4-6 of the body about 3-4 visible stitches apart.
• Sew the hands right under the head on both sides of the body.
• Add the eyes and mouth in the middle of the face as shown in the pictures.
CONGRATULATIONS!
More Amigurumi Pumpkin Ideas:
