Hello dear Amigurumi Followers
Today we share Amigurumi Rainbow Bear Free Pattern for you. As you know we share new free amigurumi pattern every day. The main crochets are gazelle, amigurumi bear, pola, crochet panda, penguin, giraffe, llama, pig, bunny, clown, lamb, bee, crochet unicorn, amigurumi doll, fox, penguin, dinosaur, crochet elephant, hippo, monkey, crochet cat, crochet dog and more …
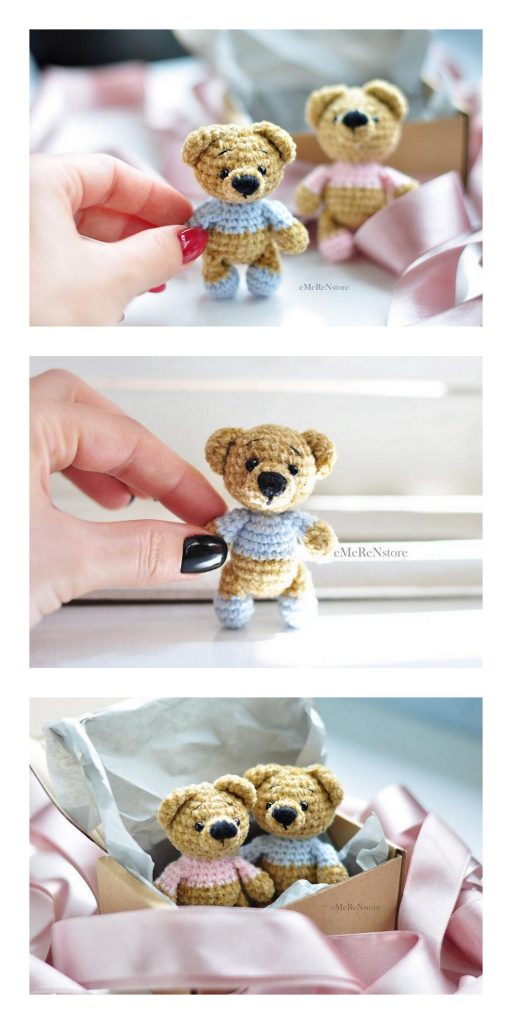
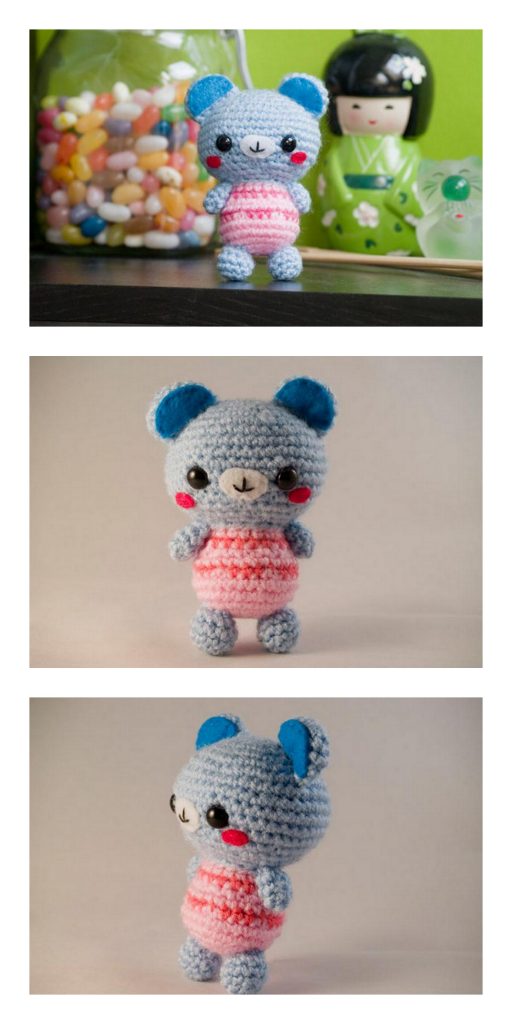
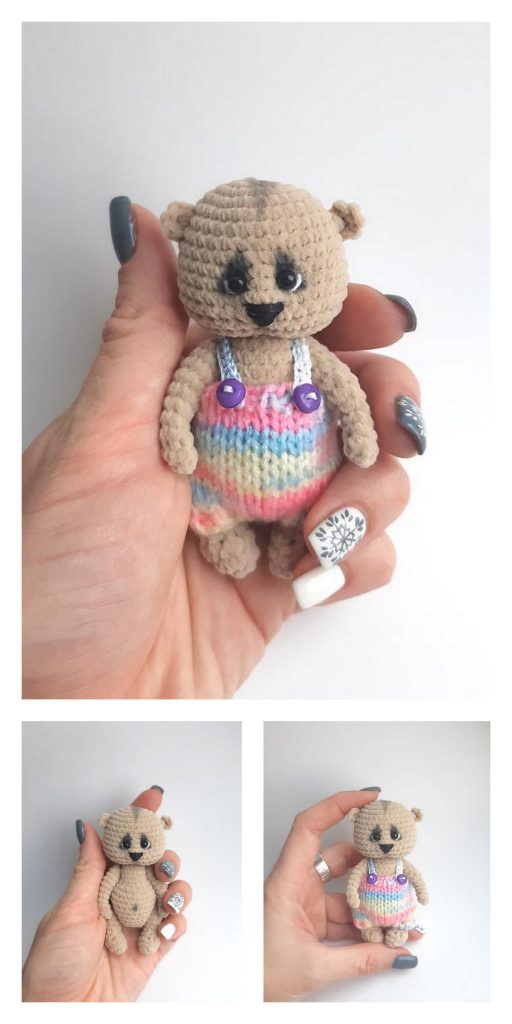
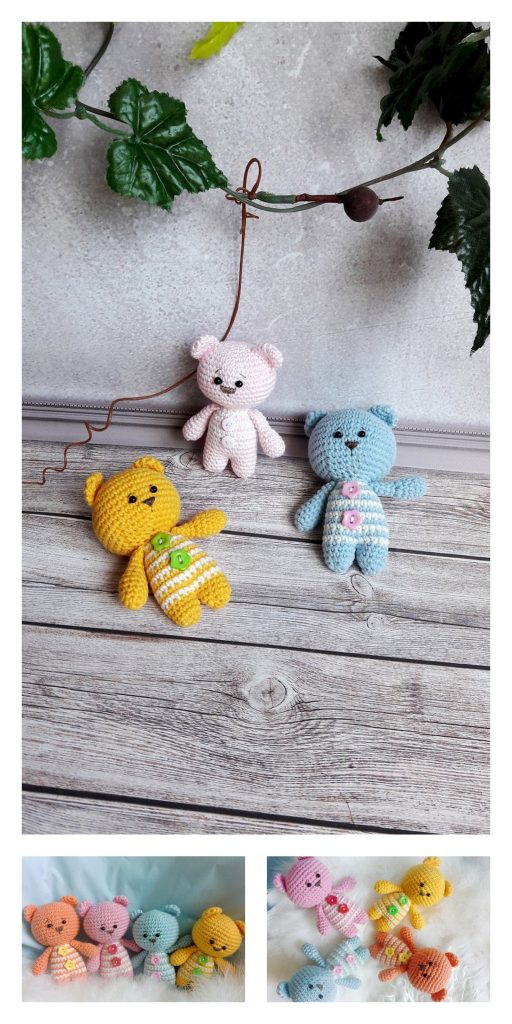
Todays daily new amigurumi free crochet pattern is Amigurumi Rainbow Bear.
I want to give you some informations about this amigurumi free pattern ; Rainbow Bear.

To crochet this bear toy you need:
DK (3 or light) weight yarn of different colours (I’ve used Scheepjes CATONA brand yarn)
(100g – 260m / 3,53Oz – 274 yds)
2 mm crochet hook
6 mm safety eyes
Black yarn for embroidering
Fiberfill for stuffing
Sewing needle and scissors
Safety pins (to make assembling easier)
Stitch marker (to mark the first stitch on the round)
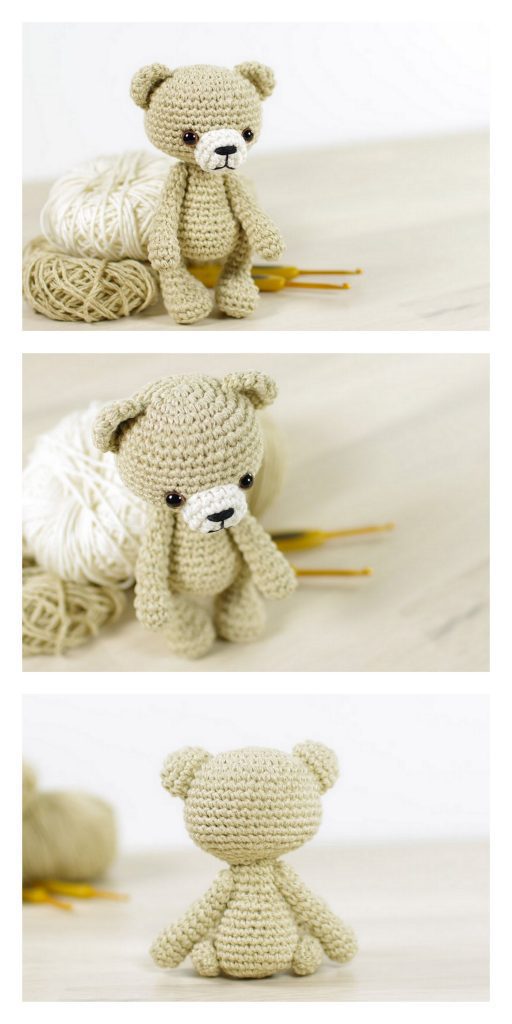
The height of finished toy is about 9 cm. Size might vary if you use a different weight yarn or hook size.
Abbreviations:
st = stitch
sc = single crochet
ch = chain
inc = increase (2 single crochets in one stitch)
dec = invisible decrease (2 stitches together working in front loops only)
sl = slip stitch
hdc = half double crochet
dc = double crochet
BLO = back loops only
(..) = repeat between () number of times indicated
[..] = total number of stitches in the round or row
Crochet in continuous rounds. Do not join, slip stitch or turn unless otherwise stated in the patiern.
Amigurumi Rainbow Bear Free Pattern
Changing the yarn colour:
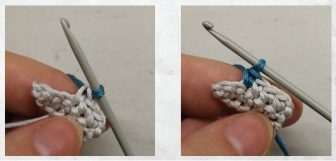
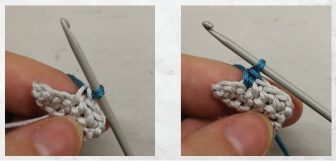
While doing a single crochet:
Start the single crochet stitch as normal (yarn over and pull through), leaving two loops on your hook. Wrap the new colour yarn around the hook and pull the new colour through the two loops on your hook, completing the single crochet stitch and colour change. Continue as normal in the new colour. Please refer to pictures below.
If you need to make a stitch in new colour, do these steps on the previous stitch.
Arms (make 2):
Work in rounds. Use body colour.
1. sc 6 in magic ring [6]
2. (inc) repeat 6 times [12]
3 – 5. sc 12 [12]
6. (sc 4, dec) repeat 2 times [10]
7. (sc 3, dec) repeat 2 times and change to colour 7 [8]
8. sl 8 in BLO [8]
9. sc 8 in BLO [8] Stuff the arm lightly.
10. Flatien the arm and crochet through both sides: sc 4 [4]
Fasten off.

Head:
Work in rounds. Use body colour yarn.
1. sc 6 in magic ring [6]
2. (inc) repeat 6 times [12]
3. (sc 1, inc) repeat 6 times [18]
4. (sc 1, inc, sc 1) repeat 6 times [24]
5. (sc 3, inc) repeat 6 times [30]
6. (sc 2, inc, sc 2) repeat 6 times [36]
7 – 11. sc 36 [36]
12. (sc 2, dec , sc 2) repeat 6 times [30]
13. (sc 3, dec) repeat 6 times [24]
14. (sc 4, dec) repeat 4 times [20]
Fasten off and leave a long thread for sewing. Insert 6 mm safety eyes between rounds 10 and 11 (5 stitches in between the eyes) and stuff the head firmly.

Muzzle:
Work in rows. Start with the foundation chain and use muzzle colour yarn. 1. ch 6 [6]
2. Start in second ch from the hook:
hdc 2, dc 1, hdc 2 [5]
Connect with sl and fasten off. Leave a long thread for sewing .

Ears (make 2):
Work inside magic ring. Use brown yarn.
Start a magic ring. ch 3, make 5 dc into the magic ring and close the ring tightly.
Fasten off and leave a long thread for sewing.

Legs (make 2):
Work in rounds. Use body colour yarn.
1. sc 6 in magic ring [6]
2. (inc) repeat 6 times [12]
3. (sc 1, inc) repeat 6 times [18]
4 – 7. sc 18 [18]
Fasten off first leg and set aside. DO NOT fasten off second leg and start crocheting BODY part from there.

Body:
Start from the second (unfastened) leg.
1. Connect the legs: Insert the hook in 1st st of round 7 of leg 1 (the one you’ve fastened off) and sc 18 around it, then insert the hook in second leg again and sc 18 [36]
2. (sc 5, inc) repeat 6 times [42]
3. sc 42 and change to colour 1 [42]
4. sl 42 in BLO [42]
5. sc 42 in BLO and change to colour 2 [42]
6. (sc 1, change to colour 1, sc 1, change to colour 2) repeat 21 times [42]
7. sc 42 and change to colour 3 [42]
8. (sc 5, dec) repeat 6 times and change to colour 4 [36]
9. (sc 1, change to colour 3, sc 1, change to colour 4) repeat 18 times [36]
10. sc 36 and change to colour 5 [36]
11. (sc 4, dec) repeat 6 times and change to colour 6 [30]
12. (sc 1, change to colour 5, sc 1, change to colour 6) repeat 15 times [30] 13. (sc 3, dec) repeat 6 times and change to colour 7 [24]
14. sc 2, dec, sc 2, place the arm on top of your work and make 4 sc through both parts, (sc 1, dec) repeat 3 times, place another arm on top of your work and make 4 sc through both parts, sc 1 [20] Additionally sc 2 and change to body colour
15. sl 20 in BLO [20] 16. sc 20 in BLO [20]
Fasten off and stuff firmly.

Assembly:
1. Sew the head to the body. Add extra stuffing to the neck before closing up. 2. Place the muzzle on the head. Upper edge of the muzzle should appear between rounds 10 and 11. Sew around using remaining thread.
3. Atiach ears to the top of the head. They should start at round 3.
4. Embroider nose using black yarn. If making a bear with closed eyes embroider those too using the same black yarn.


More Amigurumi Bear Ideas:
