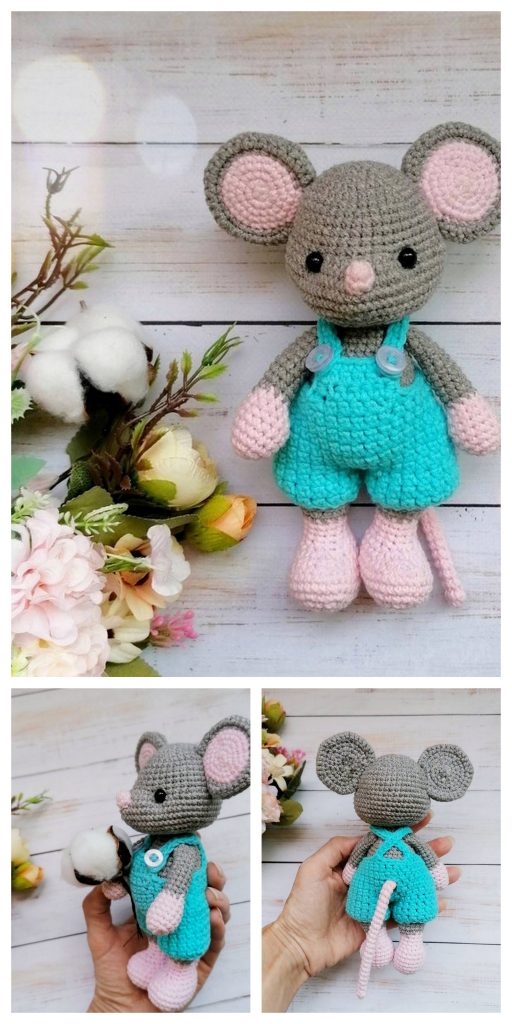
Hello dear Amigurumi Followers
Today we share Amigurumi Sweet Baby Mouse Free Pattern for you. As you know we share new free amigurumi pattern every day. The main crochets are gazelle, amigurumi bear, pola, crochet panda, penguin, giraffe, llama, pig, bunny, clown, lamb, bee, crochet unicorn, amigurumi doll, fox, penguin, dinosaur, crochet elephant, hippo, monkey, crochet cat, crochet dog and more …
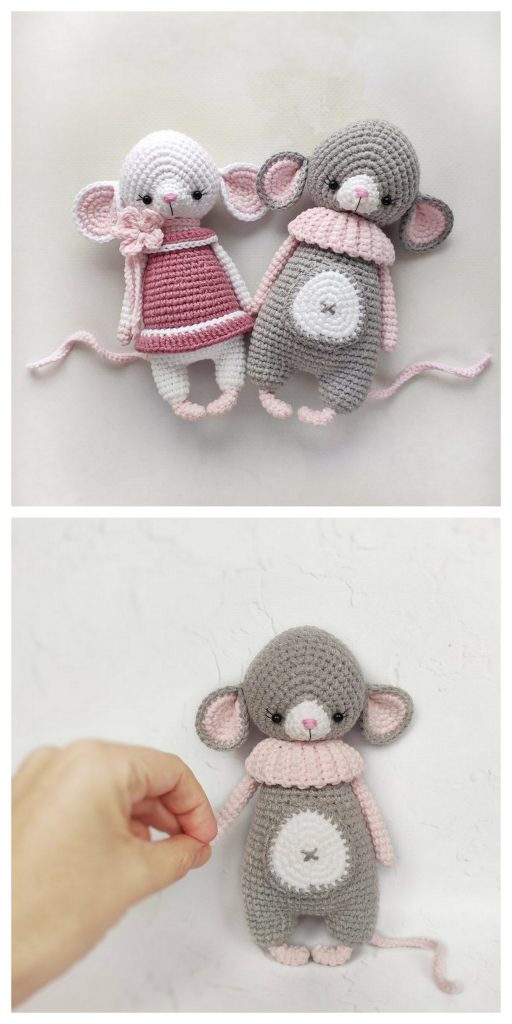
Todays daily new amigurumi free crochet pattern is Amigurumi Sweet Baby Mouse.
I want to give you some informations about this amigurumi free pattern ; Sweet Baby Mouse.
To make an amigurumi mouse, you will need a 1.7 mm hook and Camtex Caramel acrylic yarn in white and pink. You will also need eyes on a secure mount, black thread for embroidering eyebrows and muzzles, holofiber and oil pastels for tinting.
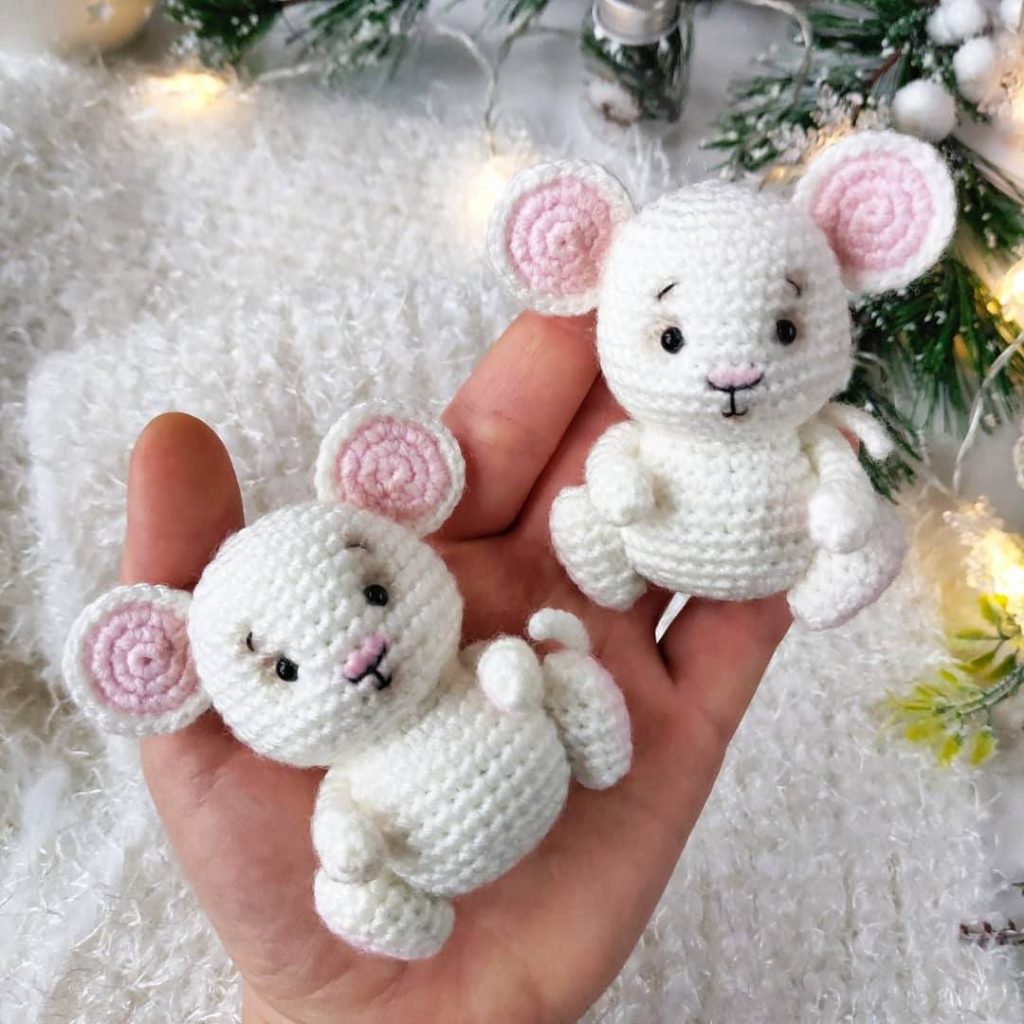
Symbols:
KA – amigurumi ring
RLS – single crochet
PRIB – increase
UB – decrease
SS – connecting column
Amigurumi Sweet Baby Mouse Free Pattern
Head and torso (in one piece)
1. 6 sc in KA
2. 6 inc (12)
3. (1 sc, inc)*6 (18)
4. (2 sc, inc)*6 (24)
5. (3 RLS, PRIB) * 6 (30)
6-7 (2 rows): 30 RLS
8. (4 RLS, PRIB) * 6 (36)
9-10 (2 rows): 36 RLS
11. (5 RLS, PRIB) *6 (42)
12-13 (2 rows): 42 sc
14. (5 sc, dec)*6 (36)
15. (4 sc, dec)*6 (30)
16. (3 sc, dec)* 6 (24)
17. (2 RLS, UB) * 6 (18)
18. (2 RLS, PRIB) * 6 (24)
19. (3 RLS, PRIB) * 6 (30)
20. (4 RLS, PRIB ) * 6 (36)
21-25 (5 rows): 36 RLS
26. (4 RLS, UB) * 6 (30)
27. (3 RLS, UB) * 6 (24)
Start filling with holofiber.
28. (2 RLS, UB) * 6 (18)
29. (1 PRS, UB) * 6 (12)
30. 6 UB (6)
Finish stuffing.
Cut the thread, leaving the tip.
Pull the hole with a needle, fasten, hide the tip.
Legs (2 pcs.)
1. 6 RLS in KA
2. 6 PRB (12)
3-5 (3 rows): 12 RLS
6. (2 RLS, UB) * 3 (9)
7. 9 RLS
Start filling with holofiber.
8. (1 PRS, UB) * 3 (6)
Finish stuffing.
Cut the thread, leaving the tip; pull the hole with a needle, fasten, hide the tip.
Give the legs a slightly flattened shape, they should not be round.
Handles (2 pcs.)
1. 6 RLS in KA
2. (1 RLS, PRIB) * 3 (9)
3. 9 RLS
4. (1 RLS, UB) * 3 (6)
5-9 (5 rows): 6 RLS
Do not stuff!
Cut the thread, leaving the tip.
Pull the hole with a needle, fasten, hide the tip.
Ears (2 pink and 2 white parts)
1. 6 sc in KA
2. 6 inc (12)
3. (1 sc, inc) * 6 (18)
Fasten the SS, hide the tips in the fabric from the wrong side, cut off the excess.
Fold the pink and white parts together inside out to each other so that the knitting ends are aligned.
With a white thread, knit a row (2 RLS, PRIB) * 5 in a circle, capturing together the pink (inner) and white (outer) details, at the end – SS.
! The first column is recommended to be made in the loop following the fixing column on the ear details.
Leave the thread for sewing! Hide the beginning tip.
Sewing on the legs
First, place 2 pins under each other: 1st between the 22nd and 23rd rows, and the second between the 27th and 28th rows. From the top pin, count 8 columns in both directions, set the pins. From the bottom pin – 4 columns on both sides, set the pins. The places marked with the upper pins are the tops of the toes of the legs, the lower ones are the tops of the heels of the legs. Position the legs as shown in the photo, secure with pins. Check symmetry. Sew the legs to the body, alternately grabbing the columns of the canvas, then the legs, then the torso. In this case, you need to firmly press the leg to the body so that sewing occurs along the maximum perimeter of contact between the parts.
Thread fastening of handles
Mark the entry-exit points of the needle for thread fastening with pins. The pins are set between the 3rd and 4th row from the point of transition of the head to the body approximately above the tops of the toes of the legs. Check symmetry.
1. The needle is inserted in the marked place on the left side of the mouse and withdrawn through the right side in the place marked with a pin (see photo (a))
2. The needle with the thread is pulled out so that the tip for tying into a knot remains on the left side.
3. The needle is threaded through the arm under the last row, while 2 columns are stuck (see (b).
4. Then the needle is inserted in the same place of the body on the right side from where the thread comes out (c), and is withdrawn from the left side in the same place where the end of the thread (d) comes out.
5. The left hand is strung on a thread, as well as the right (e). Repeat steps 1-5 again for strength (f).
6. At the end, after pulling the thread through the left hand, you need to pull all the threads by the ends so that the hands fit snugly against the body and it stretches a little (g, h).
7. Tie the ends with several strong knots (i) and bring them through the body into the hole under the knot (the knot will hide deep under the canvas).
Sewing on the ears, peephole, knitting the tail, designing the muzzle, see the carousel.
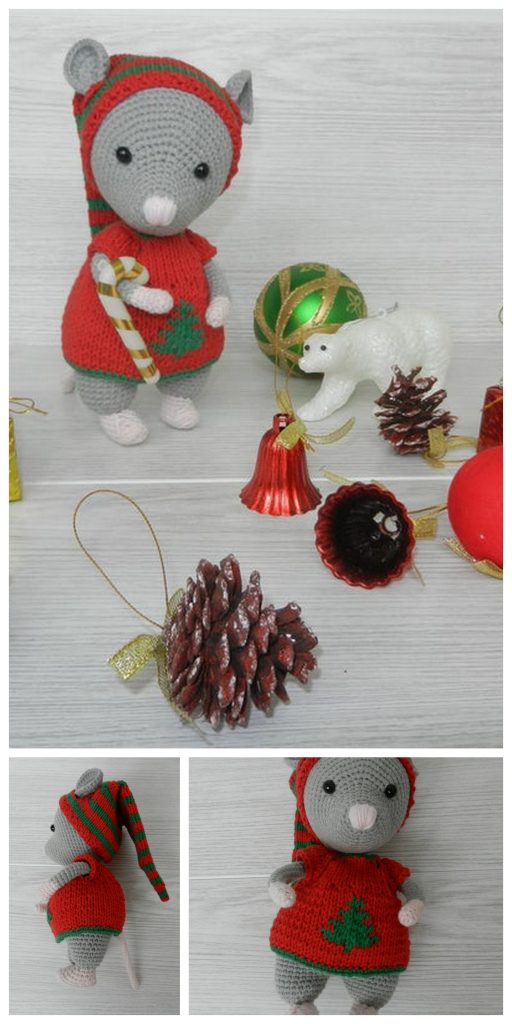
More Amigurumi Mouse Ideas:
