Hello dear Amigurumi Followers
Today we share Amigurumi Party Decoration Ballons Free Pattern for you. As you know we share new free amigurumi pattern every day. The main crochets are gazelle, amigurumi bear, pola, crochet panda, penguin, giraffe, llama, pig, bunny, clown, lamb, bee, crochet unicorn, amigurumi doll, fox, penguin, dinosaur, crochet elephant, hippo, monkey, crochet cat, crochet dog and more …
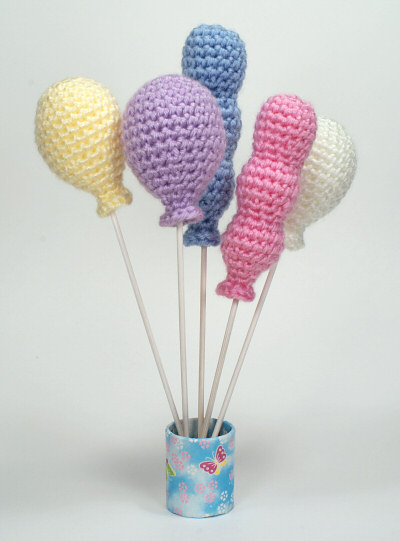
Todays daily new amigurumi free crochet pattern is Amigurumi Party Decoration Ballons.
I want to give you some informations about this amigurumi free pattern ; Party Decoration Ballons.
Terminology
ch – chain
invdec – invisible decrease Note: If you prefer, you may use a standard sc2tog decrease in place of each invdec.
sc – single crochet (double crochet for UK/Aus)
sl st – slip stitch
st – stitch
You will need…
– E US/3.5mm crochet hook
– Small quantity of worsted weight yarn in any colour
– Stitch marker
– Yarn needle to weave in end
– Polyester fibrefill stuffing
– Some sort of stick for the balloon strings, e.g. lollipop sticks, dowels, bamboo skewers
Notes
– Do not join at the end of each round; rounds are worked in continuous spirals.
– Use a stitch marker to mark the beginning of each round. Move the marker up each time you start a new round.
Amigurumi Party Decoration Ballons Free Pattern
Round Balloon
Make a magic ring, ch 1.
Rnd 1: 6 sc in magic ring. (6 st)
Rnd 2: 2 sc in each st around. (12 st)
Rnd 3: (2 sc in next st, sc in next st) six times. (18 st)
Rnd 4: sc in each st around. (18 st)
Rnd 5: (2 sc in next st, sc in next 2 st) six times. (24 st)
Rnds 6-10: sc in each st around. (24 st)
Rnd 11: (invdec, sc in next 2 st) six times. (18 st)
Rnd 12: sc in each st around. (18 st)
Rnd 13: (invdec, sc in next st) six times. (12 st)
Rnd 14: sc in each st around. (12 st). Stuff balloon through hole.
Rnd 15: (invdec) six times. (6 st)
Rnd 16: sc in each st around. (6 st).
Rnd 17: 2 sc in each st around. (12 st)
Join with sl st to next st. Cut the yarn, leaving a long end.
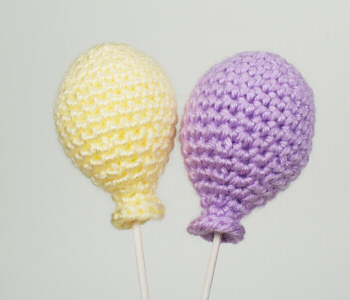
Long Balloon
Make a magic ring, ch 1.
Rnd 1: 6 sc in magic ring. (6 st)
Rnd 2: 2 sc in each st around. (12 st)
Rnd 3: sc in each st around. (12 st)
Rnd 4: (2 sc in next st, sc in next 3 st) three times. (15 st)
Rnds 5-7: sc in each st around. (15 st)
Rnd 8: (invdec, sc in next st) five times. (10 st)
Rnd 9: sc in each st around. (10 st)
Rnd 10: (2 sc in next st, sc in next st) five times. (15 st). Stuff 1st section through hole.
Rnd 11: (2 sc in next st, sc in next 4 st) three times. (18 st).
Rnd 12: sc in each st around. (18 st)
Rnd 13: (invdec, sc in next 4 st) three times. (15 st)
Rnd 14: (invdec, sc in next st) five times. (10 st)
Rnd 15: sc in each st around. (10 st)
Rnd 16: (2 sc in next st, sc in next st) five times. (15 st). Stuff 2nd section through hole.
Rnd 17: (2 sc in next st, sc in next 4 st) three times. (18 st).
Rnd 18: sc in each st around. (18 st)
Rnd 19: (invdec, sc in next 4 st) three times. (15 st)
Rnd 20: (invdec, sc in next st) five times. (10 st). Stuff 3rd section through hole.
Rnd 21: (invdec, sc in next st, invdec) twice. (6 st)
Rnd 22: sc in each st around. (6 st).
Rnd 23: 2 sc in each st around. (12 st)
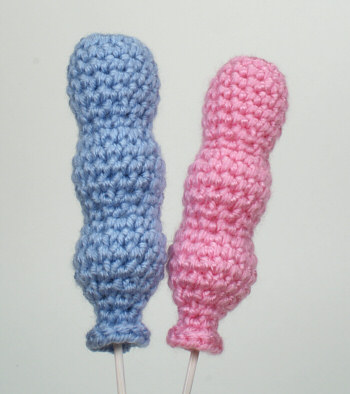
Finishing
Draw the end through the last loop on the hook, and pull tight to form a knot.
– or –
Use an invisible join to give the neatest finish.
Using a yarn needle, weave the end down to the ‘knot’ of the balloon.
To make the balloons ‘float’ in the air, you’ll need to use a rigid stick as the balloon’s string. I used bamboo skewers, painted white with acrylic craft paint. You could also use thin wooden dowel (again paint it white too look more like string if desired) or lollipop sticks.
Safety note: please take care with sharp objects around young children. Bamboo skewers have sharp points, so snip the sharp ends off before using them if the balloons bay be within reach of little hands.
Insert the stick into the open bottom of the balloon. (Optional: apply a thin layer of white glue around the top of the stick before inserting it, so the stick will be glued to the stuffing.) If the hole is too large, make a few stitches around the ‘knot’ area of the balloon with the yarn end, and draw tight around the stick. (Note: I didn’t feel that this was necessary with my balloons.)
Pass the yarn end through the balloon, coming out somewhere along the balloon’s side. Draw the yarn tight, and snip the end close to the balloon. The yarn end should retract back inside the balloon after it is cut.
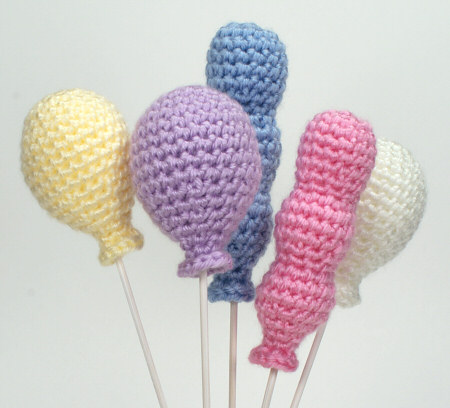
More Amigurumi Part Decoration Ideas:
