Hello dear Amigurumi Followers
Today we share Amigurumi Crochet Star Dreamcatcher Mandala Free Pattern for you. As you know we share new free amigurumi pattern every day. The main crochets are gazelle, amigurumi bear, pola, crochet panda, penguin, giraffe, llama, pig, bunny, clown, lamb, bee, crochet unicorn, amigurumi doll, fox, penguin, dinosaur, crochet elephant, hippo, monkey, crochet cat, crochet dog and more …
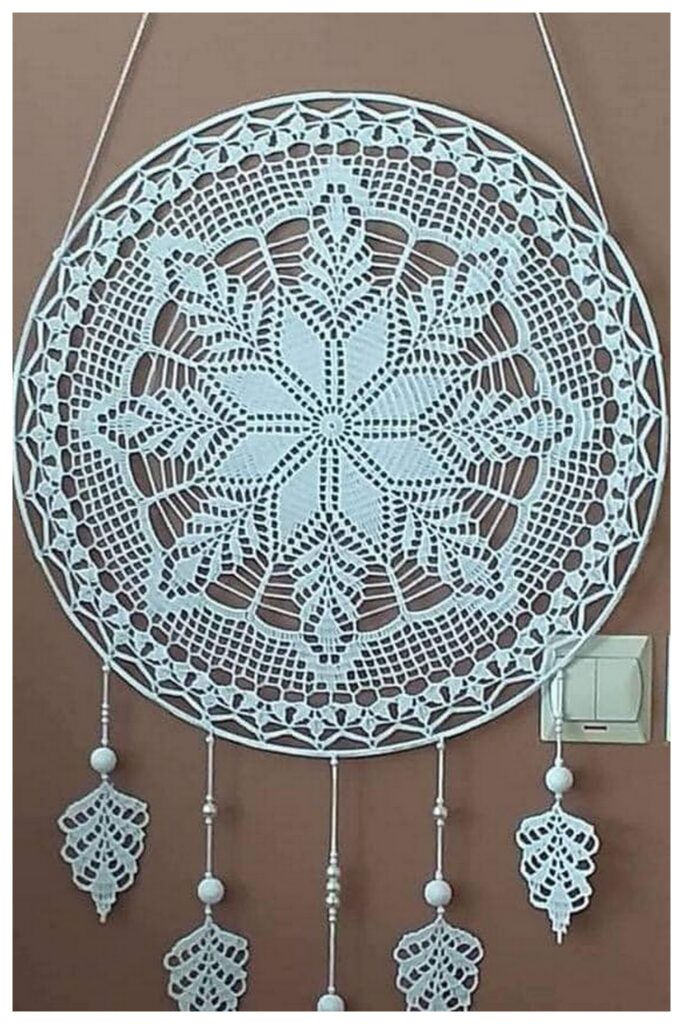
Todays daily new amigurumi free crochet pattern is Amigurumi Crochet Star Dreamcatcher Mandala.
I want to give you some informations about this amigurumi free pattern ; Crochet Star Dreamcatcher Mandala.
The project contains:
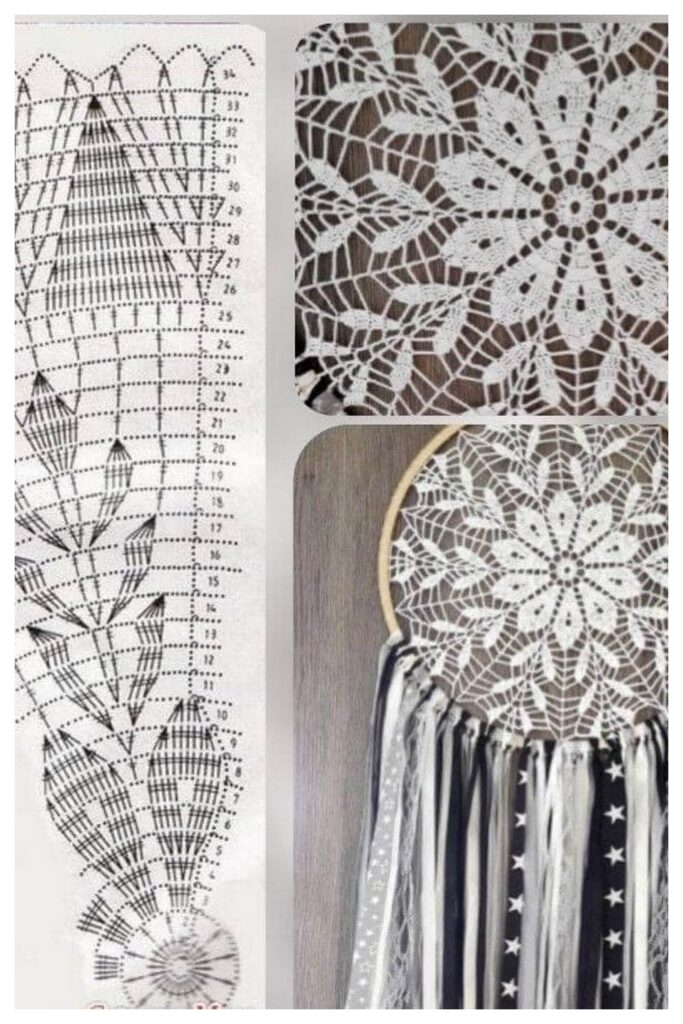
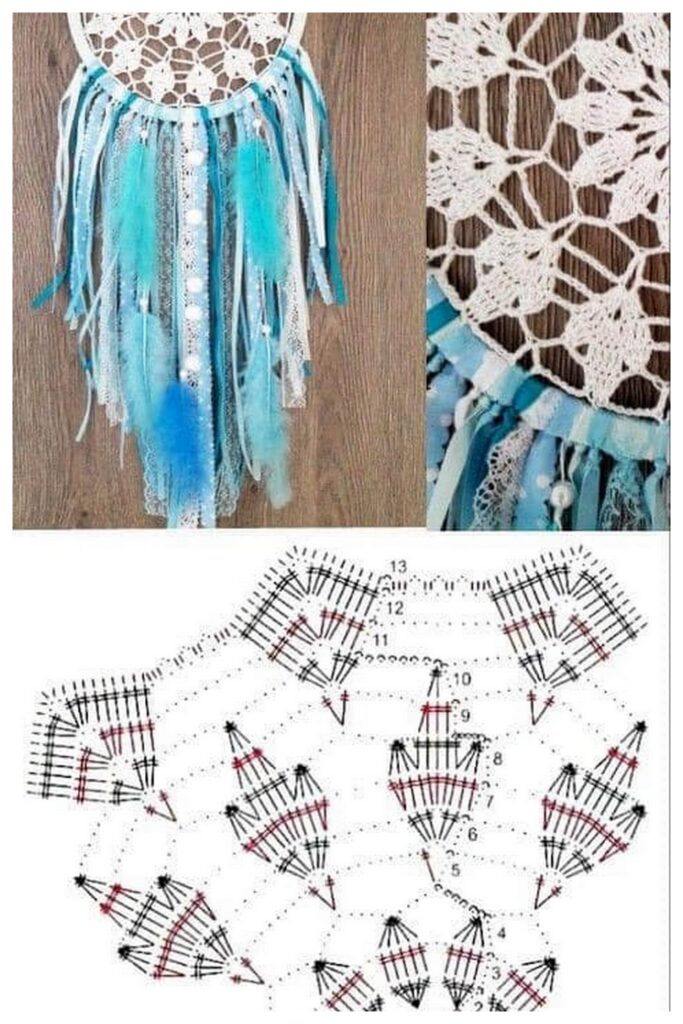
– graph / chart,
– written instructions,
– very detailed step-by-step pictures,
– written instructions in English language, American terminology,
– graph symbols using US crochet terminology
Skill level:
– Upper beginner till intermediate
– Upper beginner should know some special stitches
Finished size
– The size of the finished mandala depends on the yarn and hook you use.
– Notice that the mandala should always be smaller than your ring, otherwise it is not stretched enough in the ring.
Materials
Ring: wooden or wire rings respectievelijk 10, 15 or 20 cm.
Scissors, tapestry needle to weave in ends.
You can use any similar yarn and suitable hook.
Yarn
Scheepjes Maxi Sweet Treat – 140 m, 25 g Weight – 1.75 – 2 mm Hook – 10 cm Diameter hoop
Scheepjes Linnen Soft or Scheepjes Catona – 135 m, 50 g Weight – 125 m, 50 g Weight – 2.5 – 3 mm Hook – 15 cm Diameter hoop
Huisje van katoen Barbante M – 100 m, 250 g Weight – 3.5 – 4 mm Hook – 20 cm Diameter hoop
Abbreviations (US terms):
Sl st slip stitch
Ch(s) chain(s)
Hdc half double crochet
Dc double crochet
Sp space
St(sts) stitch(es)
Special stitches:
3dc cl – [yarn over and insert hook into indicated stitch or space. Yarn over, pull a loop, yarn over pull through 2 loops] 3 times. You have 4 loops on the hook, yarn over and pull through 4 loops.
Fptr – yarn over twice, insert hook from front to back to front around the post of indicated stitch, yarn over, draw up a loop, [yarn over, pull through 2 loops] 3 times.
Fphdc – yarn over, insert hook from front to back to front around the post of indicated stitch, draw up a loop, pull through 3 loops.
Pattern notes:
– Choose an option to start the mandala; start with a magic ring or with a ring of chains, secured with a slip stitch.
– Please make yourself familiar with front post stitches before you start.
Ø You can finish off each round with a slip stitch.
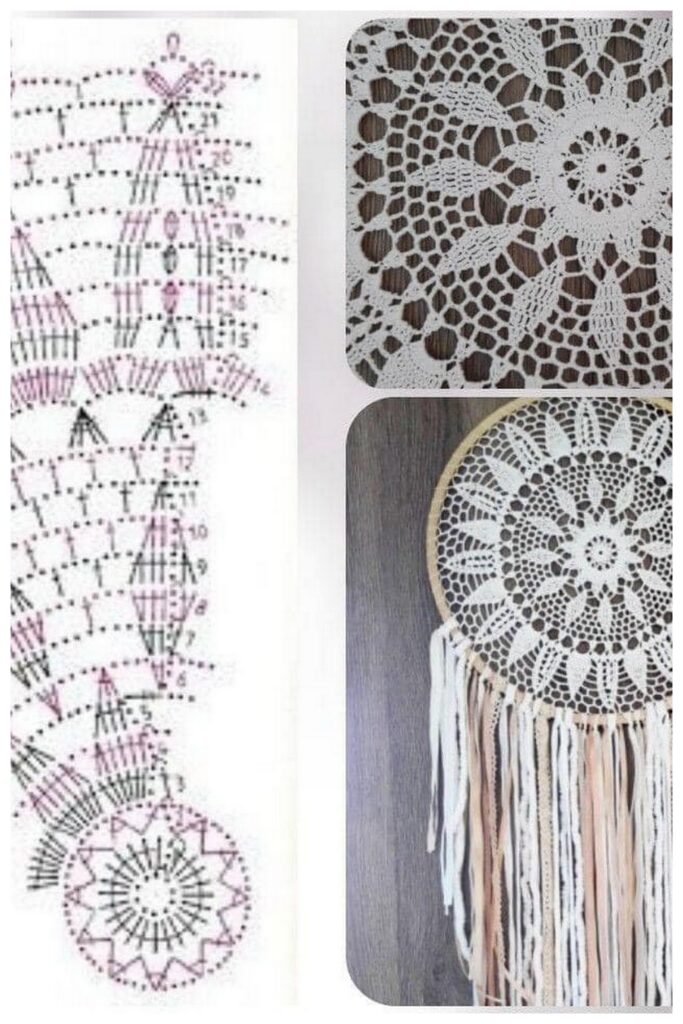
– This pattern includes a chart on page 3.
– Start every round by the mark ‘start’ and the number of round on the chart. Follow the round from right to left.
– Pay attention in round 7 than we crochet on the wrong side.
– Use the photo tutorial (page 5) as reference.
Amigurumi Crochet Star Dreamcatcher Mandala Free Pattern
Chart
Right Side
Rounds 1- 6 and round 8 are crocheted on the Right Side. The coloured stitches are made on the Right Side, grey stitches are on the Wrong side.


Wrong Side
Round 7 is crocheted on the Wrong Side. The coloured stitches are made on the Wrong Side, grey stitches are on the Right side.
Written instructions (Pattern is written in US terms)
… Repeat the section inside
[…] group of sts worked in the same st/sp
RS Right Side
WS Wrong Side


Blocking
The finishing touch is blocking if desired. My mandala is blocked by spray blocking. You can do that by laying the mandala flat on the blocking board and pin it from the center out to the edges. Spray the pinned mandala with water. Let it dry completely before removing the pins (photo A)


Joining
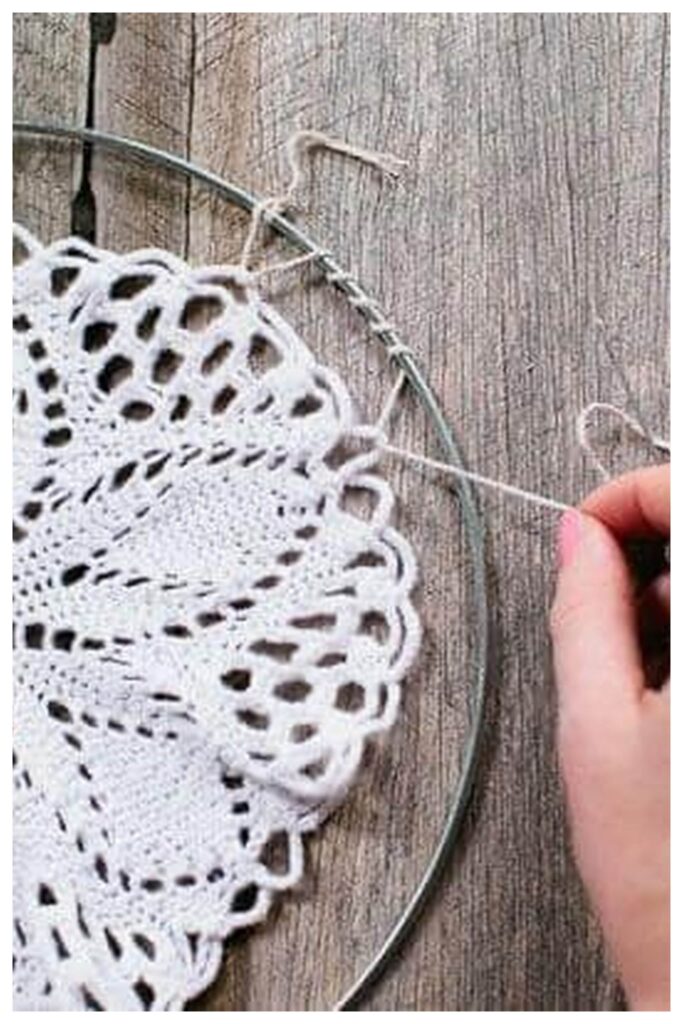
You can cover the wire ring with sisal twine (photo B), fabric or paint the ring in the colour you like. Wrap yarn around wire ring tightly to cover entire ring. You can also use wooden macramé rings or the inside frame of embroidery hoops.
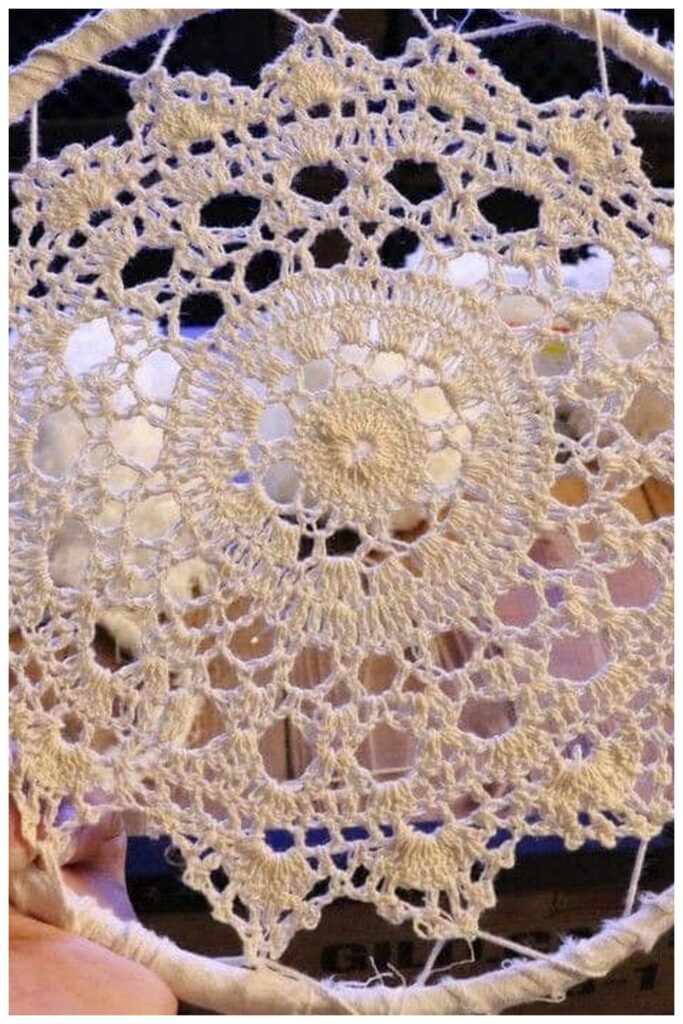
Place and sew each flower in 10 cm ring (photo D-K).
– Fold the yarn (about 20 cm long) in half to create a loop. Place the loop underneath crocheted middle piece and pull the loop to the front. Thread the ends of the yarn through the loop and pull tight to secure it.
– Position the mandala in the middle of the hoop.
– Tie the middle piece to the hoop in four different places, one at the top, one at the bottom and on each
side. Continue with the rest of the corners of the middle piece.
– Weave in the ends into the crocheted mandala.
– Tie all your decorative items to the bottom of the hoop.
– Make a loop at the top for hanging your dreamcatcher.
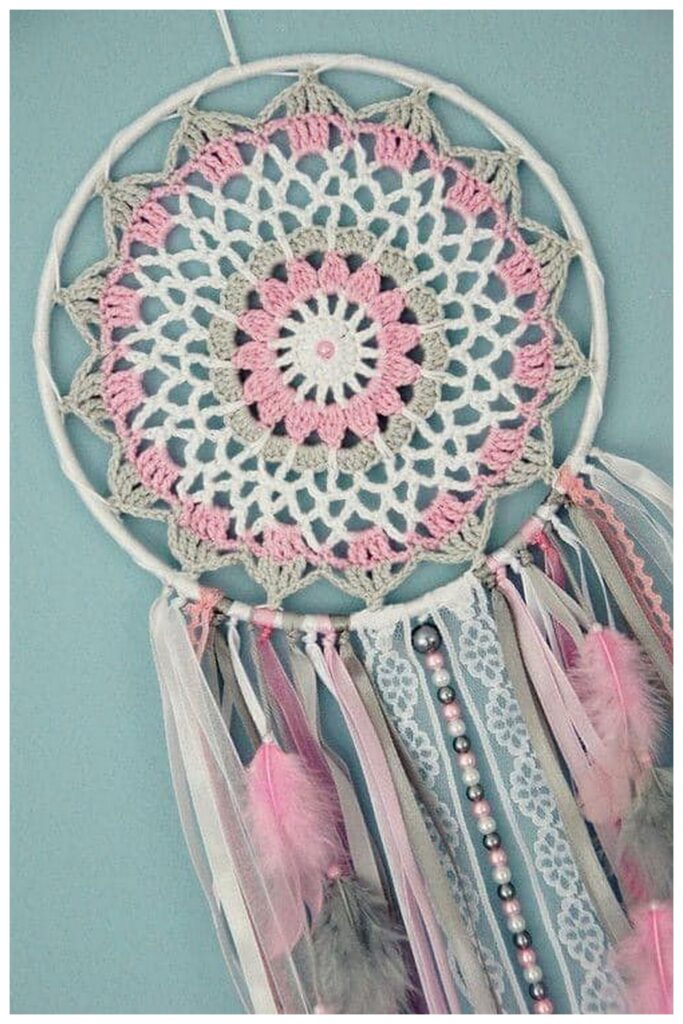
Decorate the dreamcatcher with whatever you like, such gemstones beads, coloured ribbon or self-made tassels.
Decorate the dreamcatcher:
– Ribbon tails. Cut ribbon in pieces, fold it in half. Take the loop portion of the ribbon and pull it through the wall hanging bottom. Pull the loose ends of the ribbon through the ribbon loop. Repeat with the other pieces of ribbon.
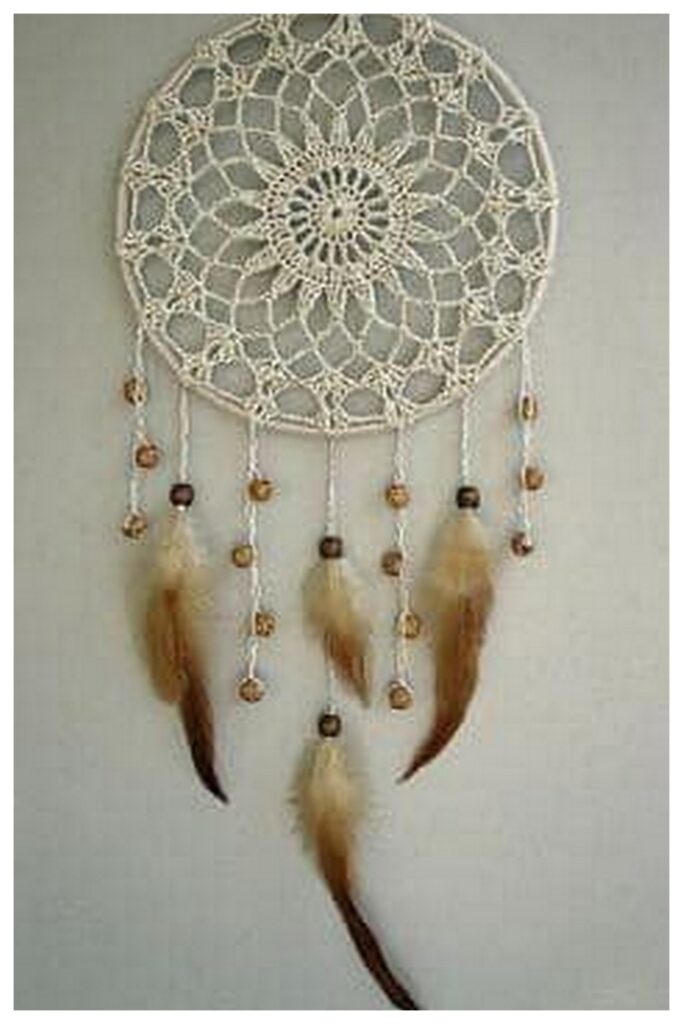
– Thread beads onto the ribbon or string. Thread a bead onto your strip of fabric or string. Position the bead to where you want it on the string. Tie a small knot underneath the bead. The knot will hold the bead in place.
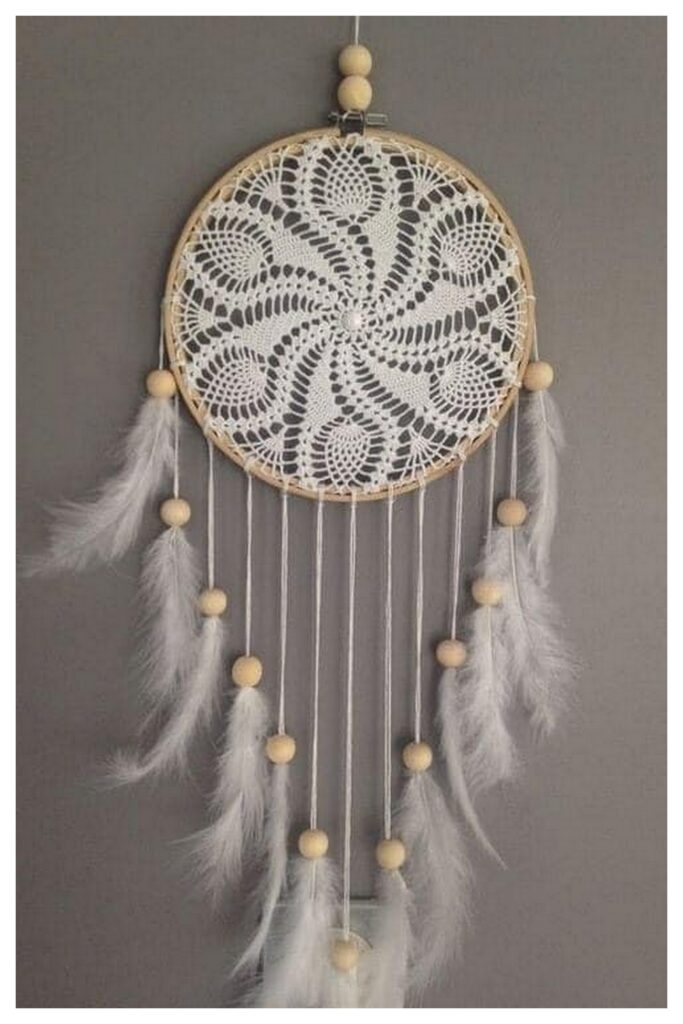
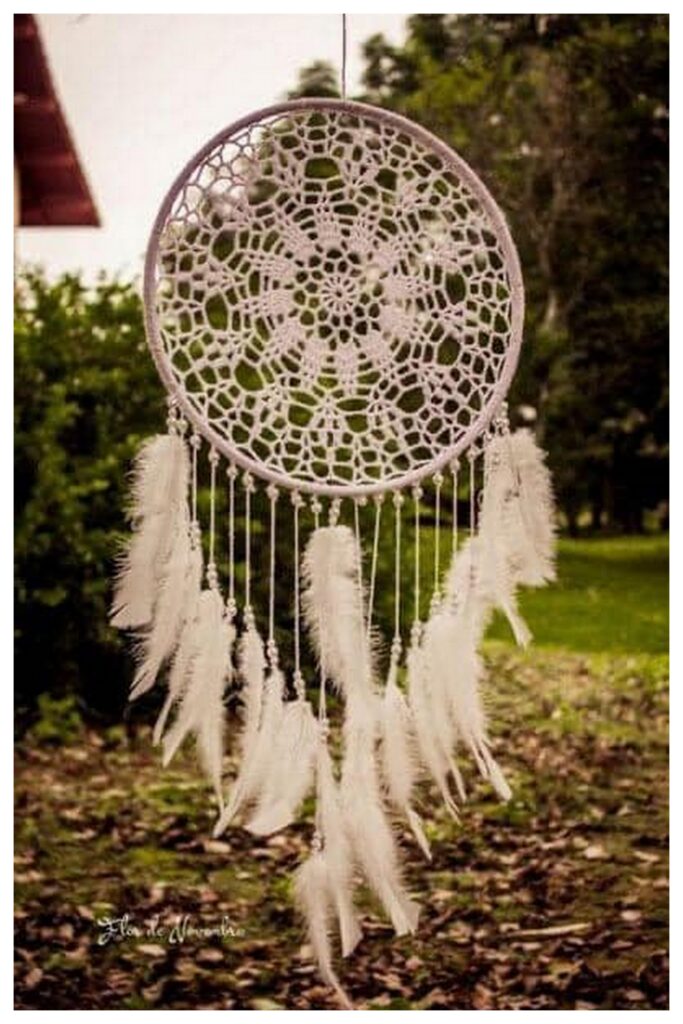
– Hang feathers. Groups of two or three feathers together, secured and decorated with a bead. Thread a bead onto small ribbon or a piece of yarn. Tie a knot around the tops of the feathers to secure them and pull a bead on the top of the feathers.
Use the materials of your choice to decorate; ribbon, crocheted feathers and beads etc. That is absolutely up to you.
These suggestions are for inspiration. Let your creativity flow and give your own finishing touch to your wall hanging, using decorations you like, make whatever your heart desires!

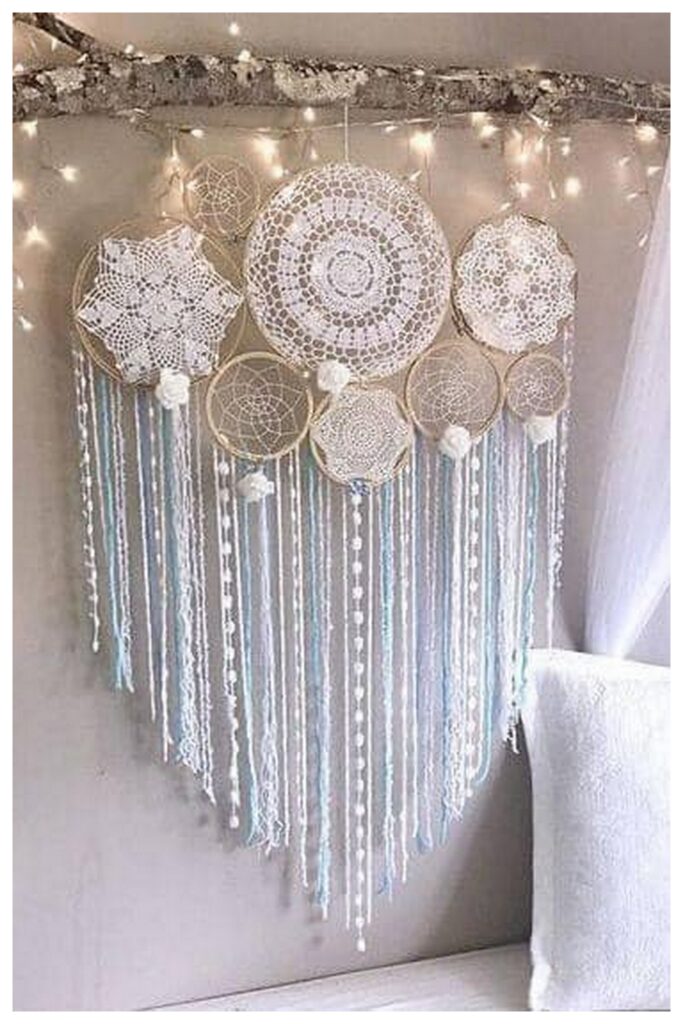
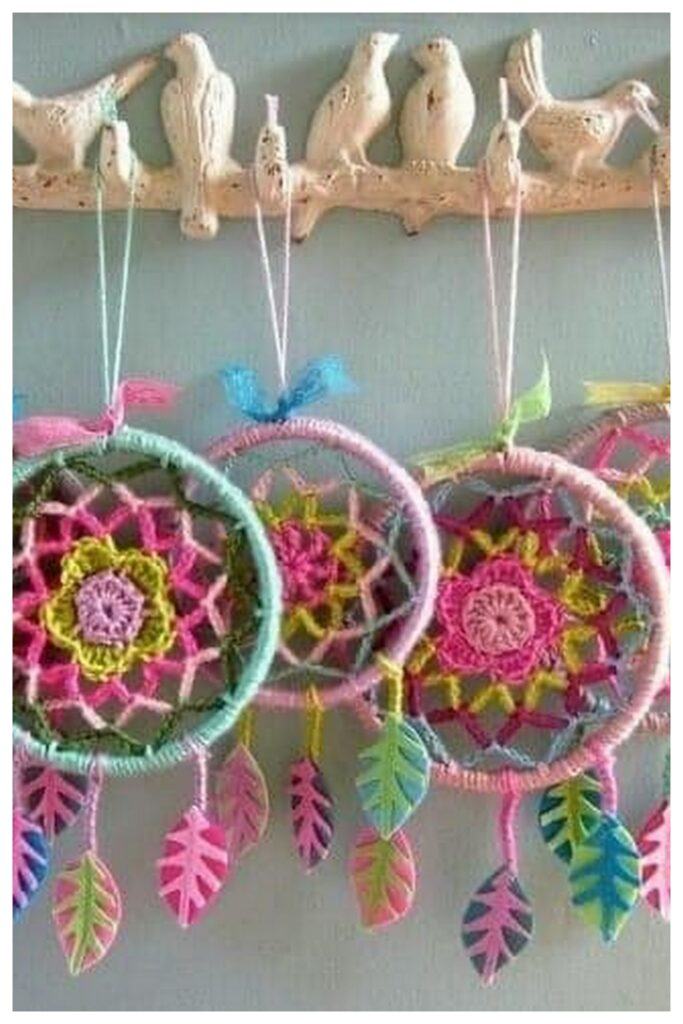
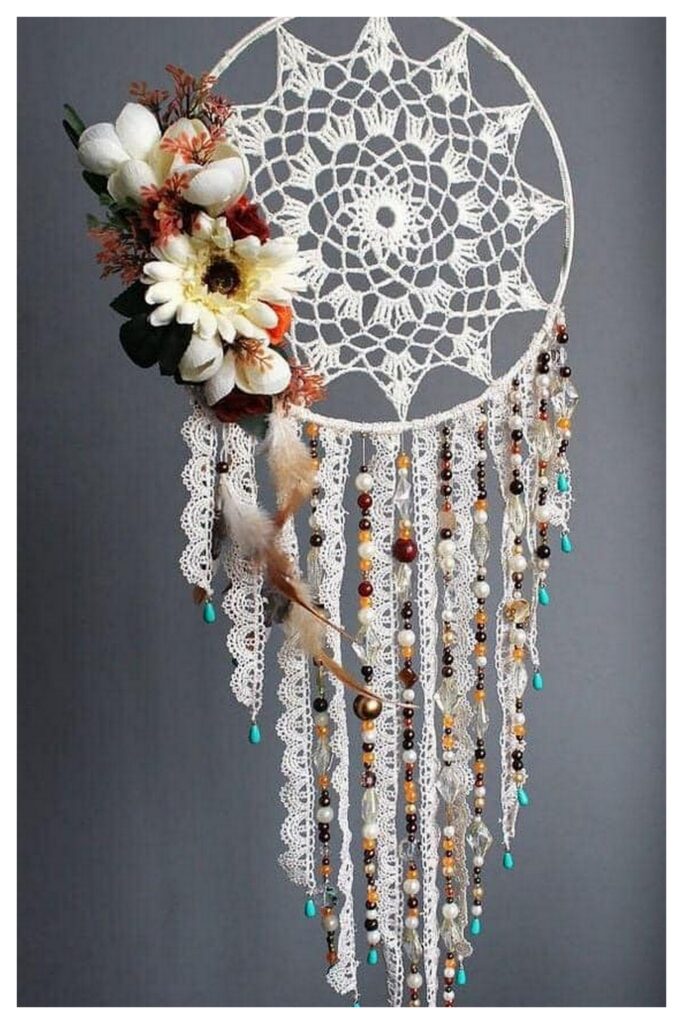
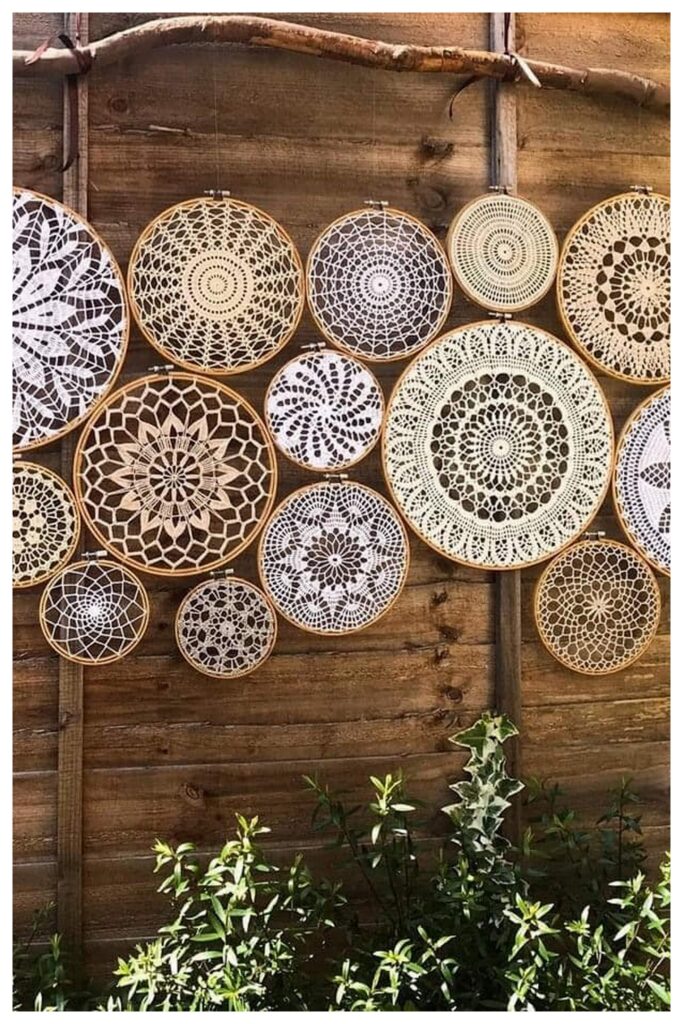
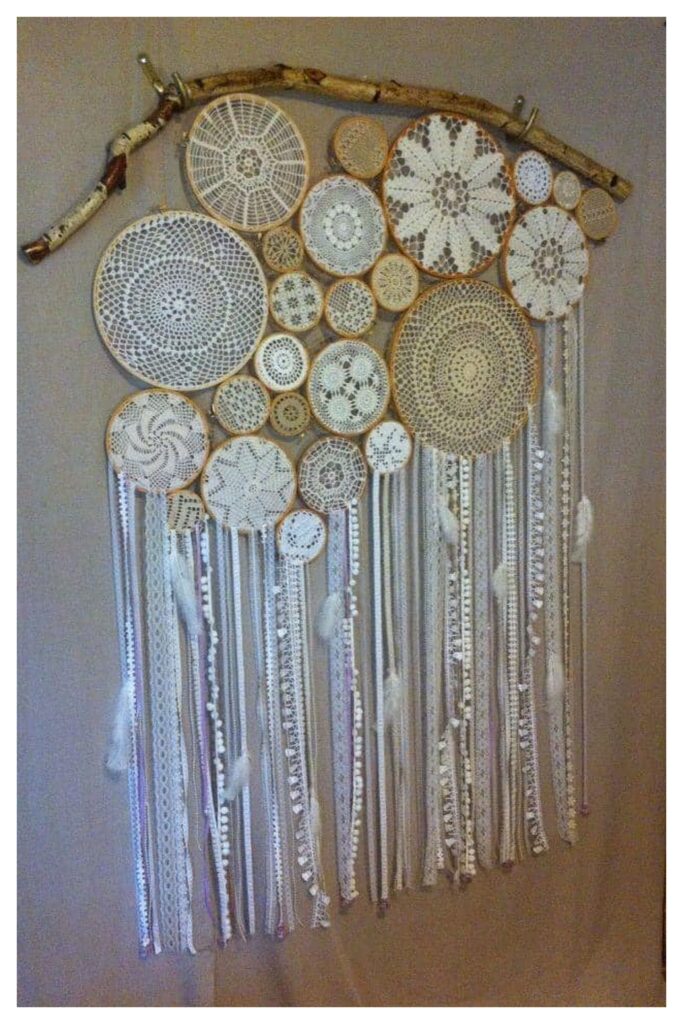
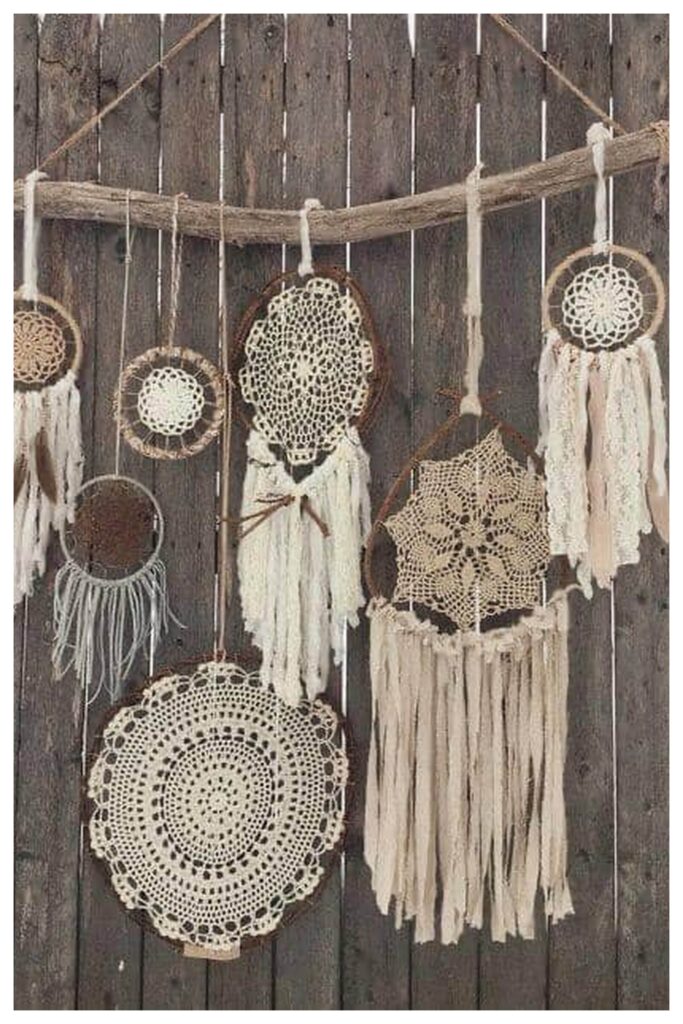
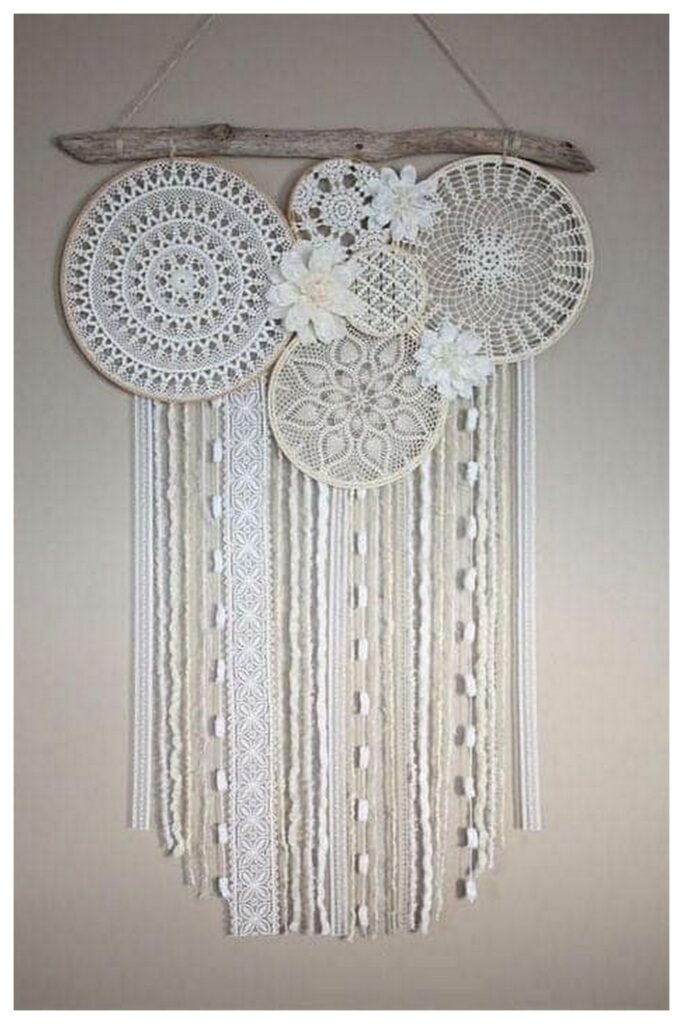
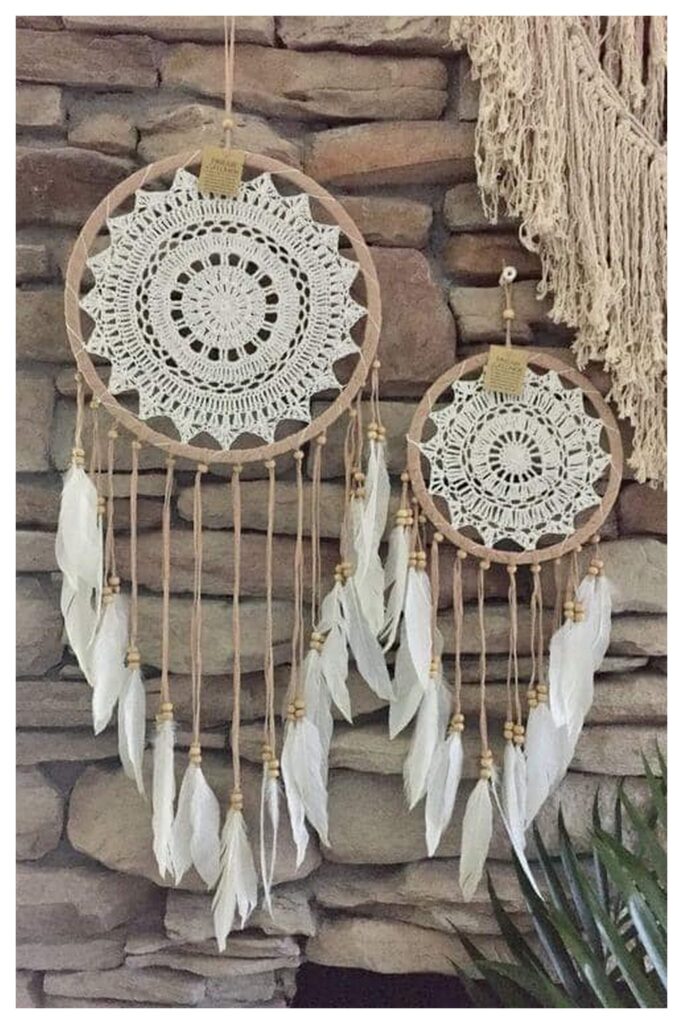
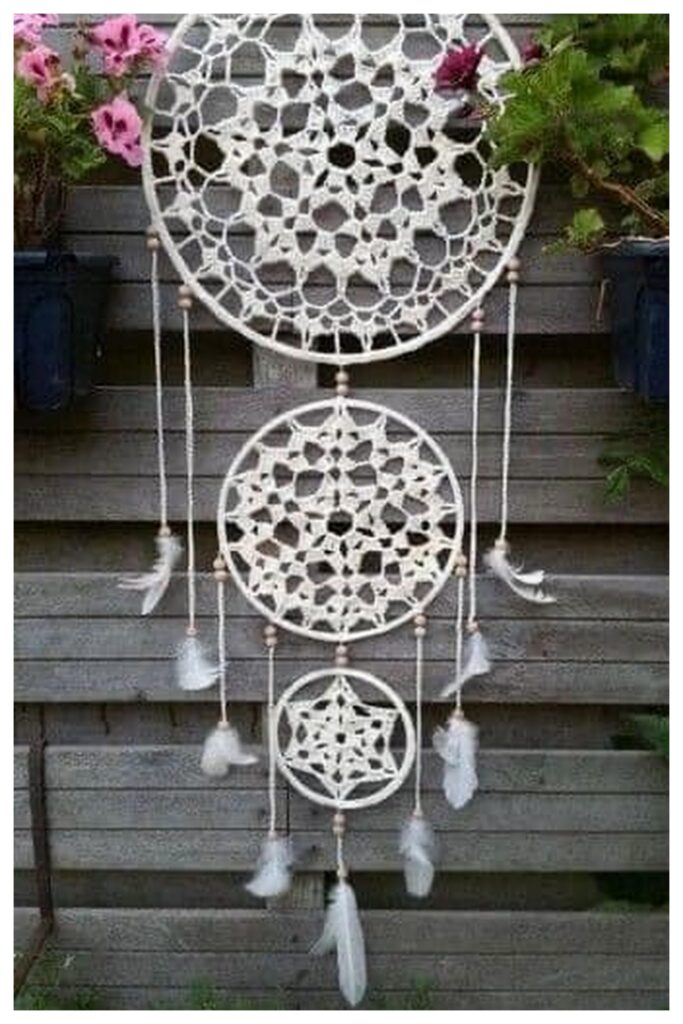
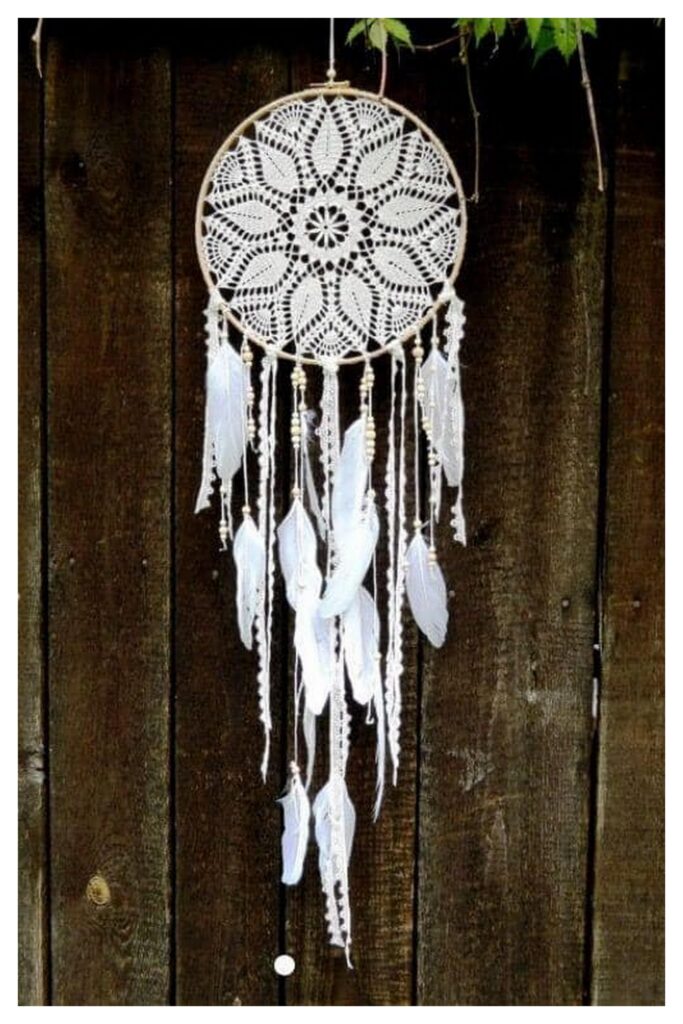
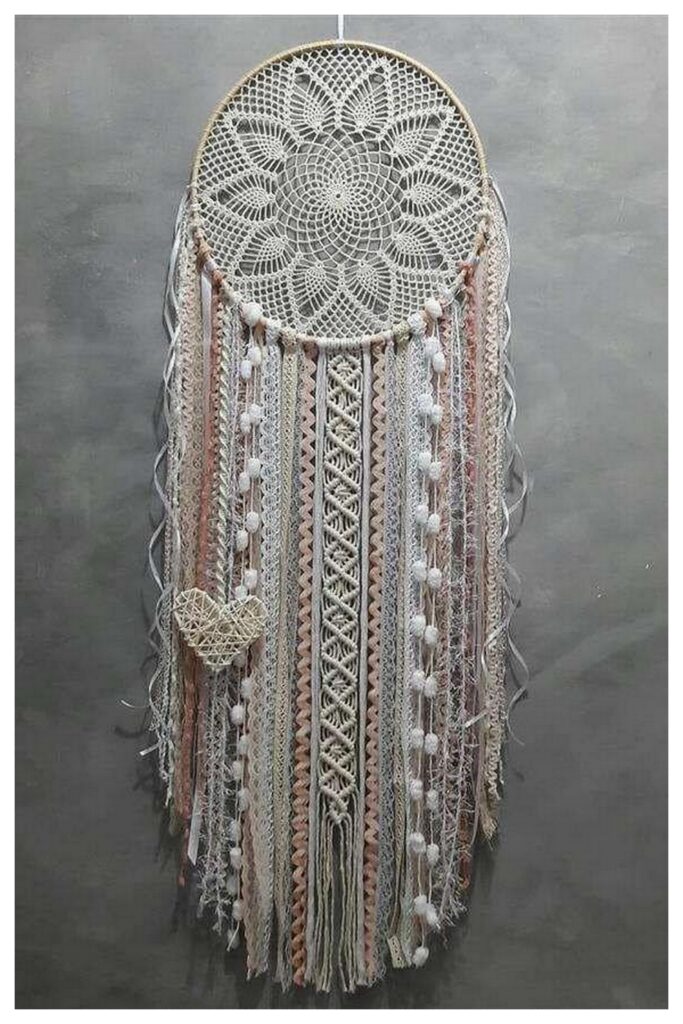
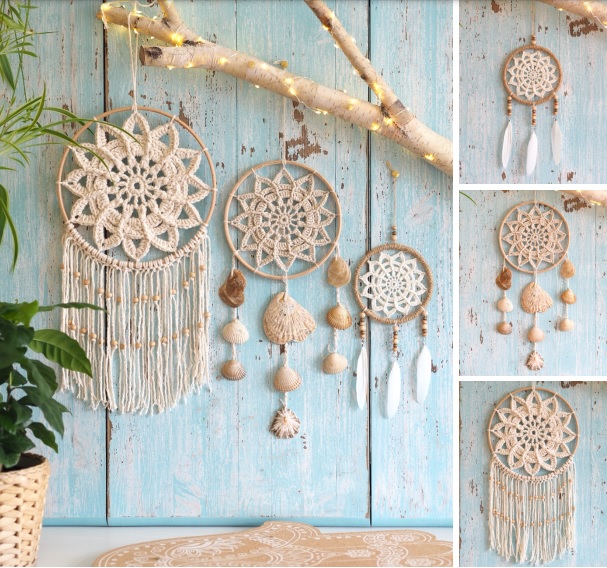
More Amigurumi Crochet Dreamcatcher Mandala Ideas:
