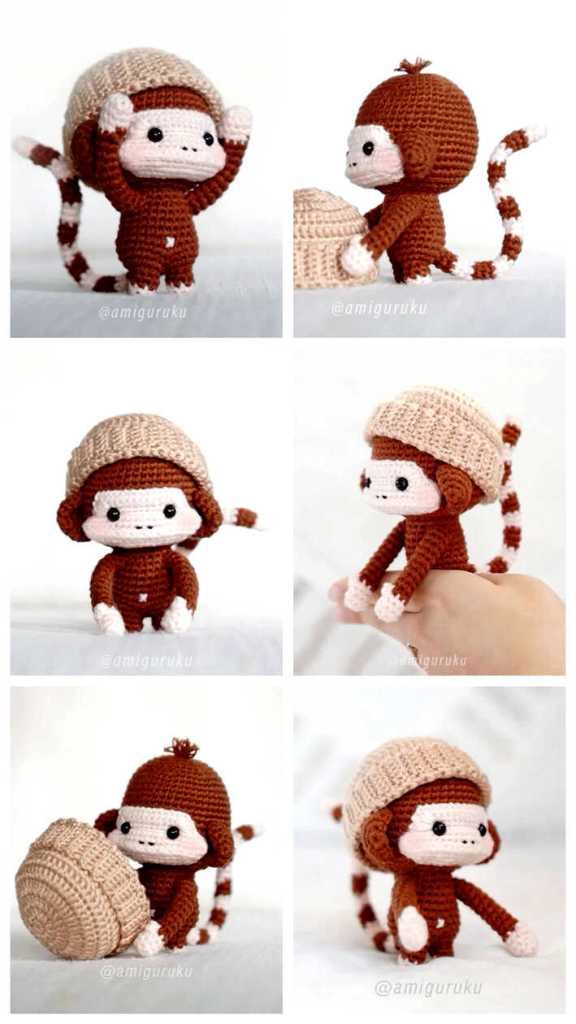
Hello dear Amigurumi Followers
Today we share Amigurumi Monkey Dudu Free Pattern for you. As you know we share new free amigurumi pattern every day. The main crochets are gazelle, amigurumi bear, pola, crochet panda, penguin, giraffe, llama, pig, bunny, clown, lamb, bee, crochet unicorn, amigurumi doll, fox, penguin, dinosaur, crochet elephant, hippo, monkey, crochet cat, crochet dog and more …
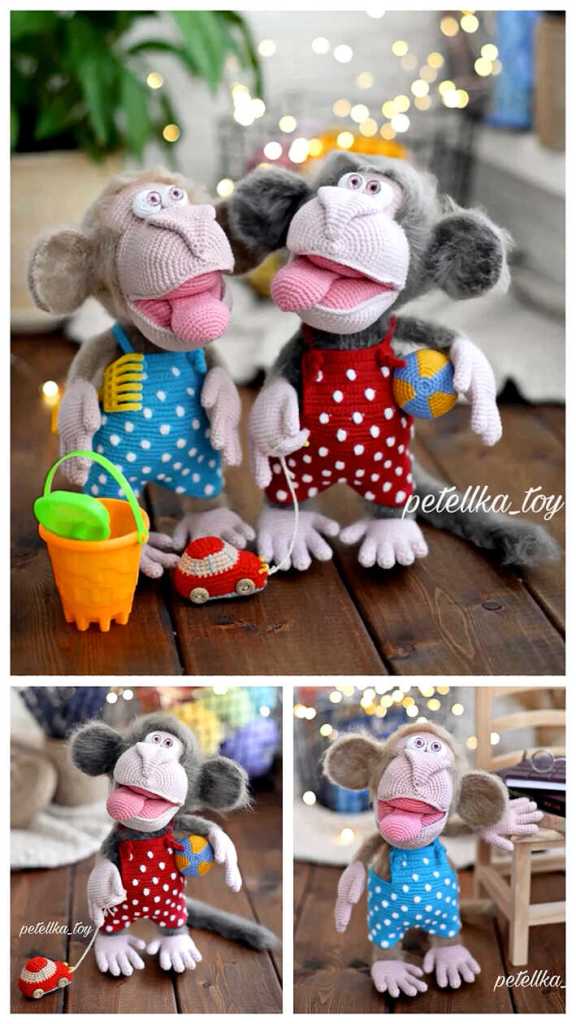
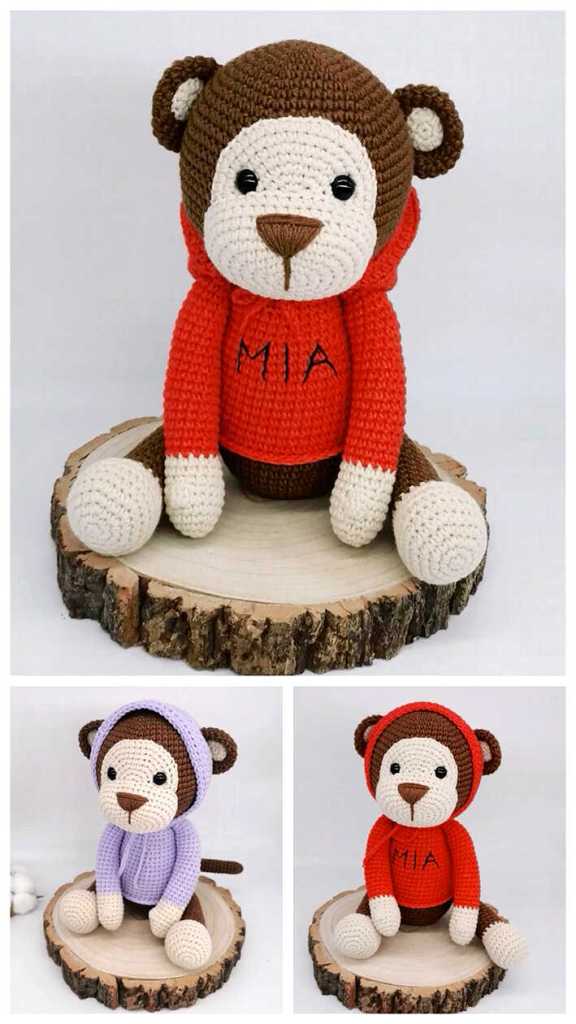
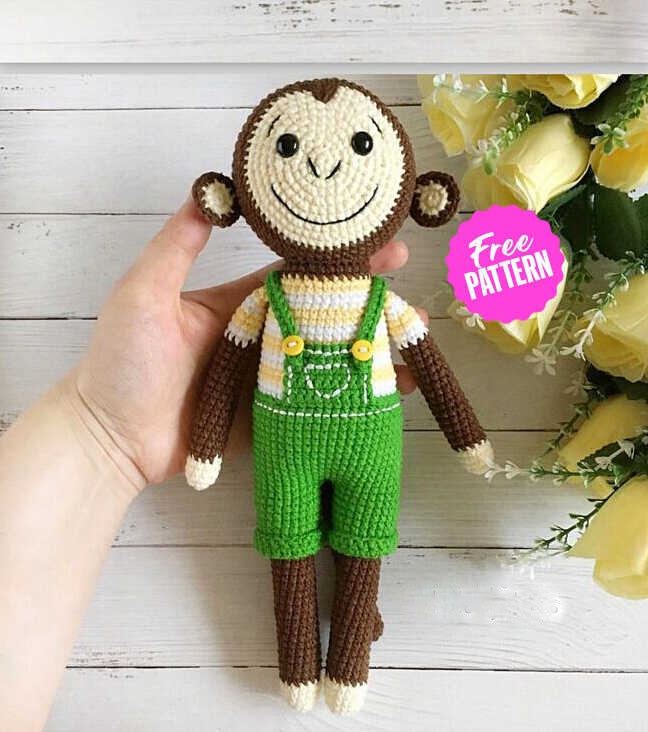
Todays daily new amigurumi free crochet pattern is Amigurumi Monkey Dudu.
I want to give you some informations about this amigurumi free pattern ; Monkey Dudu.
Materials
• Yarn (Yarnart jeans) – brown, milk, yellow, white and green colors
• Yarn “Iris” black and white for embroidery of the face and seams on the pants
• Crochet 1.75 or any other suitable for your yarn
• Safety eyes with a diameter of 8 mm.
• Two small buttons for the jumpsuit
• Holofiber
• Needle for stitching parts
Abbreviations
R – row
mc – magic circle
sl-st – connecting post
ch – air loop
sc – single crochet
inc – increase (2 sc in one loop)
dec – decrease (2 sc together)
AMIGURUMI MONKEY DUDU CROCHET FREE PATTERN
Tail
Fill in the detail as you knit and loosely.
In brown
R1: 6sc in the mc (6)
R2: (1sc, inc) x 3 (9)
R3-30: 30sc (9)
Fold in half and knit both sides together 4sc.
Fasten the thread, cut off, leaving a long end for sewing.
Arms (make two)
Fill in the part while knitting, do not fill in the last 3-4 rows.
Milky color
R1: 6sc in the mc (6)
R2: inc х 6 (12)
R3-5: 12sc (12). Change the color to brown
R6-20: 12sc (12).
We start knitting the sleeves.
Change the color to white
R21-22: 12sc (12)
Change the color to yellow
R23-24: 12sc (12)
Change the color to white
R25-26: 12sc (12)
Change the color to yellow
R27: 12sc (12)
Fold in half and knit both sides together 5sc.
Fasten the thread, cut it off, leaving a long end of the thread, if you will sew on the handles, not knit.
Legs (make two)
Stuff as you knit.
Milky color
R1: 6sc in the mc (6)
R2: inc х 6 (12)
R3: (3sc, inc) x 3 (15)
R4-6: 15sc (15)
Change the color to brown
R7-33: 15sc (15) 27 rows
Cut off the thread at the first leg, do not cut off the second leg.
Overalls
Trouser leg
We knit in a spiral
In green
R1: 23ch, connect in a ring, 23sc (23)
R2-11 23sc
Fasten and cut the thread at the first leg, do not cut the thread on the second leg. We continue to knit shorts.
R12: 1ch, 23sc along the first leg, 1sc along the chain of ch,
23sc on the second leg, 1sc in the remaining half-loop of the chain from ch (48)
R13-24: 48sc (48) 12 rows.
Do not break the thread yet.

Body
Stuff as you knit.
R34: 3ch, 15sc along the first leg, 3sc along the chain from ch, 15sc along the second leg, 3sc along the remaining loops of the chain from ch (36)
The beginning of the row on the back.
R35: (5sc, inc) x 6 (42)
R36: 3sc, inc. (6sc, inc) x 5, 3sc (48)
R37-44: 48sc (48) 8 rows. Fasten and cut the thread.
R45:Put on the pants and knit the pants and body together in green 48sc (48)

We start knitting a T-shirt.
Change the color to white.
R46: for the rear half loops 48sc (48)
R47:48sc (48)
Change the color to yellow
R48: 48sc (48)
R49: 3sc, dec, (6sc, dec) x 5, 3sc (42)
White
R50-51: 42sc (42)

Yellow
R52-53: 42sc (42)
White
R54-55: 42sc (42)
Yellow
R56-57: 42sc (42)
White
R58: (5sc, dec) x 6 (36)
R59: 36sc (36)
Yellow

We knit hands
R60: 7sc, we knit the first hand, we knit together the loops of the hand and body 5sc, 14sc, we knit the second hand, we knit the loops of the hand and body together 5sc, 5sc (36)
R61: 2sc, dec, (4sc, dec) x 5, 2sc (30)
Change the color to brown
R62-63: 30sc (30)
Fasten the thread, cut off, leaving a long end for sewing.
We return to the left half-loops of the 46th row. Find the center of the pants, count 5 sc in both directions and place markers.
We start knitting with a green thread from the right marker (see photo).
Knit 20sl-st to the first marker, then knit the breast of the pants.
R1: 10sc for the remaining half loops 46r. (10), ch, turn
R2-8: 10sc, ch, turn.
Fasten the thread, cut off.

Straps (make two)
Attach a green thread in the middle of the back to the hem of the pants.
Cast on 31ch and start knitting into the second loop from 30sc.
Fasten and cut the thread.
Sew buttons to the straps. Sew the straps to the chest of the pants.
Ears (make two)
Inner ear (2 parts)
Milky color
R1: 6sc in the mc (6)
R2: inc х 6 (12)
Fasten and cut the thread.
Outer ear (2 parts)
In brown
R1: 6sc in the mc (6)
R2: (inc x 6 (12)
R3: Connect the inside and outside of the ear with the wrong side to each other and knit together for both parts (1sc, inc) x 6 (18)
Fasten and cut the thread, leaving the long end of the thread for sewing, if you will sew on the ears, not knit.

Head
Stuff as you knit.
Milky color
R1: 6sc in the mc (6)
R2: inc х 6 (12)
R3: (1sc, inc) x 6 (18)
R4: 1sc, inc, (2sc, inc) х 5, 1sc (24)
R5: (3sc, inc) x 6 (30)
R6: 2sc, inc, (4sc, inc) х 5, 2sc (36)
R7: (5sc, inc) x 6 (42)
R8: 3sc, inc, (6sc, inc) х 5, 3sc (48)
R9: (7sc, inc) x 6 (54)
R10: 4sc, inc, (8sc, inc) х 5, 4sc (60)Change the color to brown
R11: 60sc (60)
R12: 58sc, in this row we make bangs to hide the color transition. We will knit the bangs from the next 4 sc. We find between the 8th and 9th rows the center, where we will have the tip of the bangs. We stick a hook into this center, withdraw the thread, pull the thread to R12 and knit sc.

Repeat 3 more times.
The beginning of the row is shifted by 2sc.
R13-15: 60sc (60)
R16: knit ears, 13sc, 4sc knit together the ear and head loops, 22sc, 4sc knit the ear and head loops together, 17sc (60)
R17-22: 60sc (60) 6 rows
R23: 4sc, dec, (8sc, dec) x 5, 4sc (54)
R24: (7sc, dec) x 6 (48)
R25 3sc, dec, (6sc, dec) x 5, 3sc (42)
R26: (5sc, dec) x 6 (36)
R27: 2sc, dec, (4sc, dec) x 5, 2sc (30)
R28: (3sc, dec) x 6 (24)
R29: 1sc, dec, (2sc, dec) x 5, 1sc (18)
R30: (1sc, dec) x 6 (12)
R31: dec x 6 (6)

Fasten the thread, cut off. Pull the hole, hide the thread.
At this stage, you can insert the eyes between the 5th and 6th rows. Embroider the mouth between the 7th and 8th rows.
Brows between 8 and 9 rows.
Sew on the tail 3 rows below the hem of the pants.
We sew the head to the body.
Your monkey is ready!
More Amigurumi Monkey Ideas:
