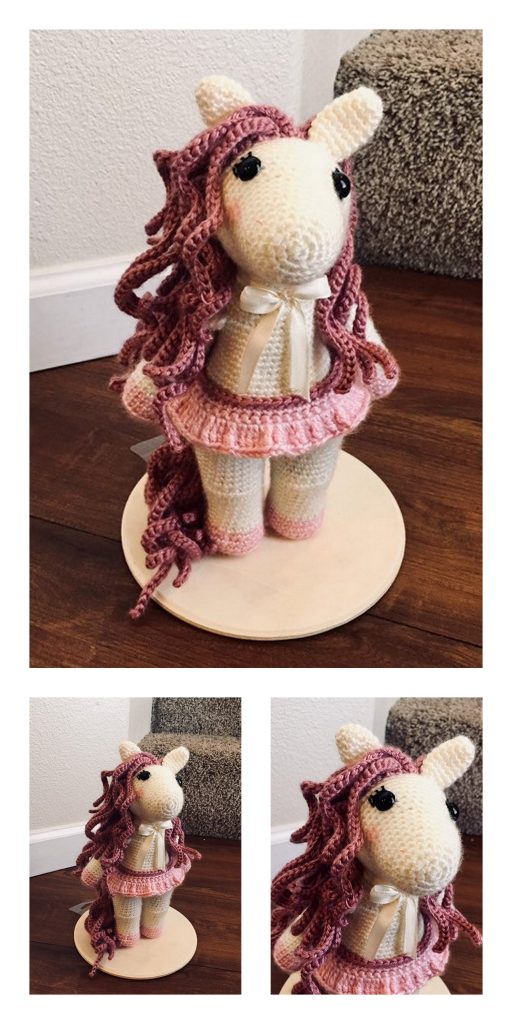
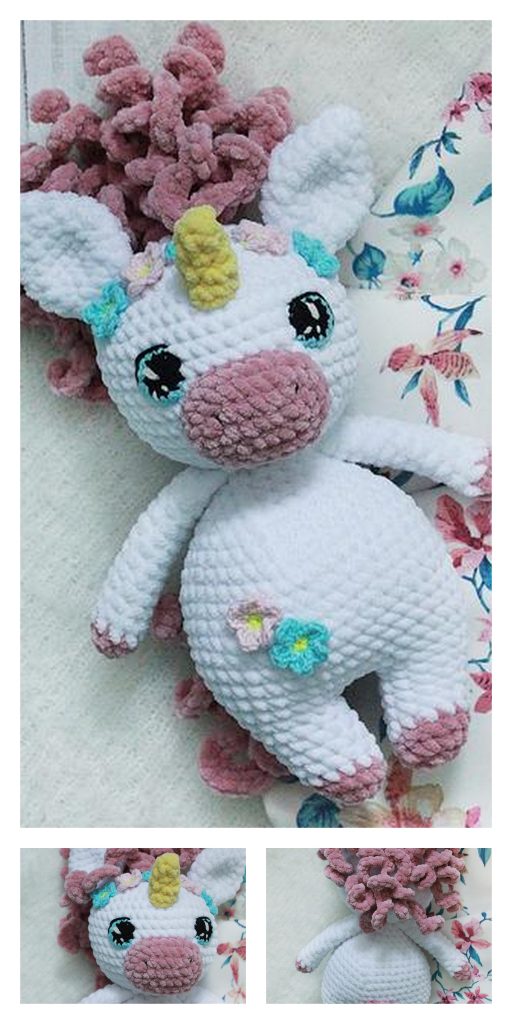
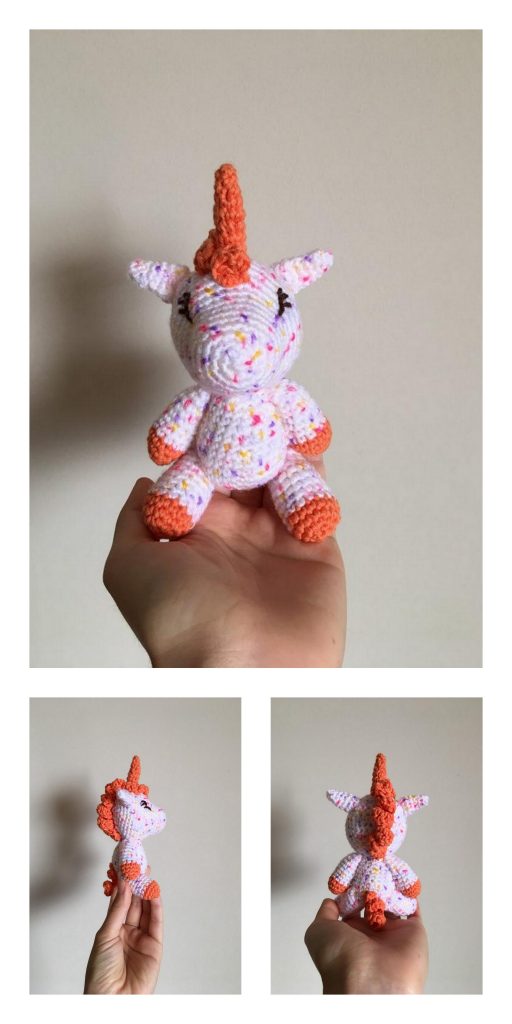
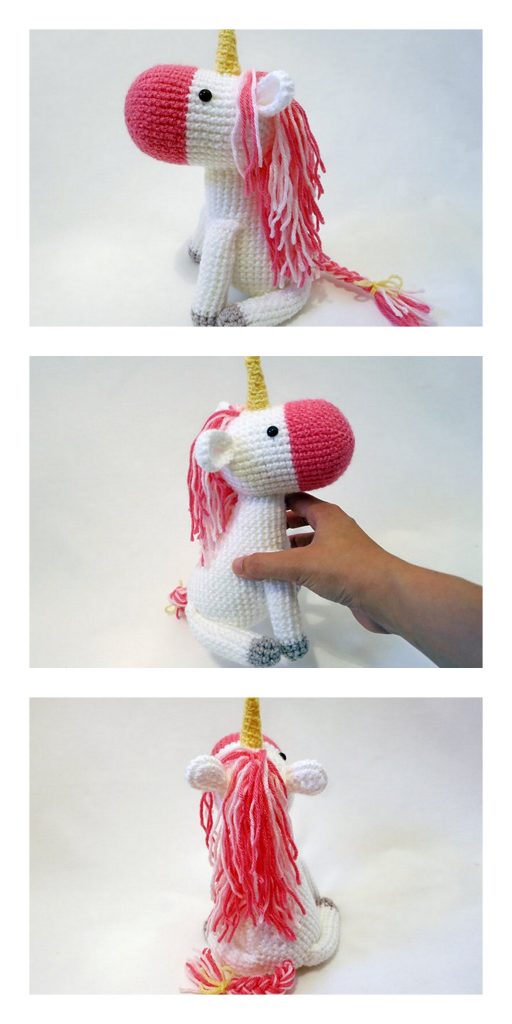
Hello dear Amigurumi Followers
Today we share Amigurumi Unicorn Free Pattern for you. As you know we share new free amigurumi pattern every day. The main crochets are gazelle, amigurumi bear, pola, crochet panda, penguin, giraffe, llama, pig, bunny, clown, lamb, bee, crochet unicorn, amigurumi doll, fox, penguin, dinosaur, crochet elephant, hippo, monkey, crochet cat, crochet dog and more …
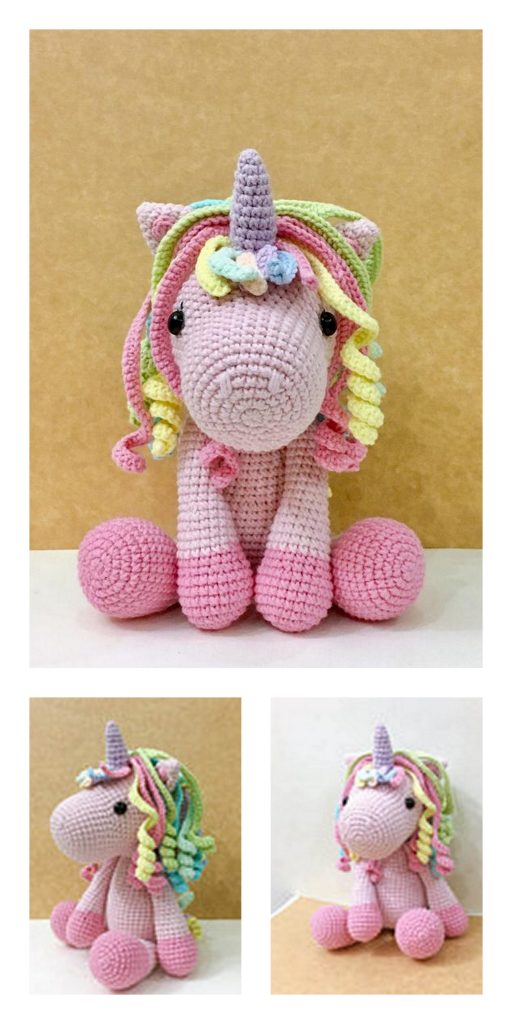
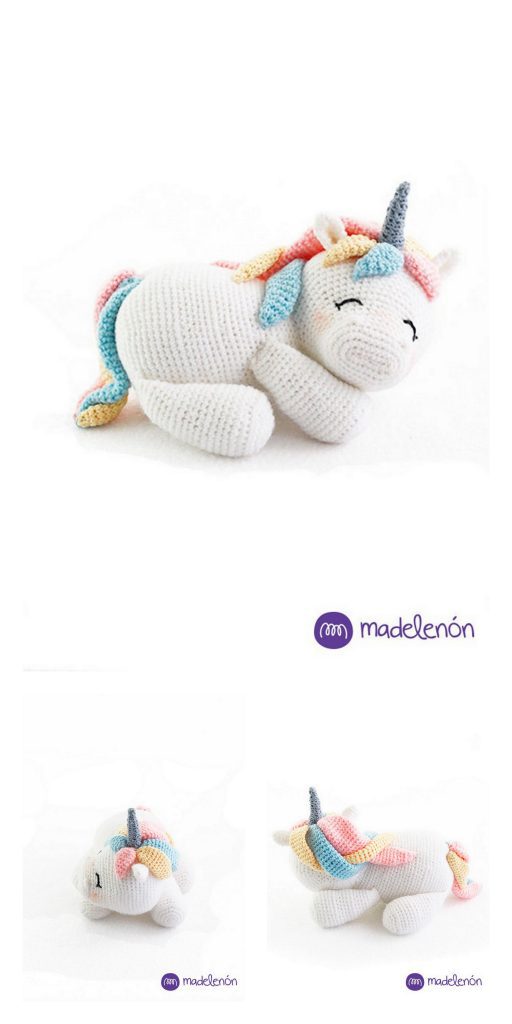
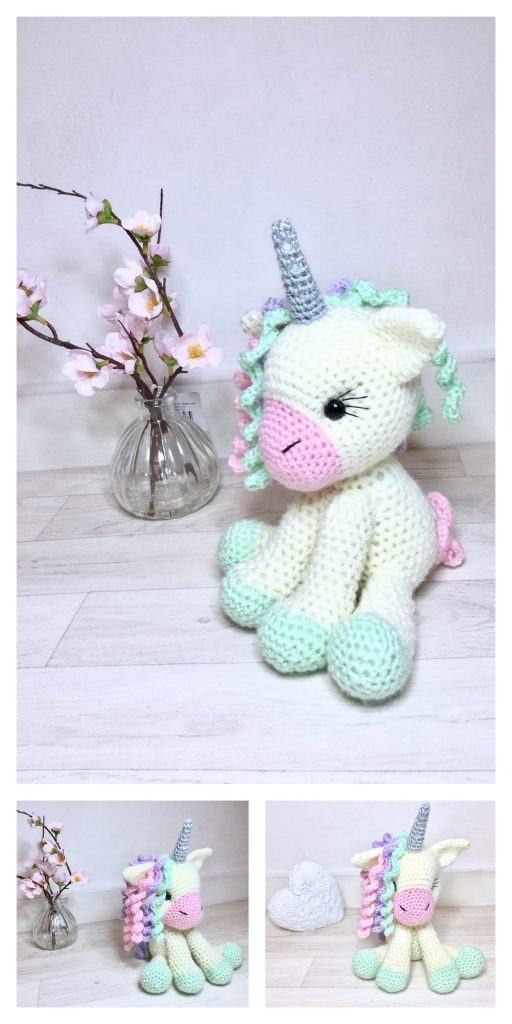
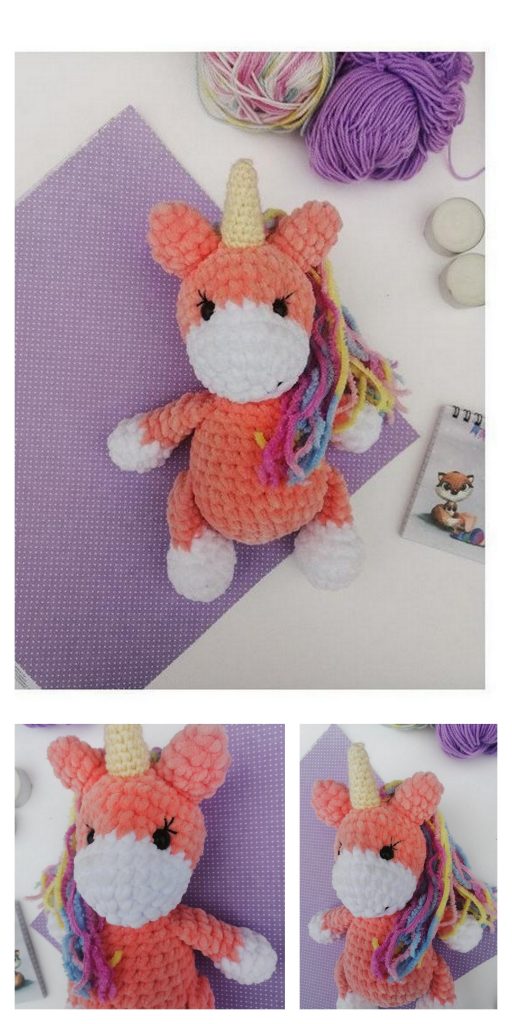
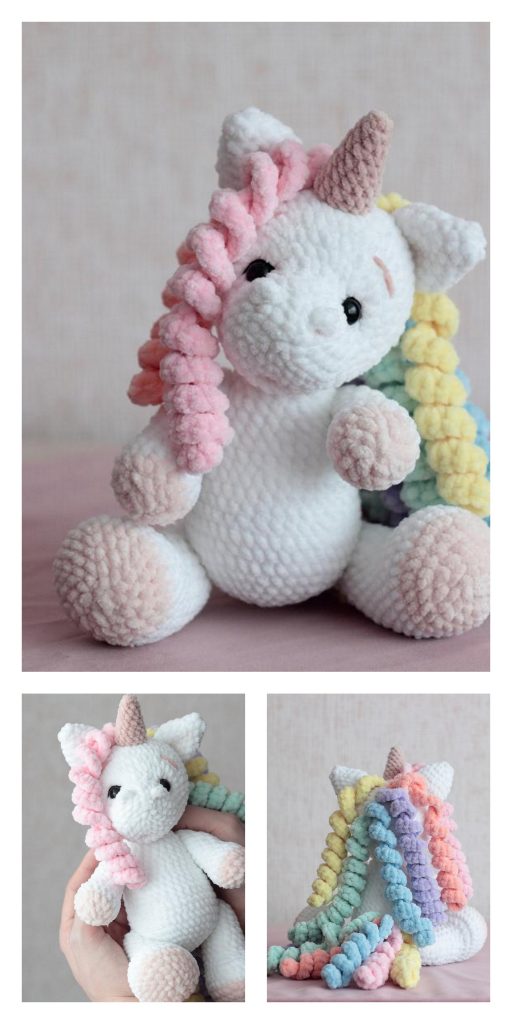
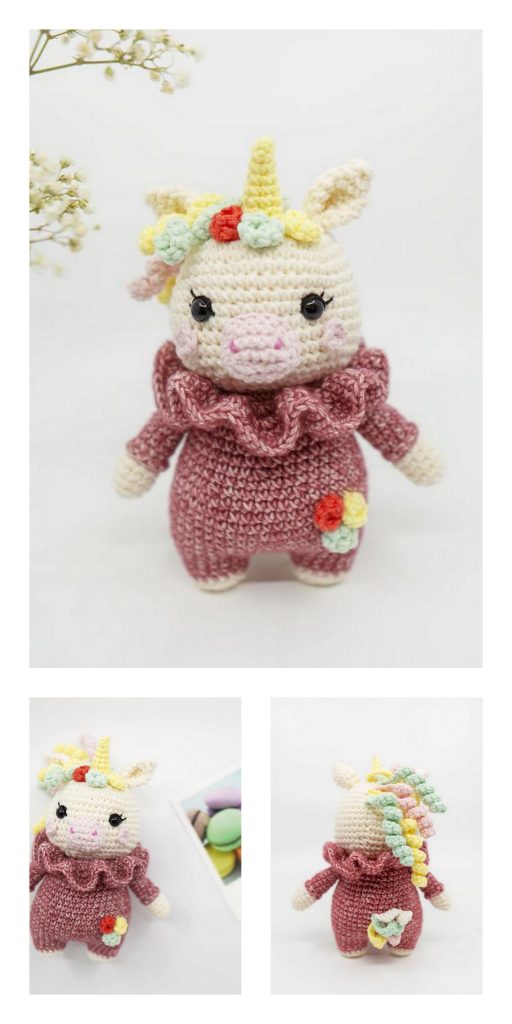
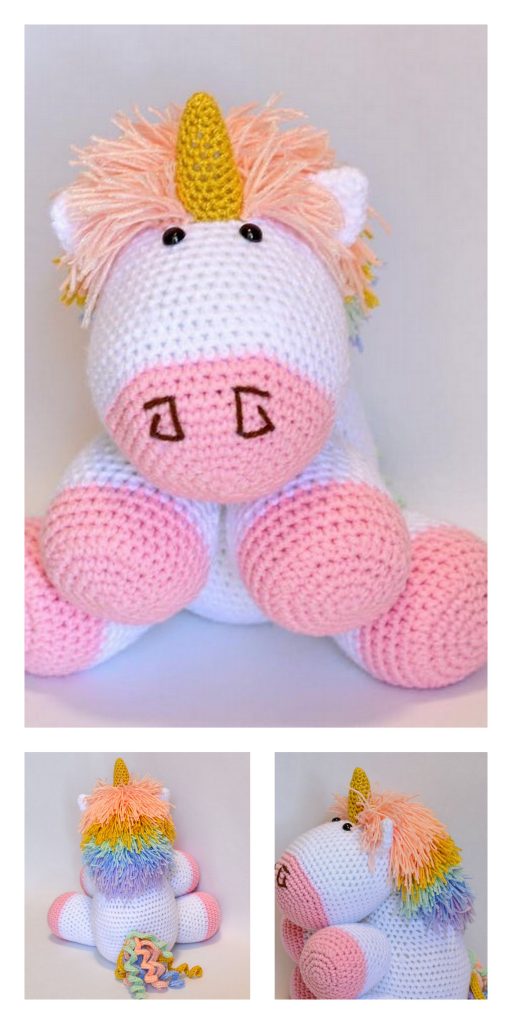
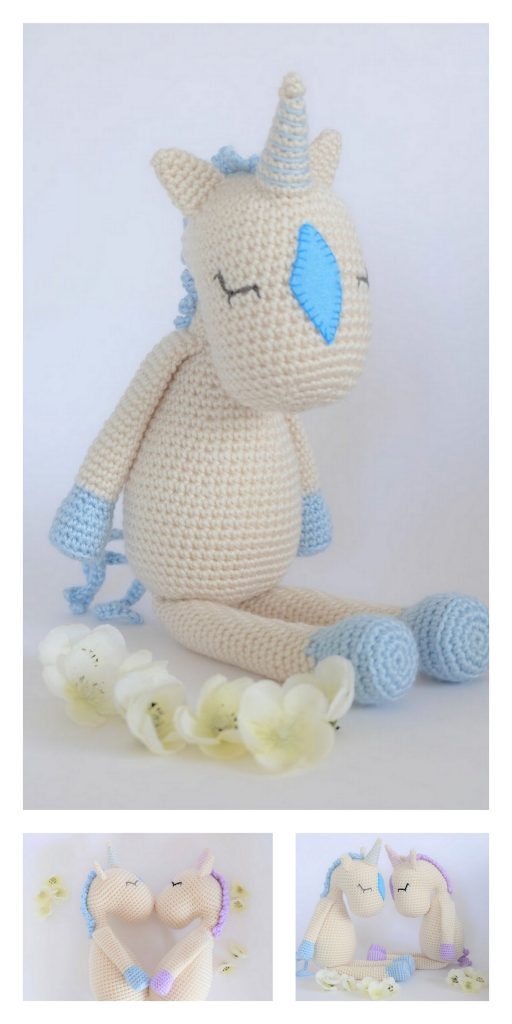
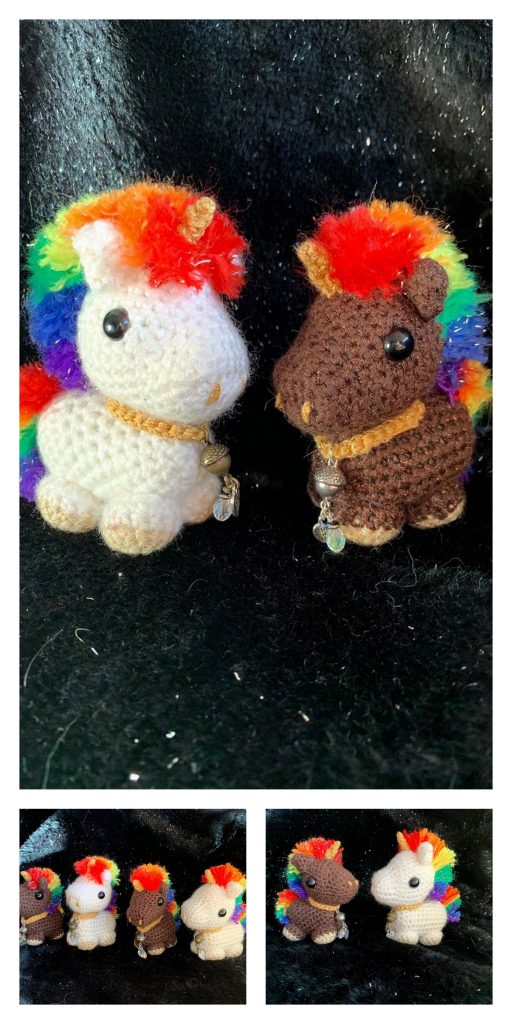
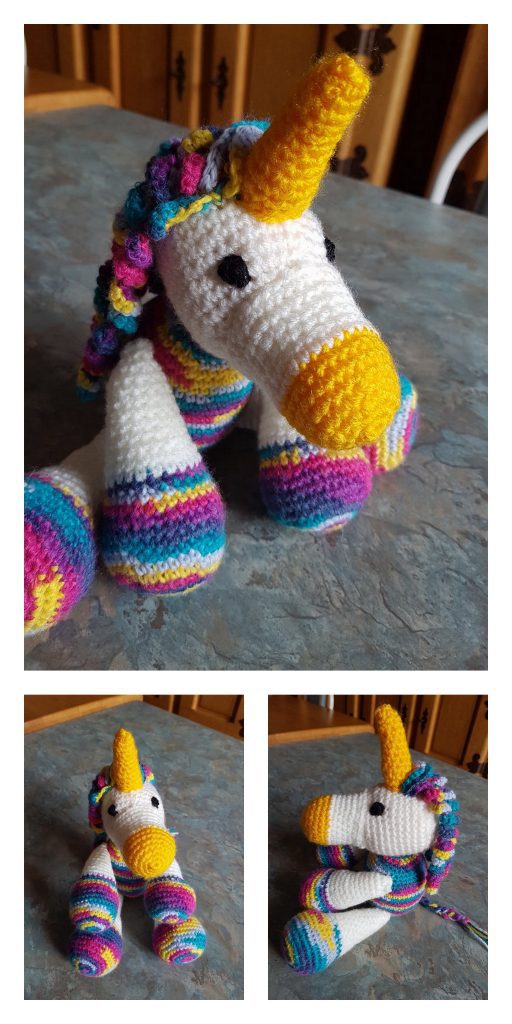
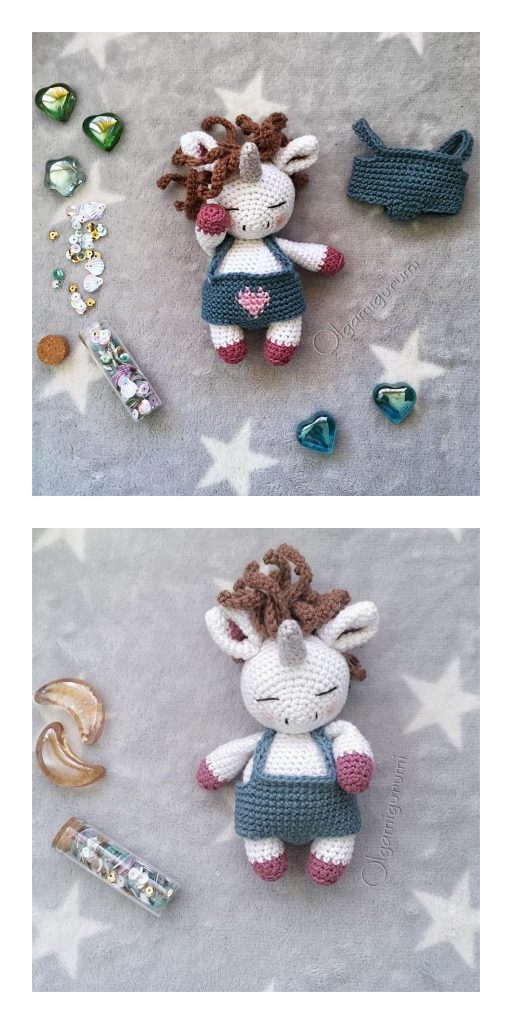
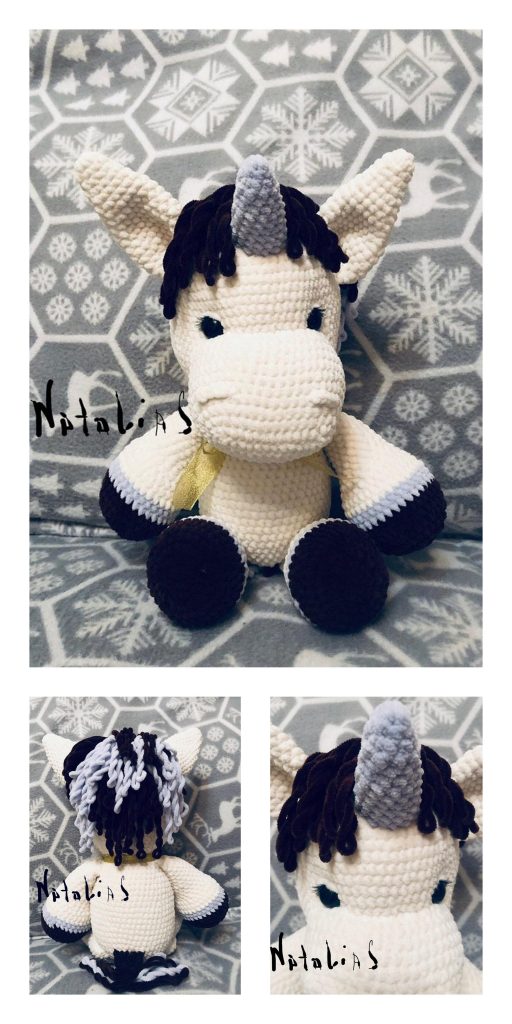
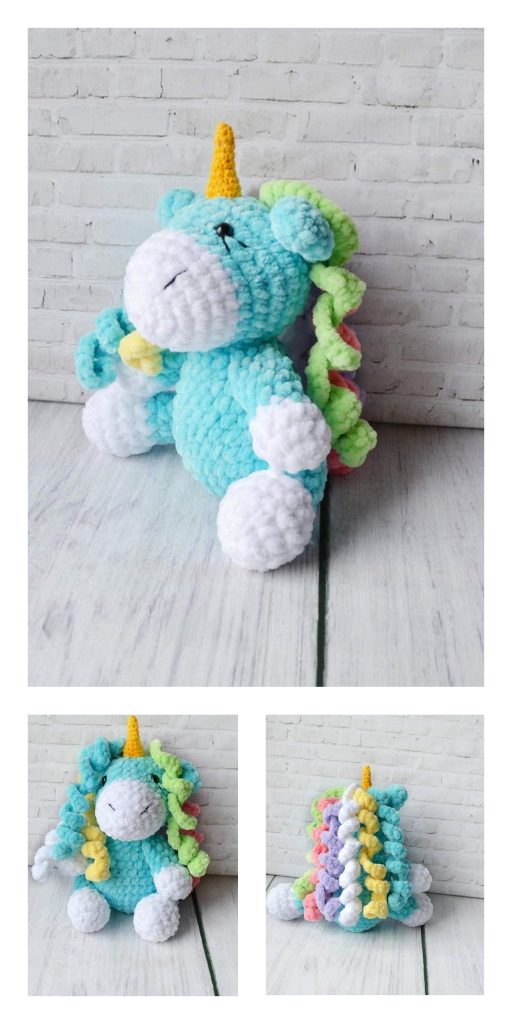
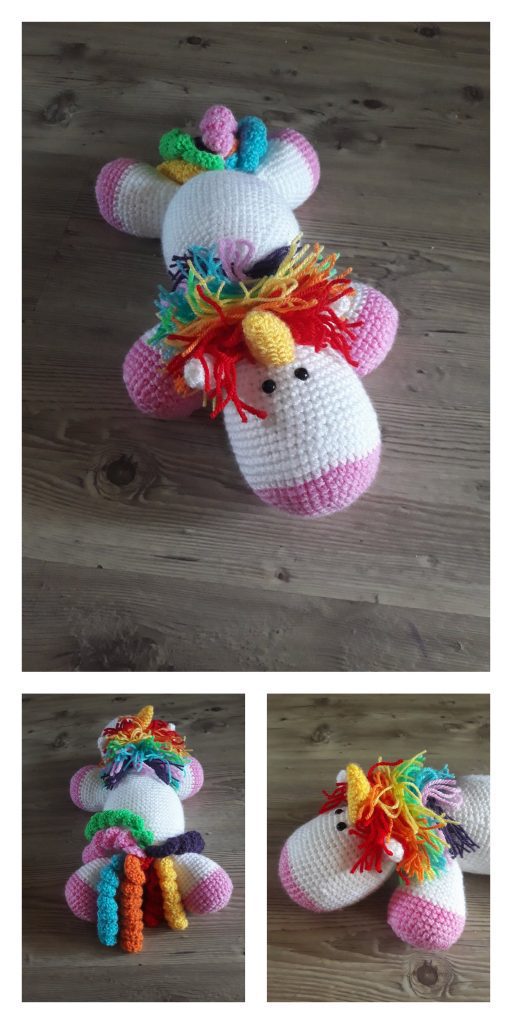
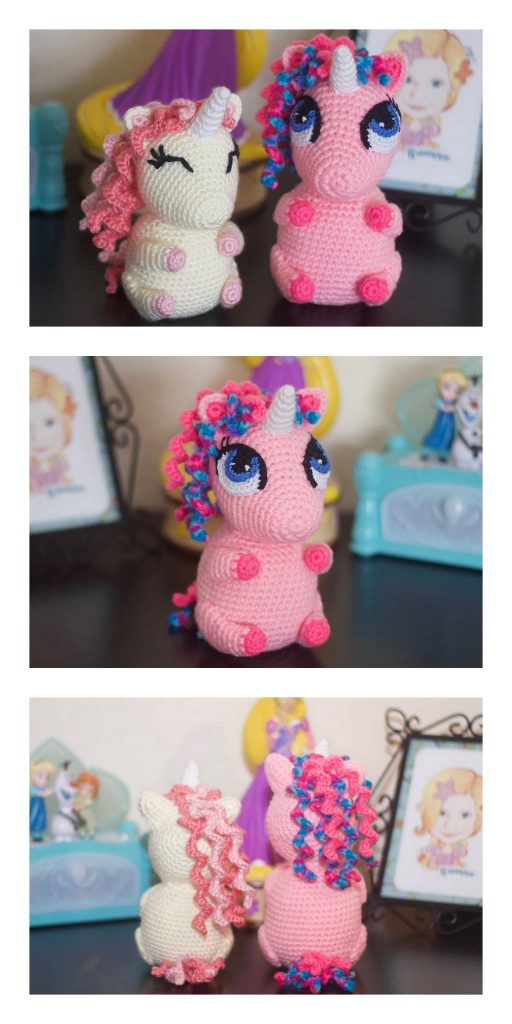
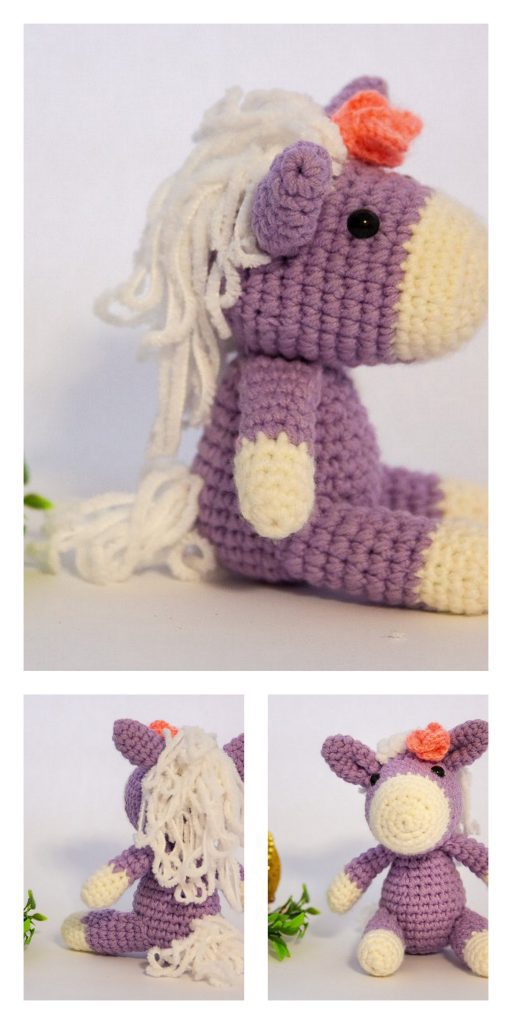
Todays daily new amigurumi free crochet pattern is Amigurumi Unicorn.
I want to give you some informations about this amigurumi free pattern ; Unicorn.
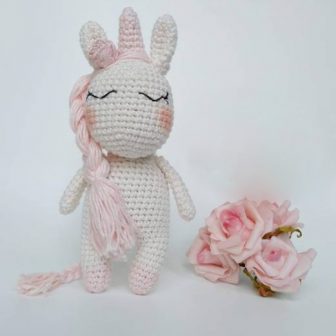
Materials:
● yarn in two colors (colors 1 and 2);
● crochet hook according to the yarn weight you are using (I used a 3,25 mm);
● stitch markers;
● pins;
● polyester fiber;
● scissors;
● tapestry needle;
● embroidery floss.;
● fabric or crochet flowers for the head;
● hot glue and hot glue gun (or any other glue that works for fabrics);
● blush (for makeup);
● small brush (for makeup) or cotton swab.
Abbreviations:
inc – increase
dec – invisible decrease
ch – chain
sl st – slip stitch
sc – single crochet
mr – magic ring ( ) total number of stitches at the end of each round
Unicorn size: With the materials I used, my unicorn was approximately 7.5”/20 cm (horn to foot)
Notes: Always remember to crochet in rounds. Use a stitch marker at the end of each round.
Amigurumi Unicorn Free Pattern
Horn:
Using color 2.
1) 6 sc in the mr (6)
2) sc around (6)
3) [2 sc, 1 inc] x2 (8)
4) sc around (8)
5) [3 sc, 1 inc] x2 (10)
6) sc around (10)
7) [4 sc, 1 inc] x2 (12)
8 and 9) sc around (12)
Fasten off leaving a long tail for sewing. Stuff it with polyester fiber.
Ears:
Make two. Using color 1.
1) 5 sc in the mr (5)
2) sc around (5)
3) 5 inc (10)
4 to 8) sc around (10)
Fasten off leaving a long tail for sewing.
Arms:
Make two. Using color 1.
1) 6 sc in the mr (6)
2) [1 sc, 1 inc] x3 (9)
3 to 12) sc around (9)
Fasten off leaving a long tail for sewing. Don’t stuff it.
Legs and body:
Make two. Start with color 2.
1) 6 sc in the mr (6)
2) [1 sc, 1 inc] x3 (9)
3) [2 sc, 1 inc] x3 (12)
4 and 5) sc around (12)
Change to color 1.
6 to 9) sc around (12)
Fasten off the first leg leaving a long tail. Repeat rounds 1 to 9 for the second leg, but don’t fasten it off. Ch 6. Join both legs with a sc in the stitch immediately to the left of the last stitch made in the first leg. This is going to be considered the first sc in the new round.
10) 12 sc on the first leg (1 + 11), 6 sc on one side of the ch, 12 sc on the other leg, 6 sc on the other side of the ch [36] Close the small hole that was created between both legs using that long tail of yarn left at the end of the first leg. Make a few stitches using the tapestry needle. Stuff the legs.
11 to 23) sc around [36] Start stuffing the body using polyester fiber. Continue stuffing while crocheting until the end. Stuff it very well. Stop stuffing it at round 31.
24) 2 sc, 1 dec [4 sc, 1 dec] x5, 2 sc (30)
25) sc around (30)
26) [3 sc, 1 dec] x6 (24)
27 and 28) sc around (24)
29) 1 sc, 1 dec [2 sc, 1 dec] x5, 1 sc (18)
30) sc around (18)
31) [1 sc, 1 dec] x6 (12) 32) 12 sc (12)
Fasten off leaving a long tail. Thread the tail through the body. It should come out between rounds 27 and 28. Do not cut it. This tail will be used to sew the chin to the body after we make the head. See the picture below.
Head:
Using color 1.
1) 6 sc in the mr (6)
2) 6 inc (12)
3) [1 sc, 1 inc] x6 (18)
4) 1 sc, 1 inc [2 sc, 1 inc] x5, 1 sc (24)
5) [3 sc, 1 inc] x6 (30)
6) 2 sc, 1 inc [4 sc, 1 inc] x5, 2 sc (36)
7) sc around (36)
8) 24 sc, 6 sc (picking up 6sc from the body as well – make sure you are closing the body while doing this. This means you will have to pick up both sides of the neck while crocheting), 6 sc (36)
9 to 16) sc around (36)
Using the tail left when you finished the body (the one threaded between rounds 27 and 28) and the tapestry needle, sew the head (chin) to the body. Note that the head should be lined with the body. Fasten off. Let’s continue with the head.
17) 2 sc, 1 dec [4 sc, 1 dec] x5, 2sc (30)
18) [3 sc, 1 dec] x6 (24)
19) sc around (24)
Start stuffing the head using polyester fiber. Continue stuffing while crocheting until the end.
20) 1 sc, 1 dec [2 sc, 1 dec] x5, 1sc (18)
21) [1 sc, 1 dec] x6 (12) 22) 6 dec (6)
Fasten off closing the hole in the head.
Assembly and Details:
1. Sew the horn in the top of the head.
2. Fold the base of the ear and sew it on round 5 of the head (counting from top to bottom) lining it with the horn.
3. Sew the arms between rounds 26 and 27 of the body.
4. For the mane: cut 27 pieces of yarn of 21 inches each (52 cm) in color 2. Using your hook, attach 3 pieces of yarn at each time, beginning in the top of the head, just below the horn, creating 9 groups of mane (see pictures below). Braid the mane passing the first group in front of the horn and the next two groups in front of the ear. Tie the braid. Trim it to even the ends.
5. For the tail: cut 9 pieces of yarn of 14 inches each (34 cm) in color 2. Attach one of these pieces of yarn in the back of the body between rounds 16 and 17. Put the other pieces of yarn in the opposite position, creating a cross (see pictures below). Using the piece you attached in the body, tie the other pieces together very firmly. Make the braid and tie it.Trim its ends.
6. Using embroidery yarn, embroider the eyes between rounds 12 and 13 of the head (counting from bottom to top). Leave a 3 stitches distance between them.
7. Makeup the cheeks just below the eyes.
8. Using hot glue (or any other fabric friendly glue), attach the braid to the belly of the unicorn and the flower to the head.
*for children under 3 years old, sew the details instead of gluing them. And don’t use small pieces.
More Amigurumi Unicorn Ideas:
